For commissioned artists
A practical guide to grid maker
A grid maker turns a complicated reference into a sequence of small, manageable observations. Instead of estimating the entire outline at once, you can compare where a contour crosses a particular square, then transfer that position to the matching square on paper. This is useful for portraits, still life studies, murals, and school assignments because it makes proportion visible without replacing your own looking. ArtGrid keeps that simple workflow on one screen: add a file, choose a grid, and begin drawing.
The most useful grid is usually the least distracting one. Start with six to ten rows for a full-page study; increase the count only when you need help locating a small feature. A visible but not overpowering line color lets the reference remain readable. Labels give you a quick shared language when you are teaching or checking a drawing: a student can look at B3 rather than hunt around the whole image. If your original has strong color, the black-and-white switch can also make value shapes easier to judge before you chase detail.
This grid maker runs entirely in your browser. Your image is drawn onto a local Canvas and the export is created on your device, so there is no account, upload queue, or server copy to manage. For paper work, choose A4, A3, or US Letter and use the displayed millimetre spacing to rule an equivalent grid on your sheet. Download PNG or JPG for a digital sketch app, or make a PDF that includes the exact drawing instructions alongside the reference. When you are done, the source image remains yours.
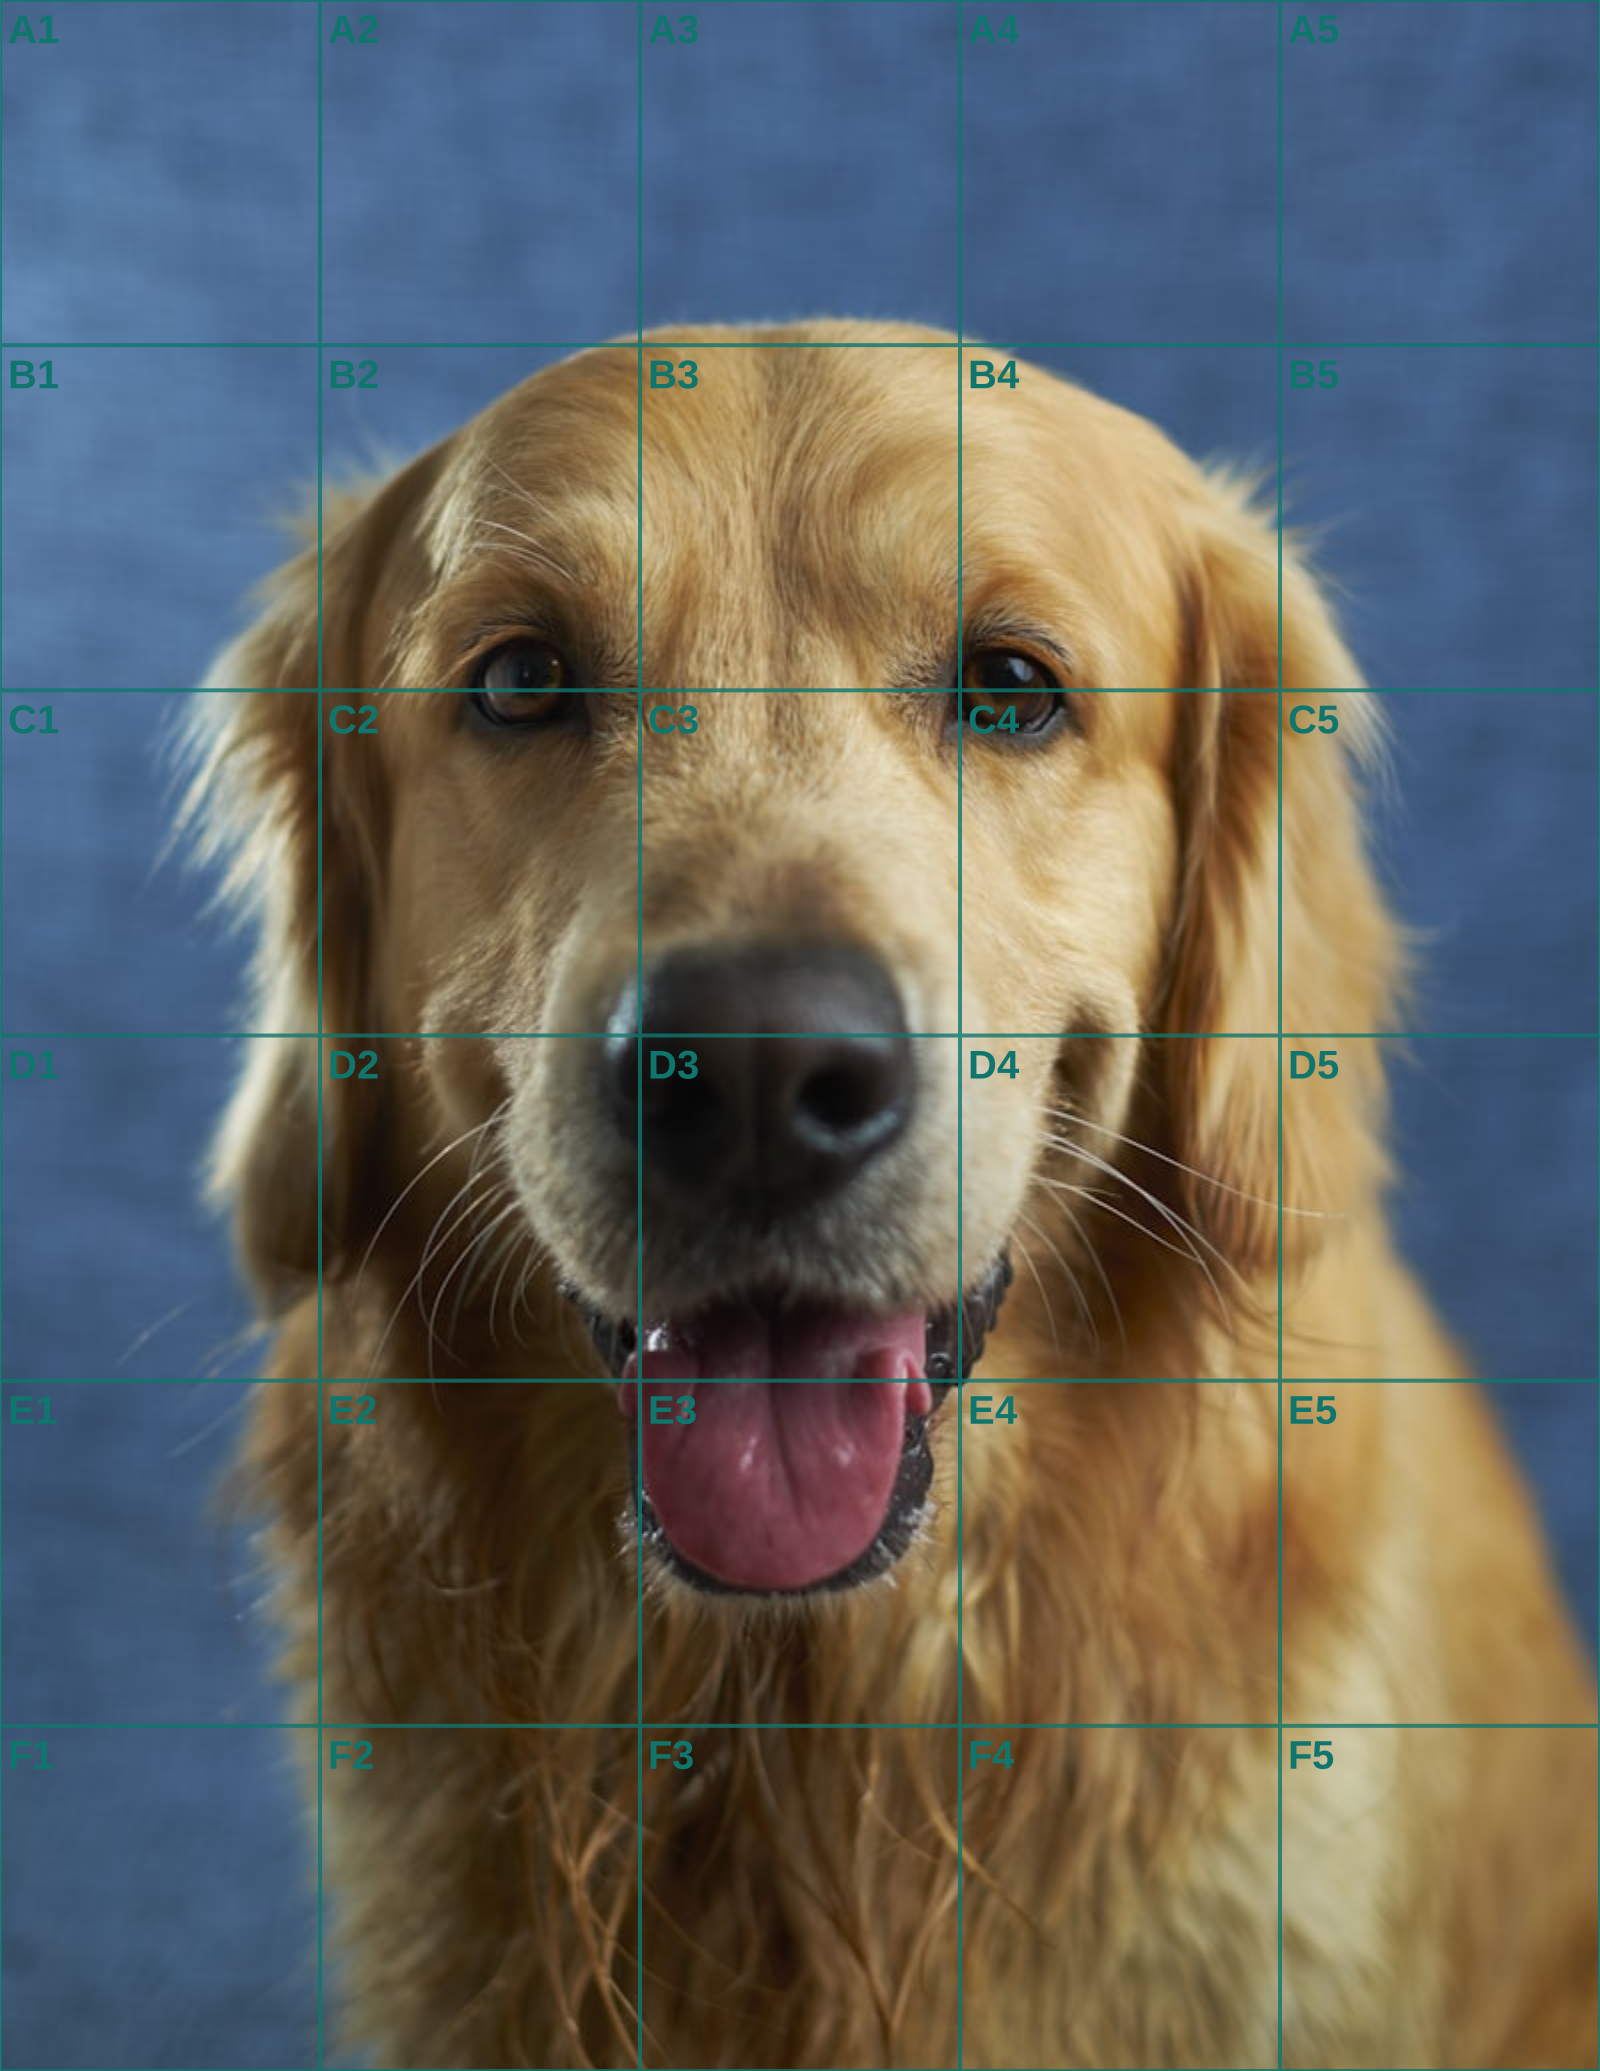
A general grid maker is most valuable at the moment a client approves a photograph but before you invest an evening in the drawing. Ask for the intended crop and final dimensions in writing. A 10 by 8 inch dog portrait cannot simply inherit the framing of a phone photo: decide whether the ears, collar, and background all belong before you divide it. Print the reference at the stated size, then use the PDF guide to rule the paper at the stated millimetre interval. Check the first and last line with a ruler; a cumulative two-millimetre drift is enough to move a muzzle or eye noticeably by the far side of a small portrait.
When a commission begins with an ordinary phone photo, the grid maker is most useful before the artist has made any marks. Ask the customer to approve one crop, including the amount of space above ears and below paws, rather than assuming the supplied frame is final. A close crop can make a small drawing intimate, while a looser crop may preserve a familiar collar or garden context. Save that decision with the order details, because changing it later changes every measurement that follows.
Make a small proof rectangle in the same proportion as the intended support. A five-by-seven commission and an eight-by-ten commission can use the same photograph without having the same margins. Place the subject inside the rectangle first, then decide whether the background stays visible. The grid belongs on that approved rectangle, not on arbitrary unused paper. This avoids the common result in which a carefully measured animal is correct but appears cramped because the framing was never settled.
For a full-body dog with a simple backdrop, begin with broad divisions that describe the spine, shoulder, paws, and tail turn. More boxes are not automatically more faithful. If a cell is too small to judge from normal drawing distance, it encourages the artist to copy isolated hairs rather than the weight of the pose. Increase density only around information the commission depends on, such as a distinctive face or an unusually angled leg.
Use the PDF as a physical instruction sheet, not merely as a way to print the image. Its millimetre interval tells you where to tick both edges of the final rectangle before joining lines with a ruler. Check the opposite edge after every few ticks; a little error compounded across a sheet moves the final column. Printing at actual size matters here, since a printer's automatic scaling changes the reference even when the grid still looks square.
A sensible working pair is an unmarked original and a dated gridded export. The clean file remains the place to judge coat colour, soft edges, and expression; the overlay handles location. Keep both alongside the client brief rather than overwriting either one. This browser-based tool leaves the supplied photograph on your device, which is useful for personal family images without turning a small commission workflow into an online archive.
Block the largest silhouette before rendering a face. On a pet portrait, the outer contour, belly clearance, and direction of the back tell the viewer more immediately than an individually perfect eye. Compare where those contours cross the same cells on paper and reference. A final whole-image check under ordinary room light will show whether the animal reads at a glance before you invest in texture.
The same preparation helps a hobbyist who wants fewer false starts. Write the support size, crop, grid count, and first three landmarks on a scrap note. Those decisions make the tool a measured beginning rather than a decorative overlay. Once the structure is secure, erase the ruled lines and let your own handling of graphite, paint, or pixels carry the finished image.
When the reference is a close likeness, the portrait drawing grid guide covers facial landmarks; for the measured transfer itself, use the grid method walkthrough.
Continue the workflow
See Also
- grid method
Continue with a related preparation guide when this reference needs a more specific transfer plan.
- grid maker for drawing
Continue with a related preparation guide when this reference needs a more specific transfer plan.
- portrait drawing grid
Continue with a related preparation guide when this reference needs a more specific transfer plan.
- art grid
Continue with a related preparation guide when this reference needs a more specific transfer plan.
- grid image
Continue with a related preparation guide when this reference needs a more specific transfer plan.
Questions answered
grid maker FAQ
What grid size should I use for a drawing?+
Six by six is a calm starting point. Use more squares only when the subject has small features you need to place precisely.
Does ArtGrid upload my image?+
No. The image is processed in the Canvas in your browser and is never sent to an ArtGrid server.
Can I print the grid at a specific paper size?+
Yes. Select A4, A3, or US Letter and export the PDF for a reference plus millimetre spacing guide.
Real output
See the grid before you make one
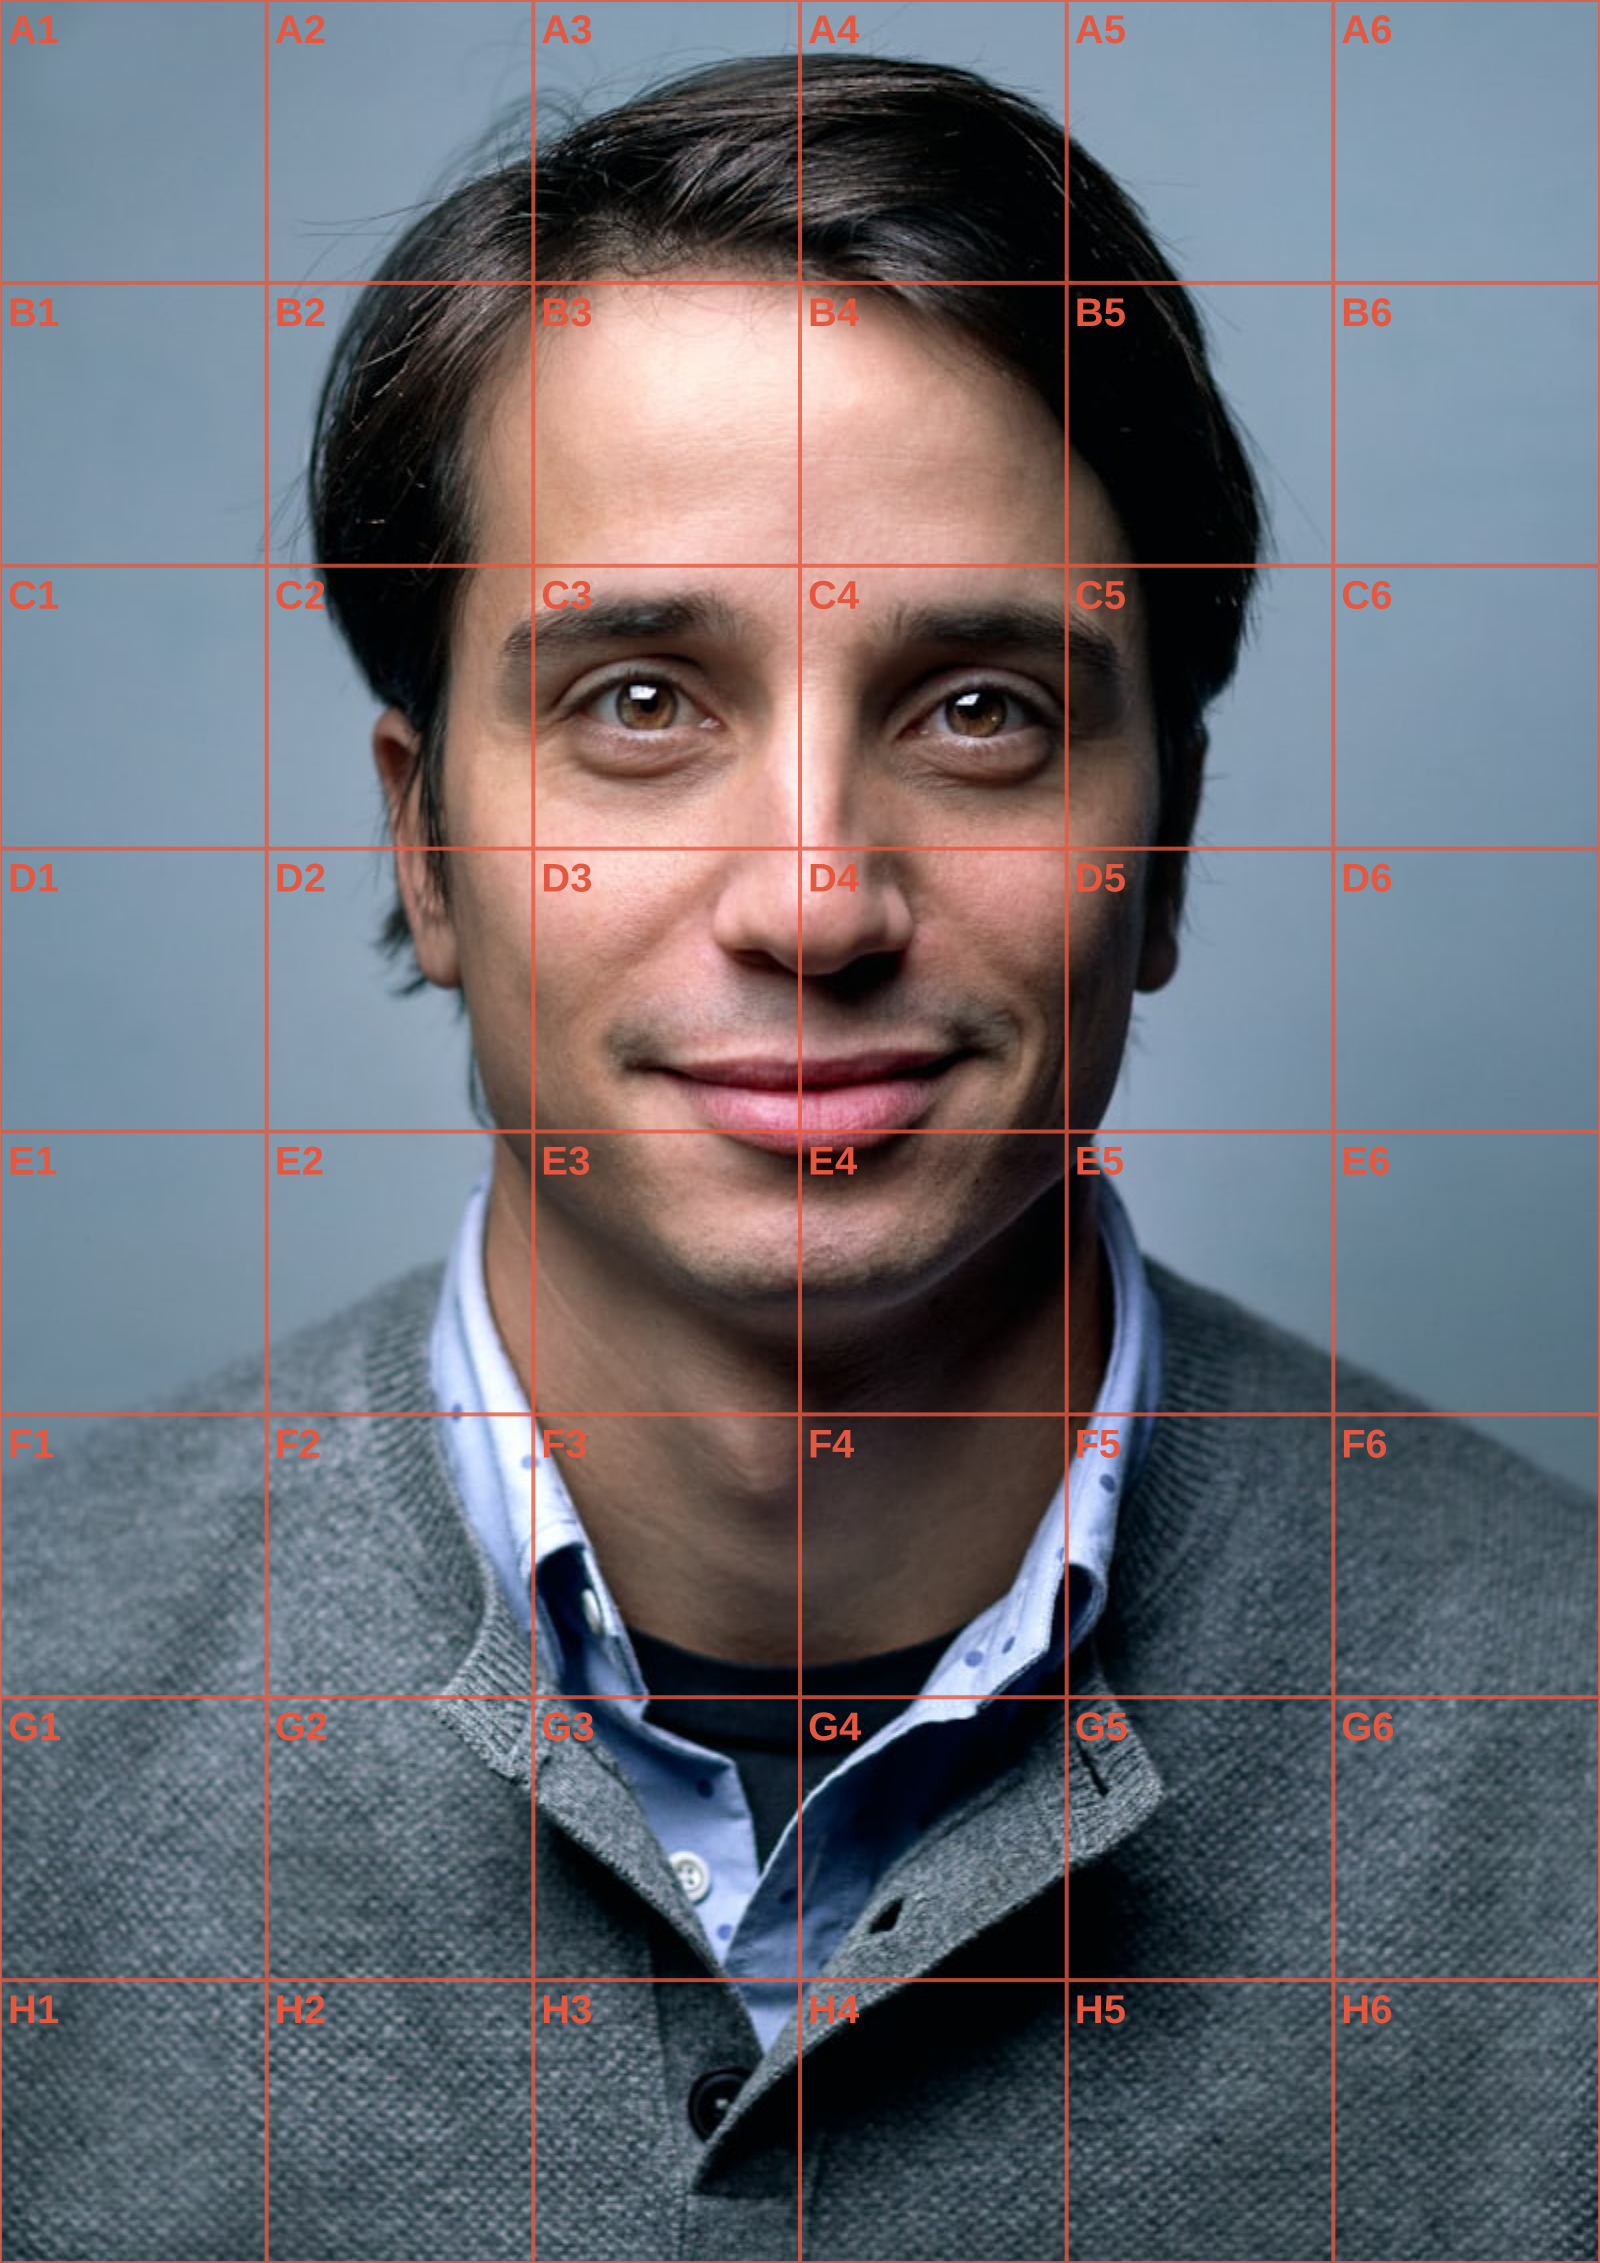
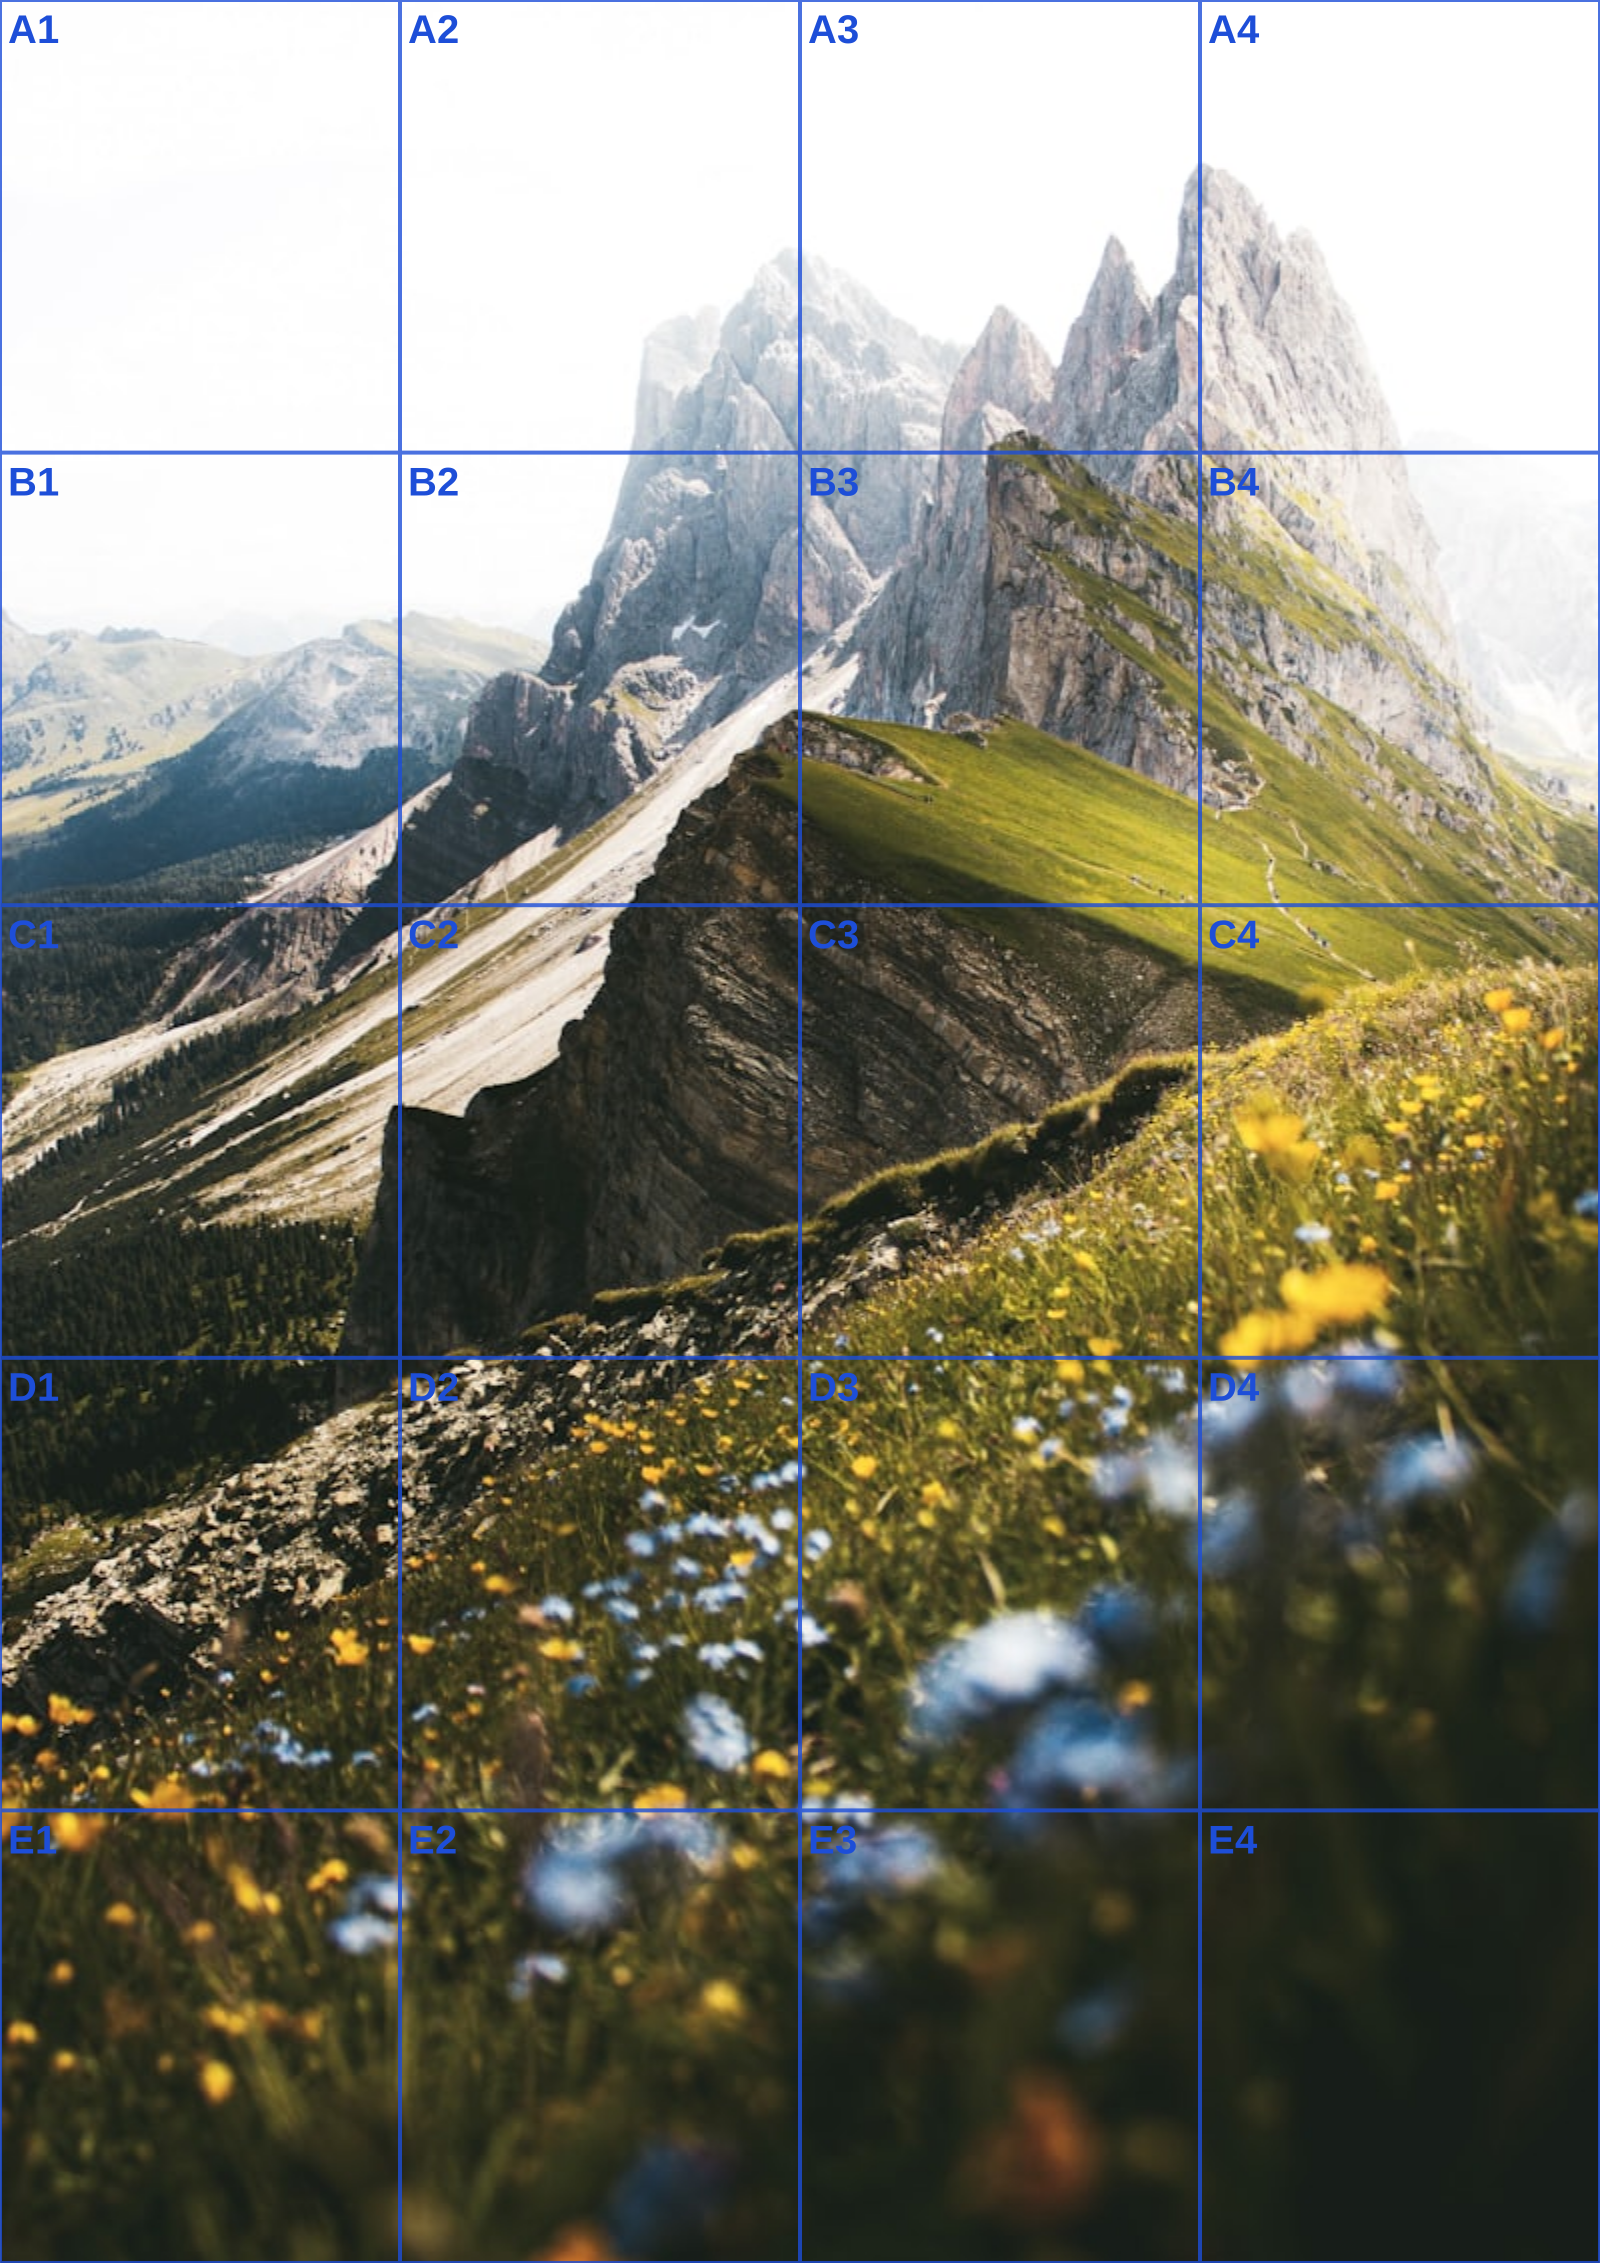
Three references run through this tool at different settings. The measurements are the spacing you would rule on paper at that size, so you can check them against a ruler after printing.