
How to use it
A practical guide to portrait drawing grid
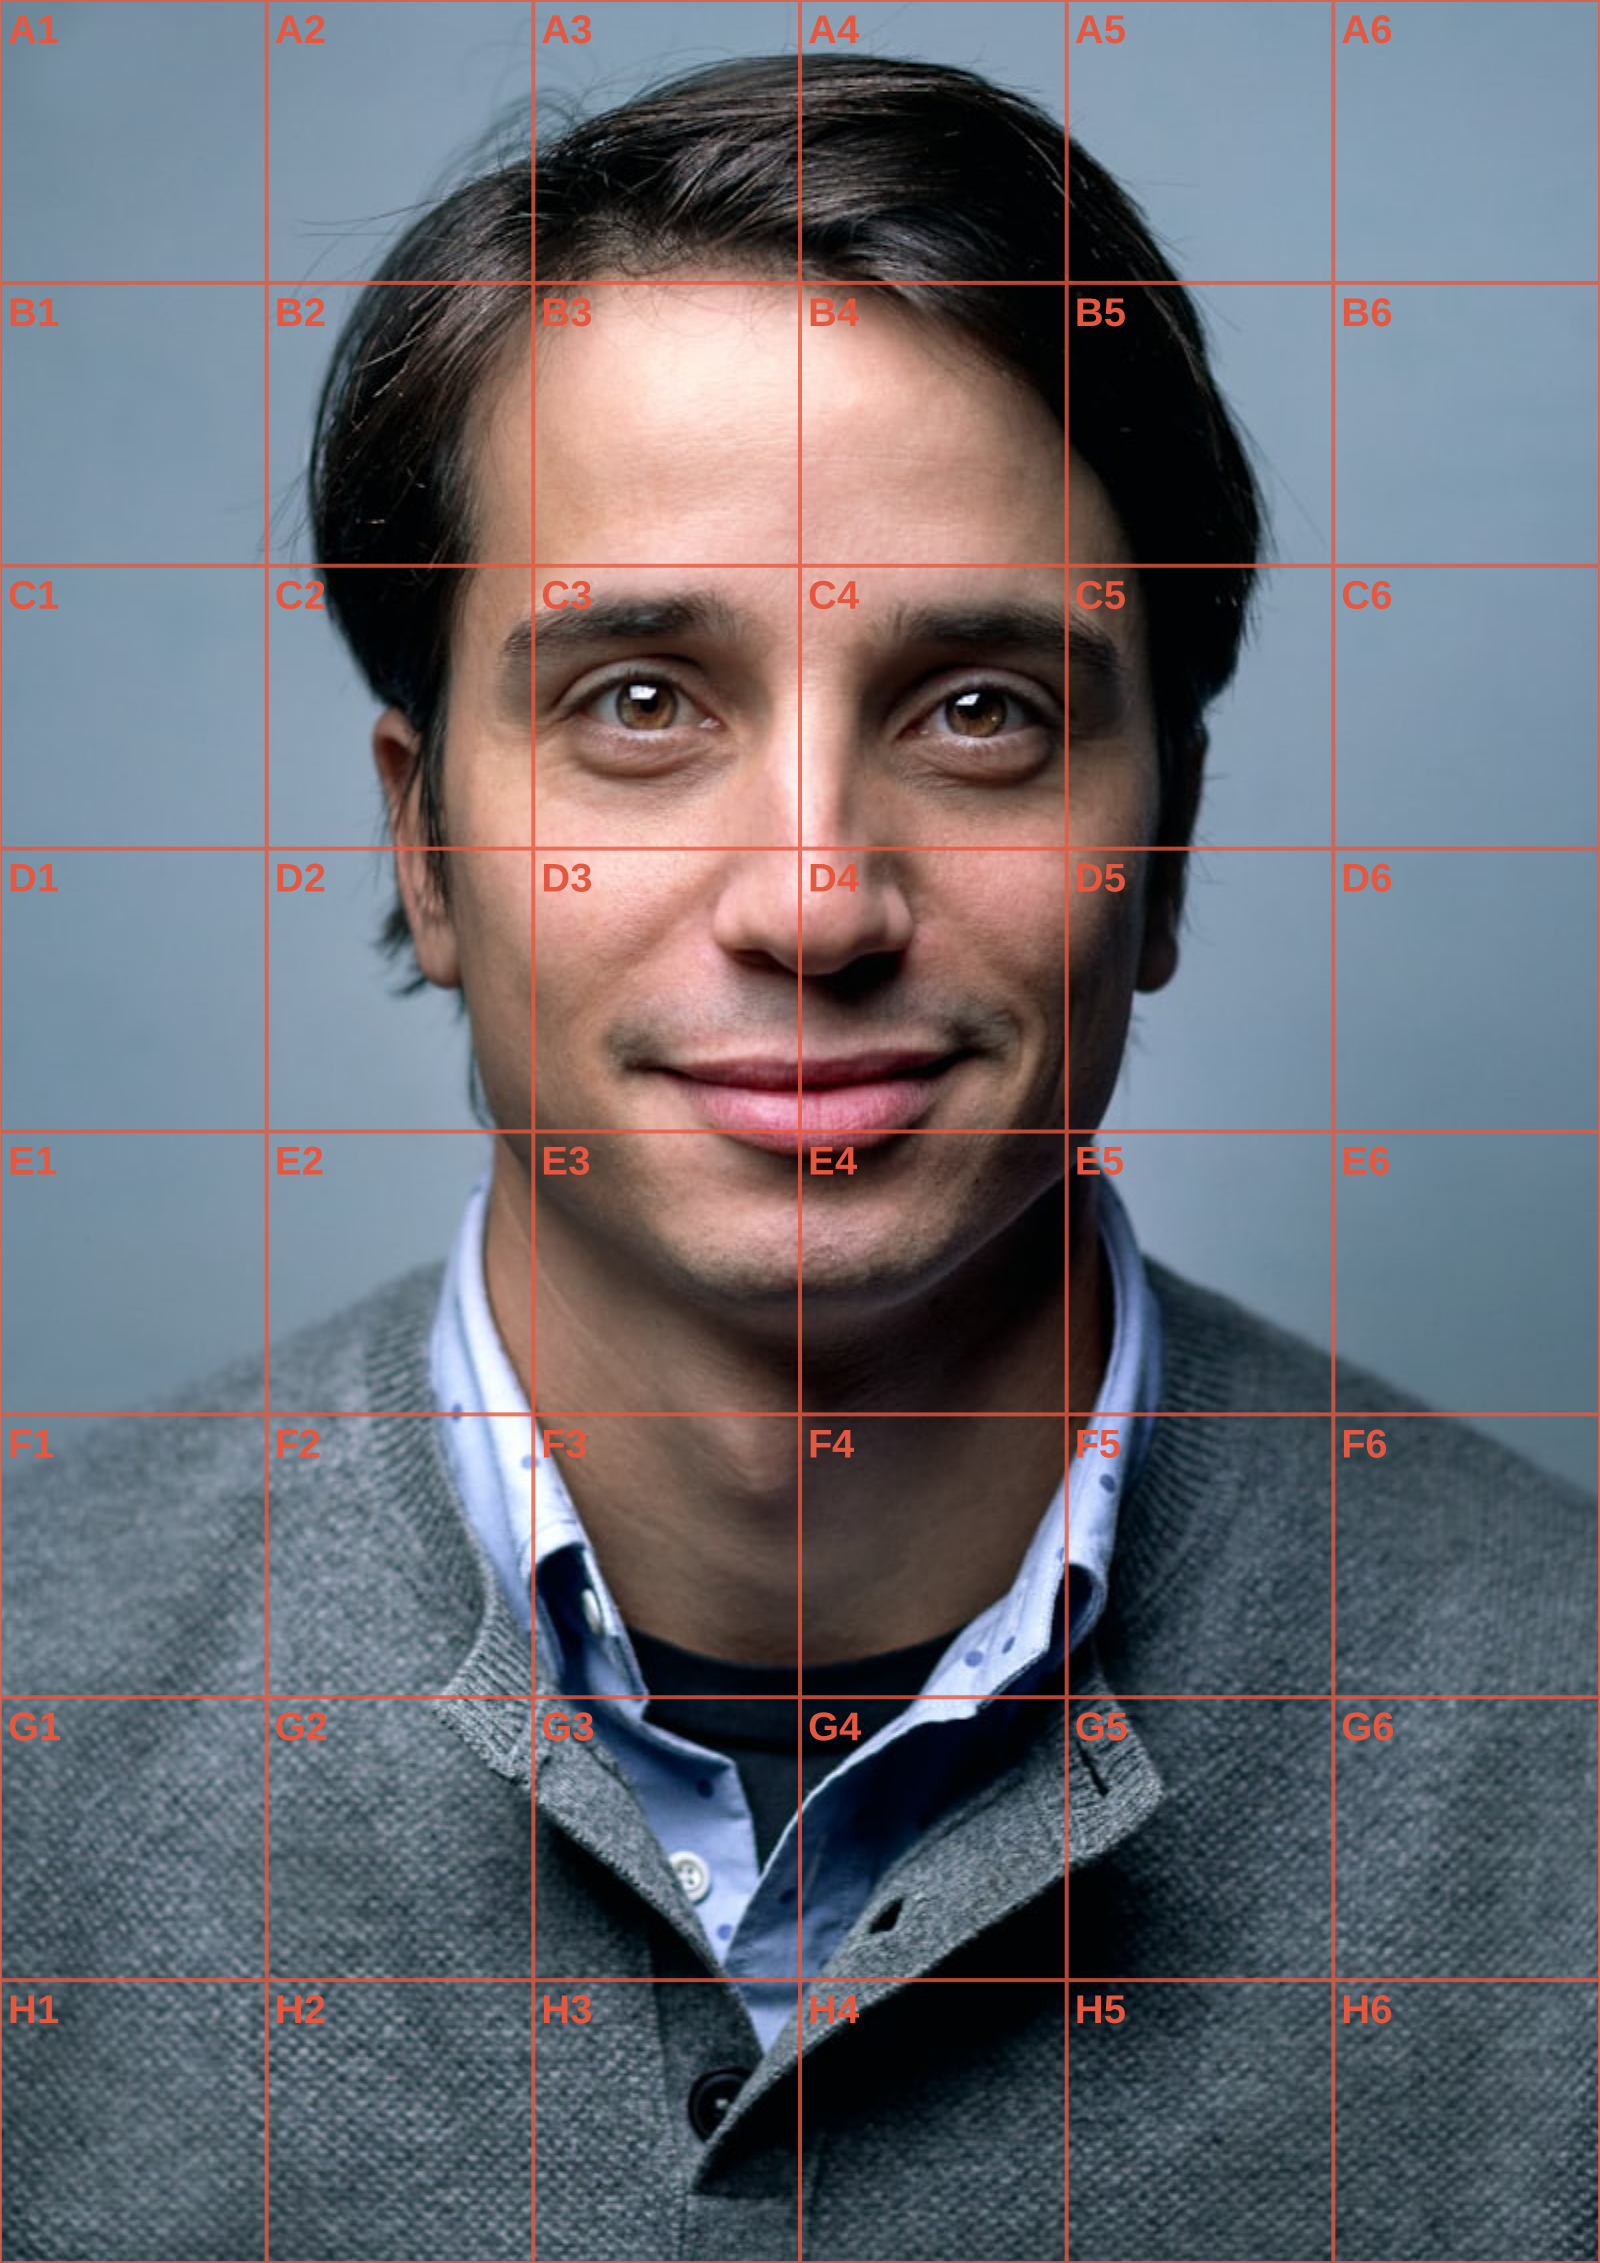
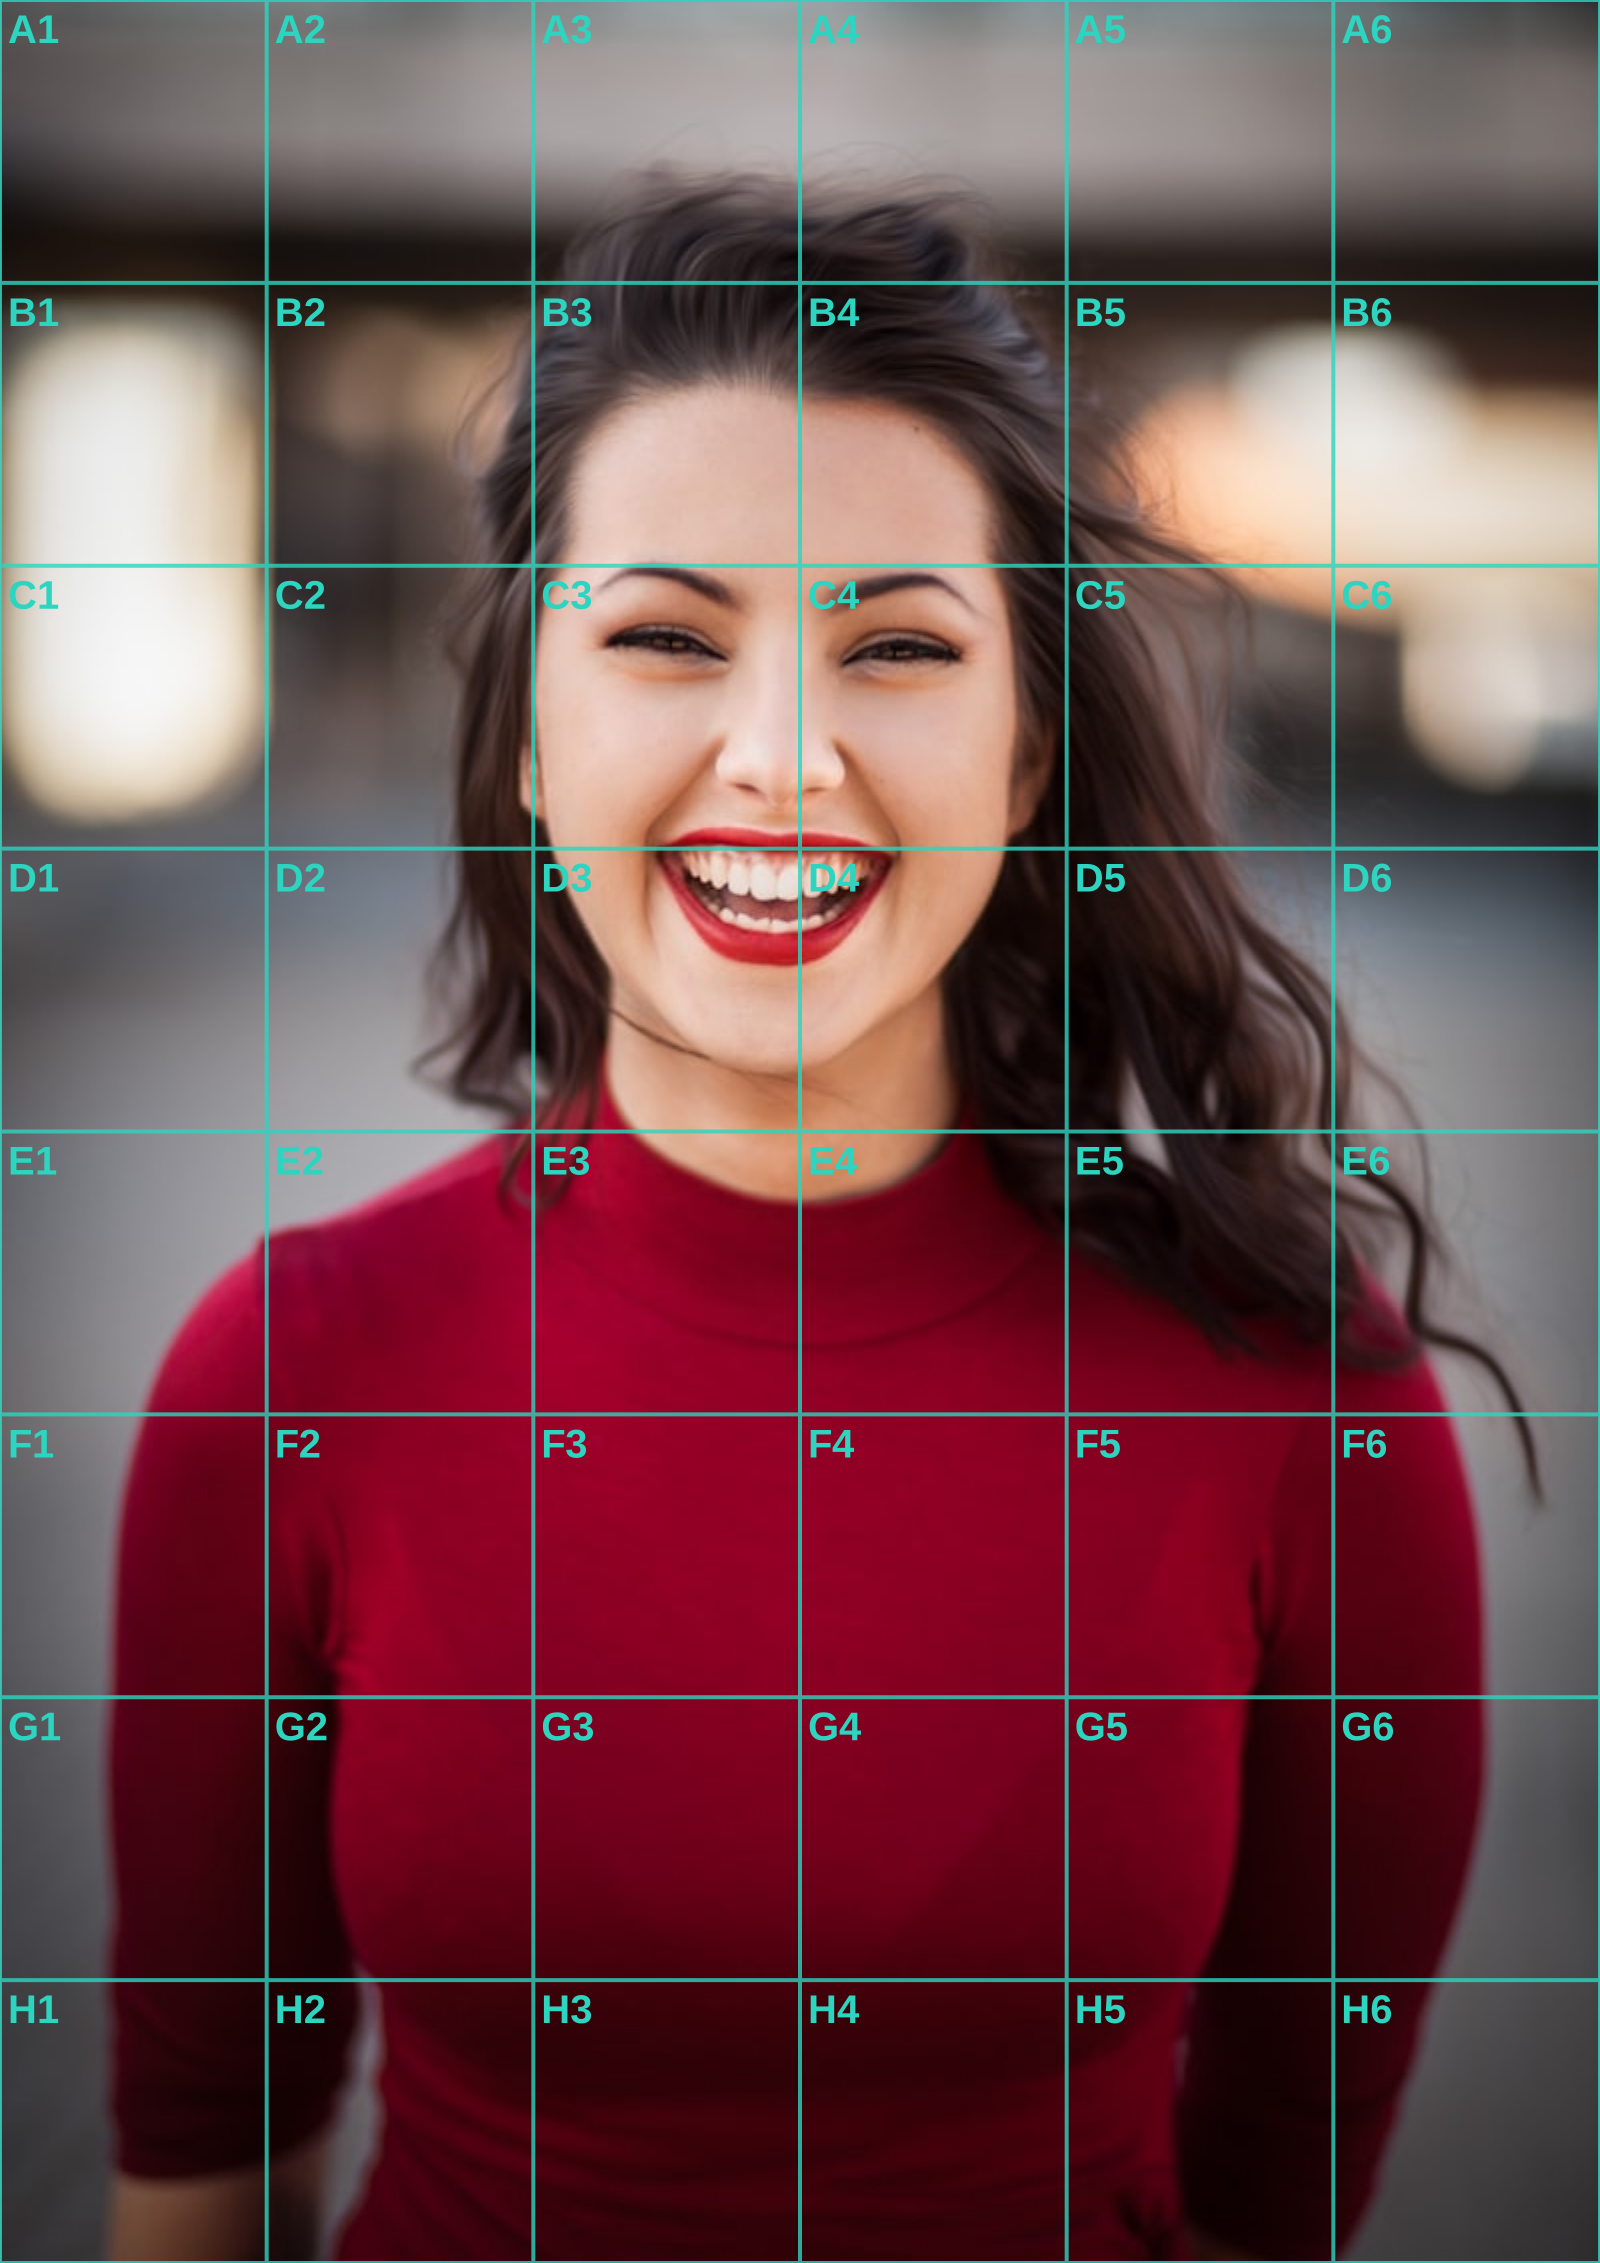
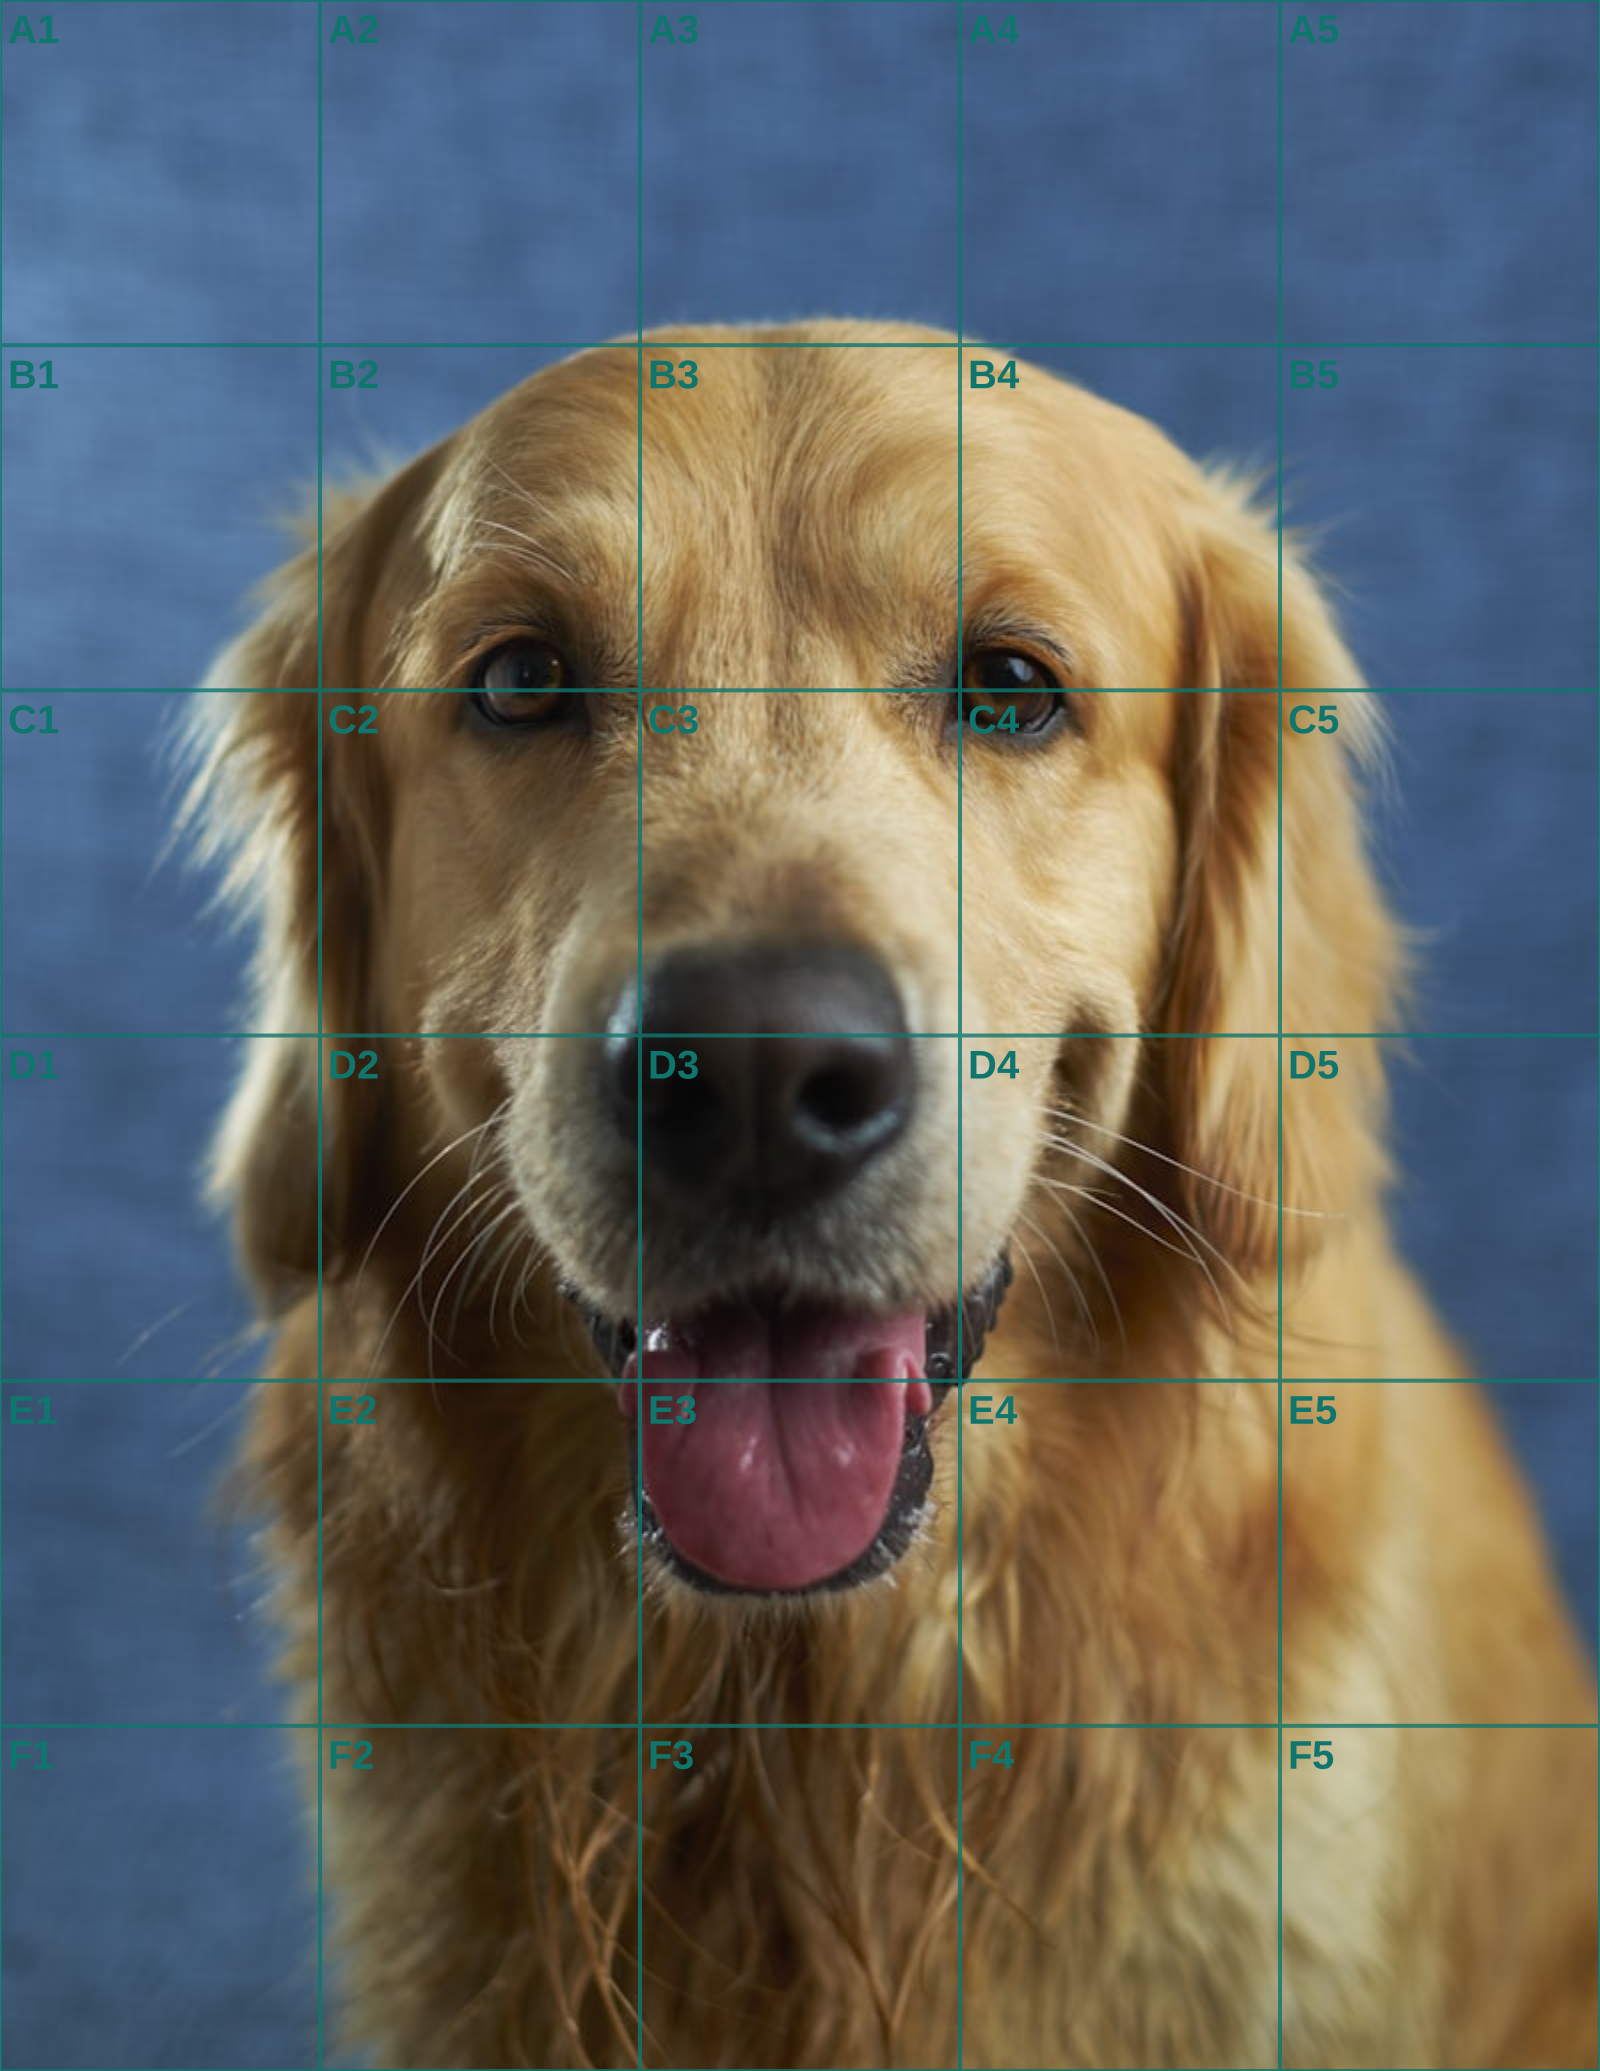
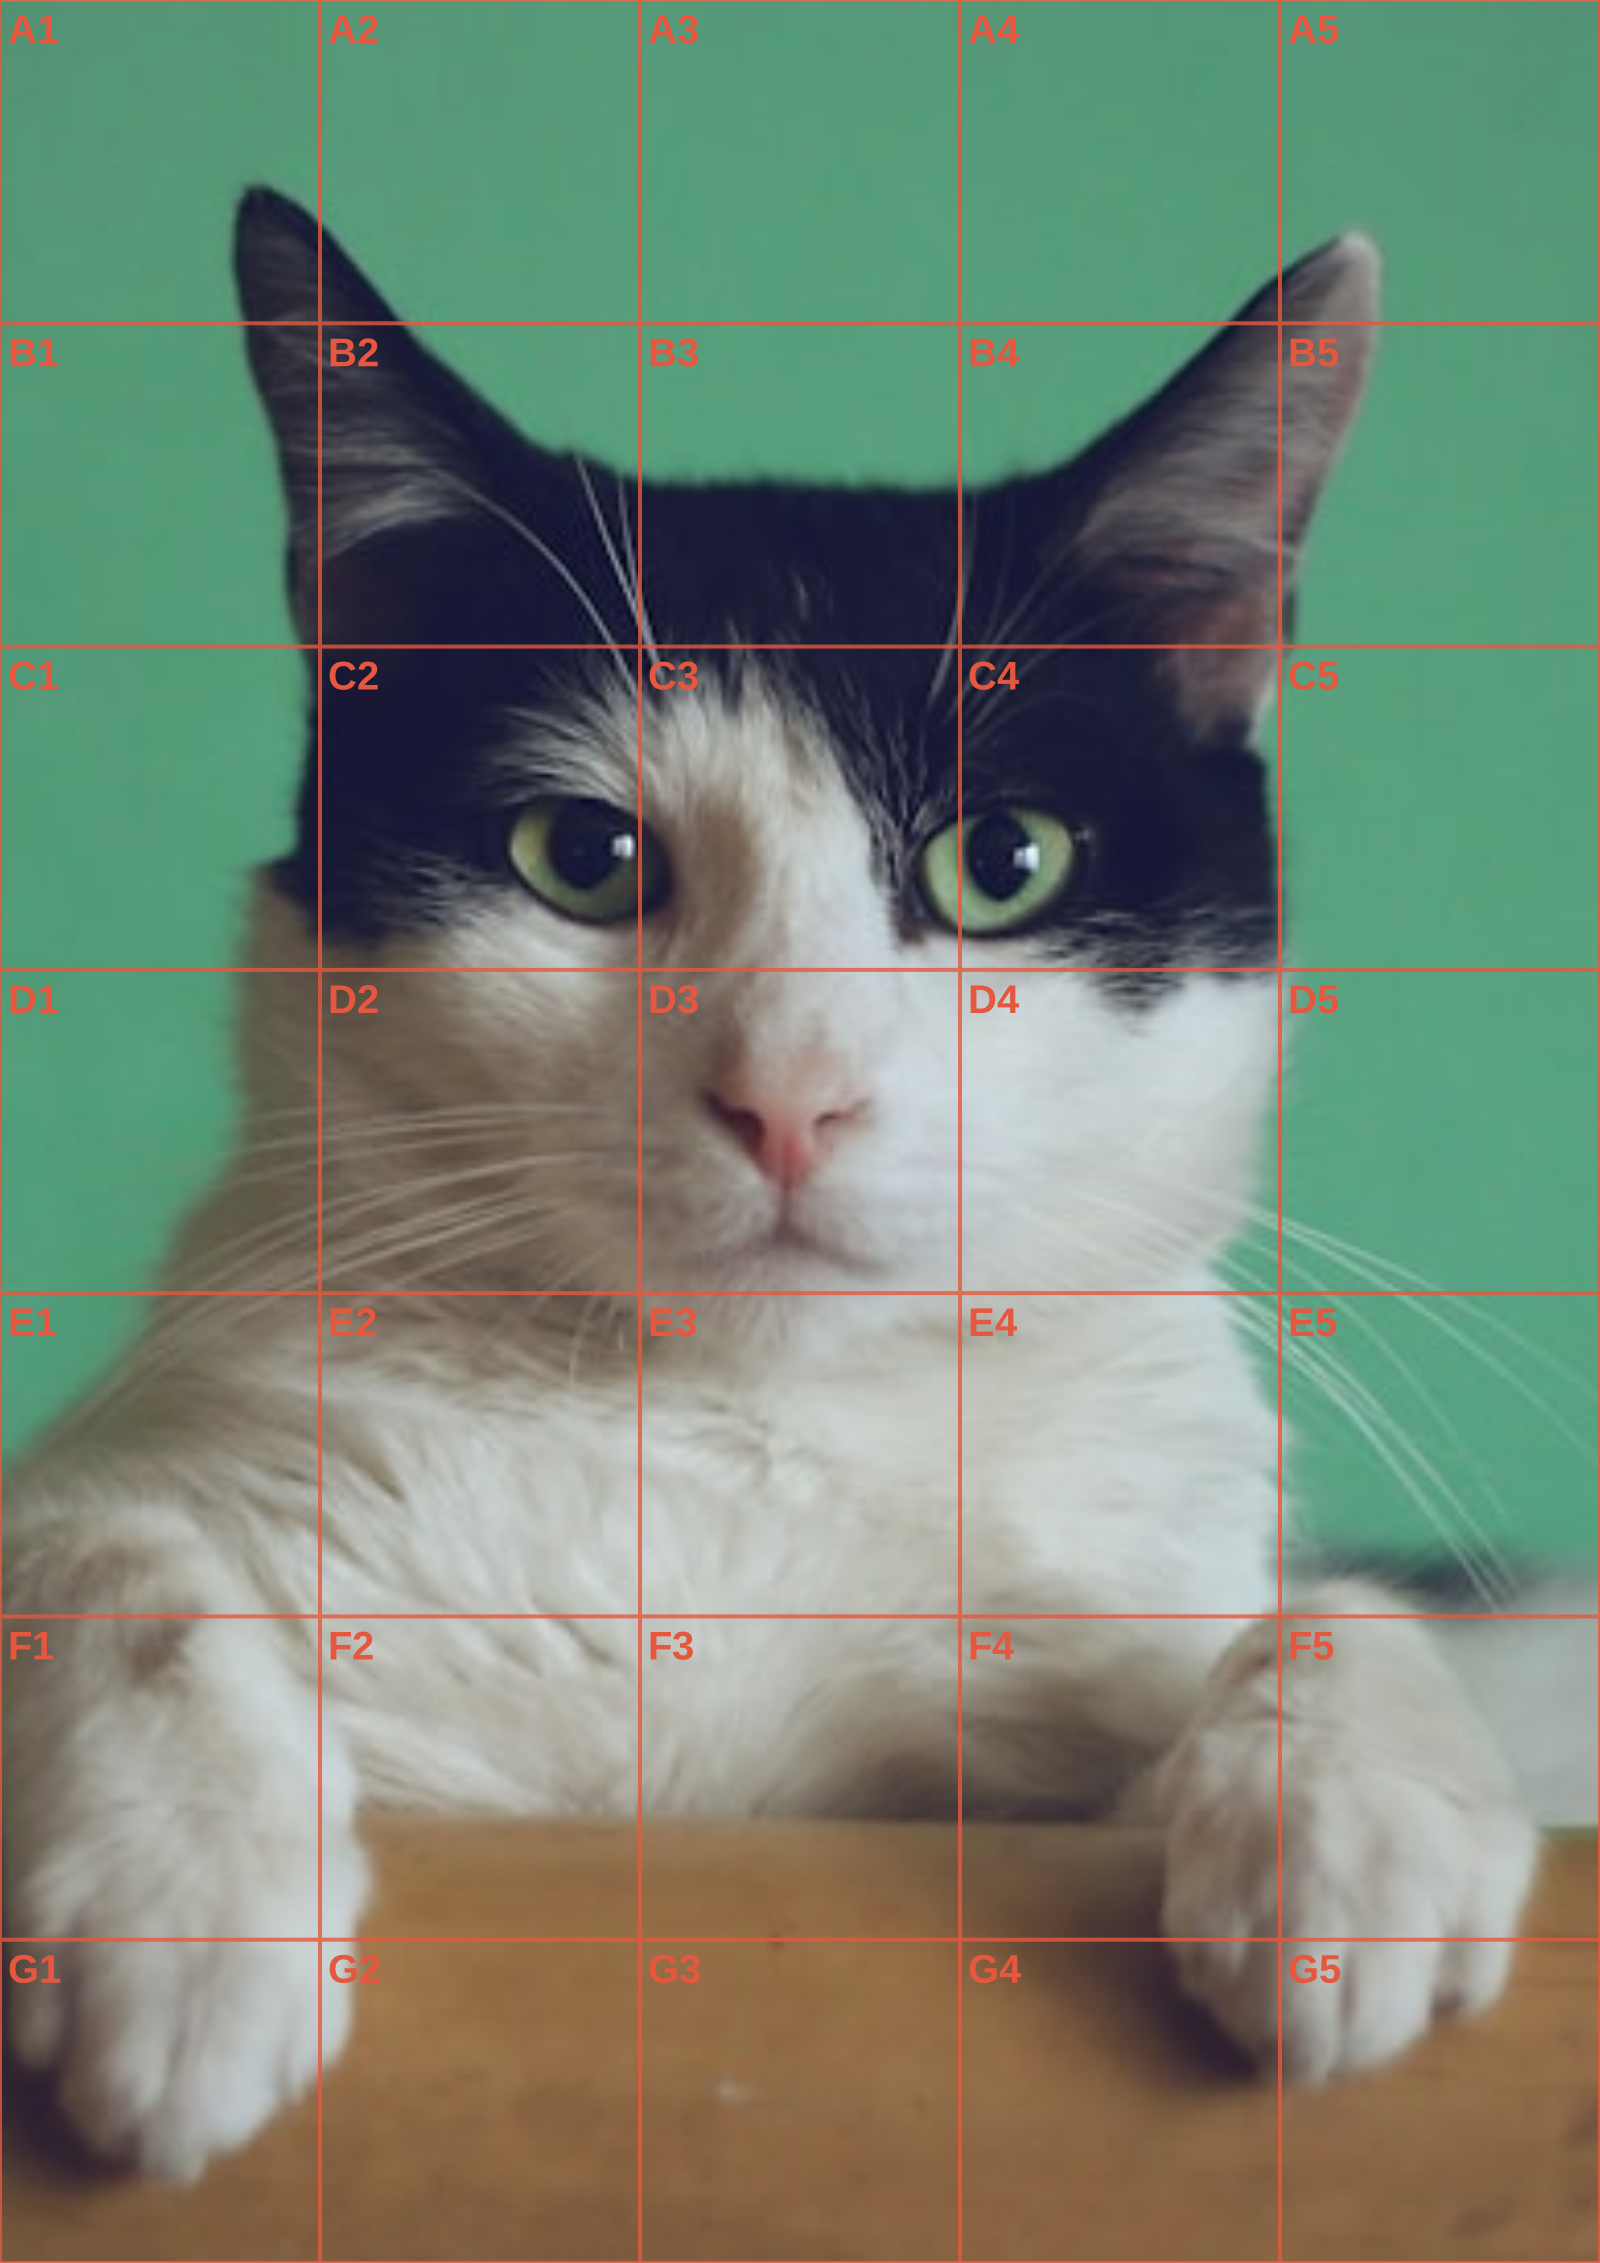
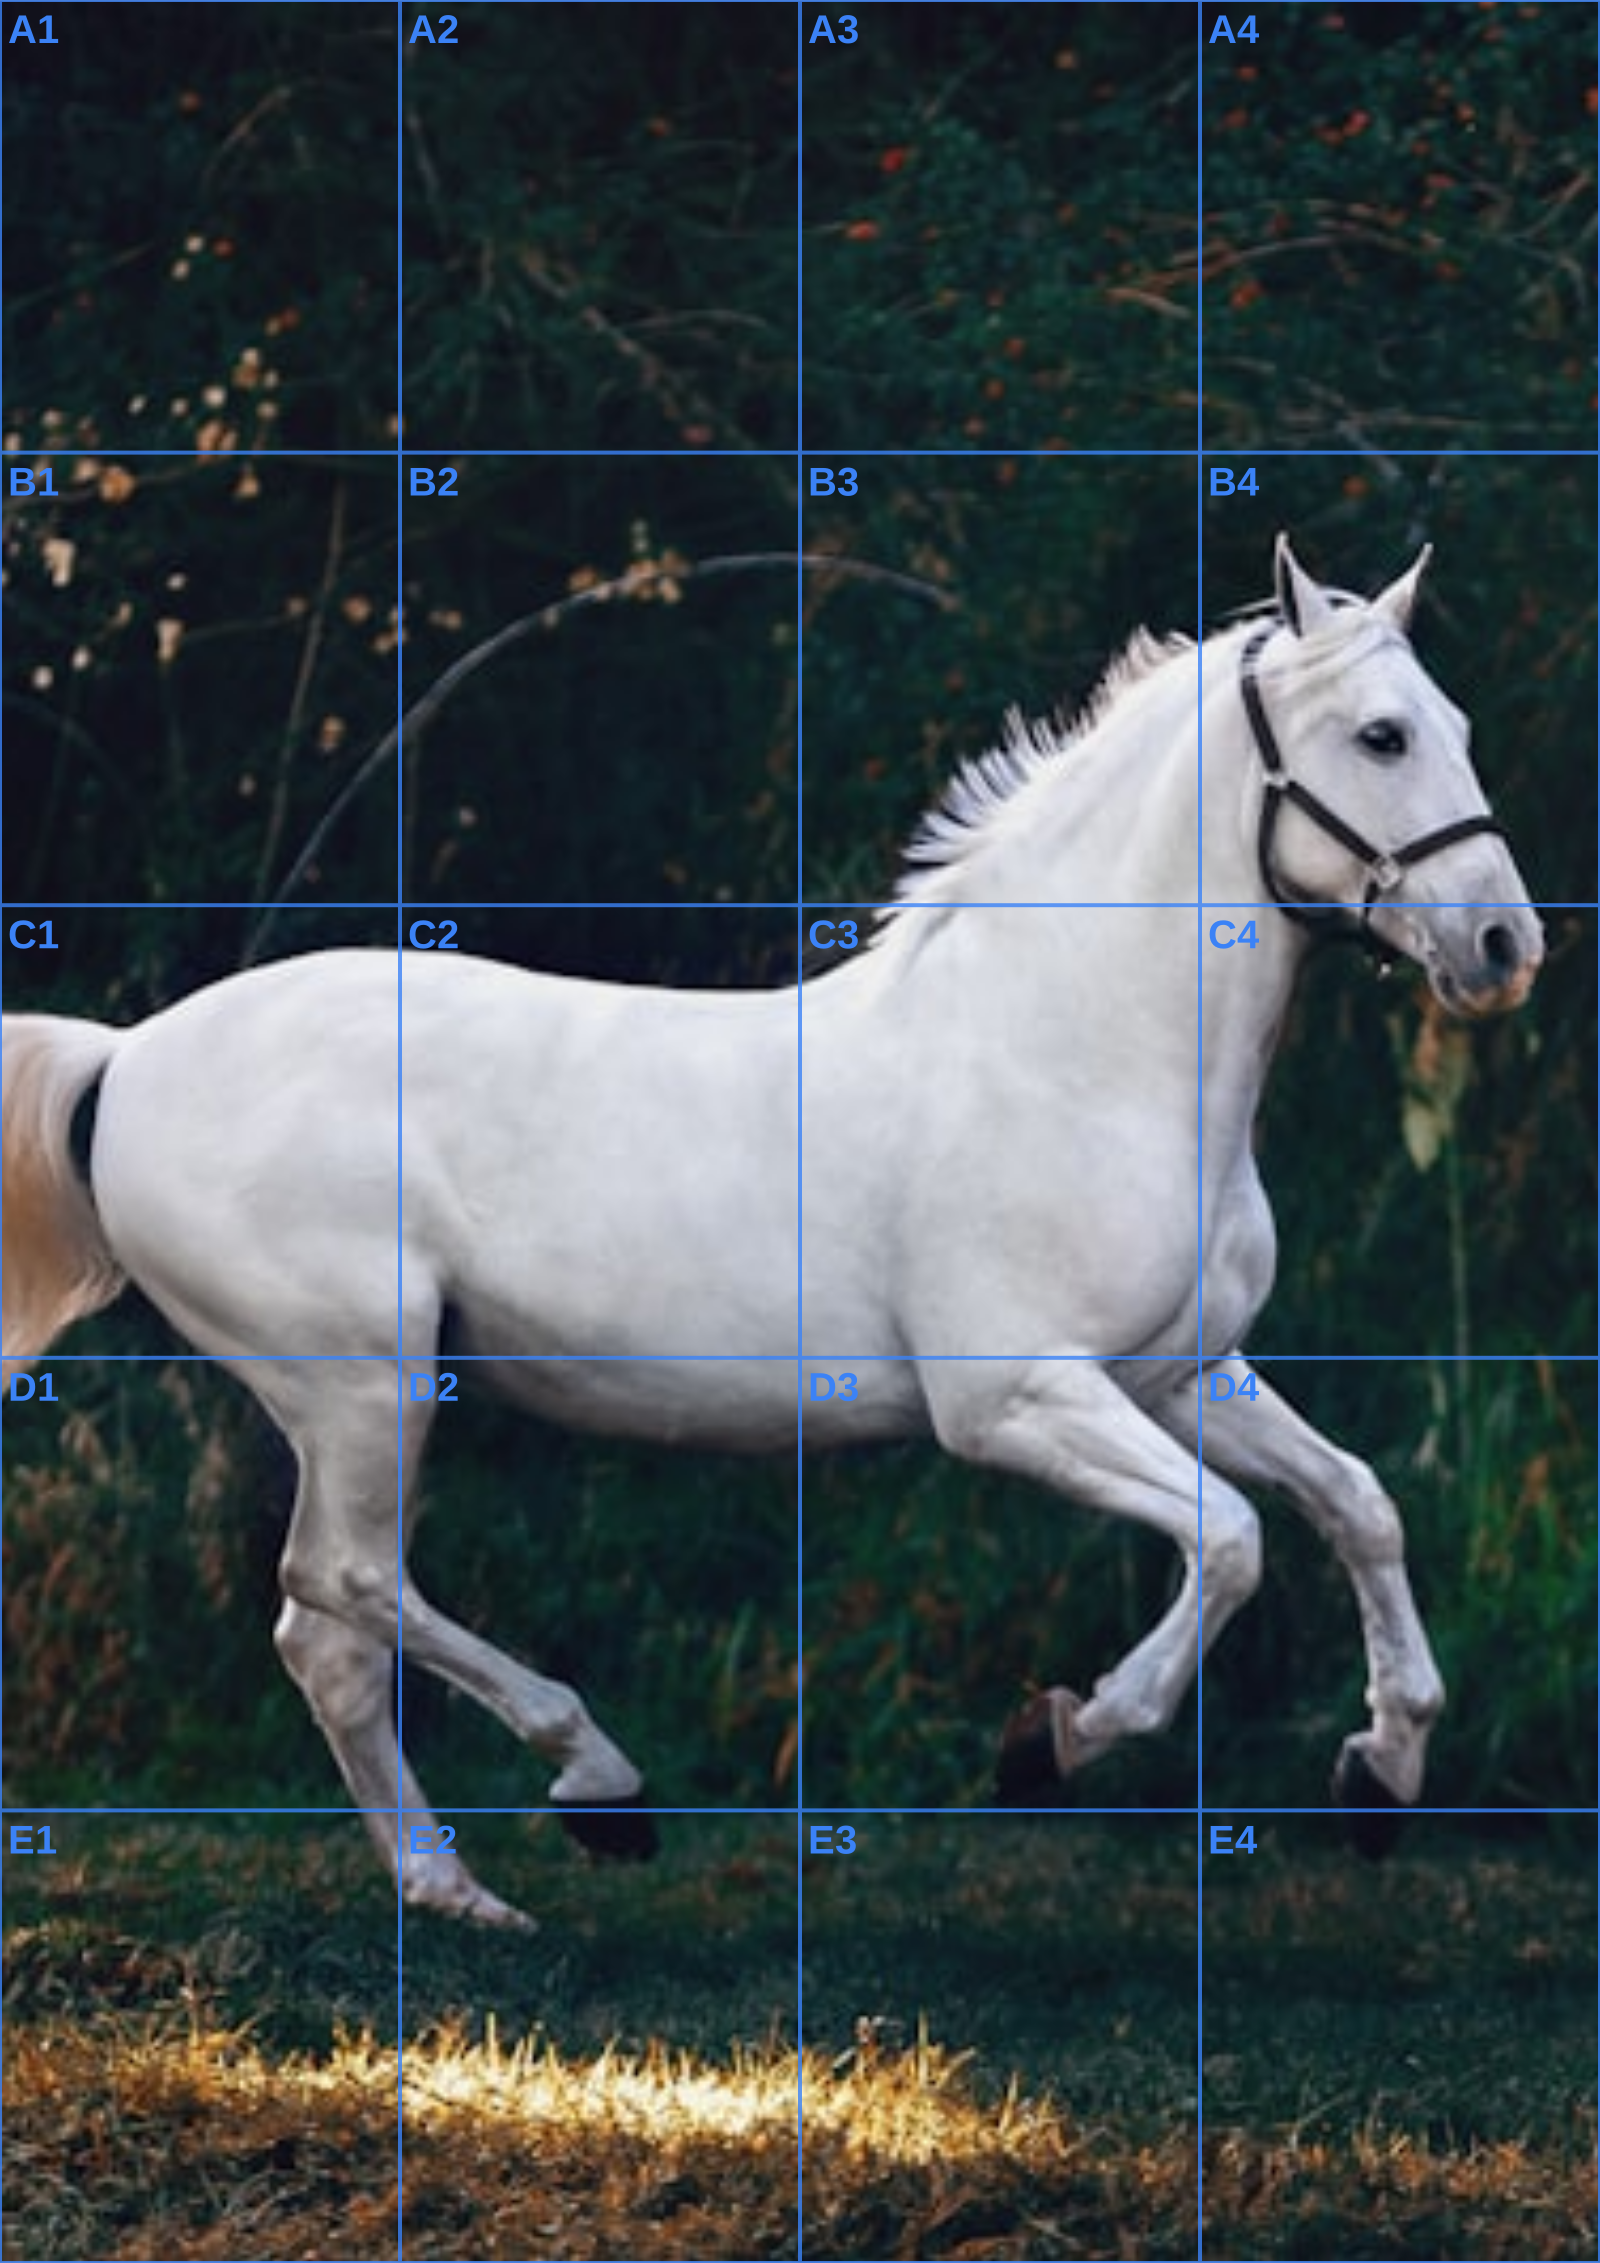
A portrait drawing grid is especially useful because faces are sensitive to small differences in placement. An eye that sits slightly too high, a mouth that is too wide, or a jaw that changes angle can alter a likeness quickly. Dividing a portrait into measured cells gives you a neutral way to compare those features. Rather than drawing an eye from memory, you can observe its height within a row, its distance from the centre, and the shape of the shadow that connects it to the nose. For animal subjects, follow the pet portrait reference workflow to check the ear bases, silhouette and negative spaces before drawing fur.
For a portrait drawing grid, begin with a count that makes the head easy to read. Six to ten rows usually gives enough structure for the brow, nose, mouth, and chin without making every pore a separate problem. Establish the centre line and the widest points of the skull first, then place the large shadow shapes before eyelashes or hair strands. A grayscale reference is often powerful for portraits because value transitions define the planes of the face. Keep the physical grid light enough to erase once the construction is complete.
The tool above lets you make a portrait drawing grid from a JPG, PNG, GIF, or WEBP file without sending the image anywhere. Pin columns, rows, or a cell size, then adjust colour, opacity, width, labels, and tonal mode while watching the Canvas preview. Select a paper size to get one exact square-cell interval for transferring the derived columns and rows to a sheet, then export a PDF that carries the same printing guide. PNG and JPG downloads are convenient for a tablet drawing app. Your portrait reference stays in your browser from upload through export.
Pause regularly to compare the whole head silhouette, tilt, and value balance, not just individual features. A portrait drawing grid identifies where features belong, but likeness depends on their relationships. Use the structure patiently, then let subtle edges and expression take priority during the final stages of the study.
A portrait drawing grid is where the print workflow becomes most concrete. For a head-and-shoulders pet portrait, choose a grid that lets you locate the eye line, nose, ear bases, and lower chest without turning each whisker into a cell. A 10 by 10 or 12 by 12 layout can suit a close crop with dense facial information; use fewer divisions when the animal occupies a smaller part of the photograph. Export the PDF, print it at the stated size with scaling disabled, and check the horizontal and vertical intervals with a ruler before you rule the final paper.
For a human portrait, use the actual head angle in the photograph rather than forcing the face into a generic proportions diagram. Mark the top of the skull, chin, widest cheek points, and a centre axis through the forehead, nose, and chin. In a turned head that axis will not sit halfway between the outer edges. Compare its crossings with the grid before placing either eye.
Locate the inner and outer corners of both eyes, the base of the nose, and the mouth corners as separate reference points. An eye corner might sit one quarter of a cell from the left boundary and halfway below its top; reproduce those fractions in the corresponding destination cell, whatever its physical size. Connect the points only after checking the slope between them. A tilted eye line should stay tilted, and the farther eye in a three-quarter view should follow the photograph rather than an assumed equal width.
Before shading, compare the gaps from each nose wing to the cheek contour and from the lower lip to the chin. Check the negative shape beside the jaw as well as the features themselves. If an eye looks wrong, first inspect the head width and centre axis: shifting one large relationship can correct several features together. Keep the unmarked photograph nearby so grid lines do not hide the expression you are trying to preserve.
A portrait drawing grid has a very specific commission problem to solve: a head-and-shoulders likeness depends on relationships that are only millimetres apart. The eyes, muzzle, ear bases, and tilt of the skull carry recognition before any individual hair is drawn. Choose a crop that gives those features enough room, and ask the client to approve it before a pencil touches the final support. A familiar pet can look unlike itself when the face is correct in detail but compressed by an unplanned frame.
Choose density around facial information rather than choosing the maximum available count. Try ten or twelve columns for a close pet portrait, then let the tool derive the rows to preserve square cells. Check whether that density makes the eye line, nose centre, muzzle width, and lower chest easier to locate. Use fewer divisions when the animal occupies only part of the photograph. Turning whiskers or fur strands into cells makes the image harder to see and does not improve the underlying likeness.
Start the transfer with the head envelope: top of skull, widest cheeks, centre line, and the direction of the neck. Next place shared landmarks across adjacent cells, such as brow to eye, eye to nose bridge, and muzzle to chin. Do not complete the most expressive eye first. It is tempting, but it makes a later correction to the head angle feel like destroying finished work rather than improving the portrait.
For physical paper, rule only inside the approved drawing rectangle. Select the format, export the PDF, and use its millimetre intervals to make matched ticks on opposite edges. Print at actual size with scaling disabled, then measure the first and last intervals with a ruler. A small accumulated error can shift a muzzle or eye perceptibly by the time it reaches the far side of a close portrait.
Use grayscale as a second reading of the face. Value shapes often explain the turning plane around an eye, the bridge of a nose, or the shadow beneath a chin more clearly than colour does. The grid establishes location, while the clean original preserves subtle temperature, fur direction, and expression. Keep both visible during the later stages rather than asking an overlay to do every job.
Build a commission checkpoint after the silhouette and major facial shadows are in place. Step back, cover the grid if it distracts, and compare the outer skull shape, eye spacing, muzzle length, and negative space around the ears. Correcting one larger relationship at this point is far easier than trying to rescue a likeness after eyelashes and whiskers have been rendered.
The source image remains in the browser while you create PNG, JPG, or a print-ready PDF, a useful boundary for personal or memorial pet photographs. Save the unmarked approved crop and the working export with clear names. Once construction has done its work, erase the physical grid lightly and let the portrait read as a living subject rather than a measured diagram.
When the reference is a close likeness, the portrait drawing grid guide covers facial landmarks; for the measured transfer itself, use the grid method walkthrough.
Continue the workflow
See Also
- grid method
Open a related guide when facial placement gives way to a broader drawing decision.
- photo into grid
Open a related guide when facial placement gives way to a broader drawing decision.
- grid drawing
Open a related guide when facial placement gives way to a broader drawing decision.
Questions answered
portrait drawing grid FAQ
What grid size is good for a portrait drawing grid?+
Try six to ten rows first, then add divisions only if you need more help locating facial features.
Should I use labels for a face drawing?+
Labels are useful for checking or discussing a feature at a precise location, but they can be turned off for a cleaner reference.
Can grayscale help a portrait?+
Yes. It clarifies the light and shadow planes that describe the form of the face.