For commissioned artists
A practical guide to grid drawing
Grid drawing is a practical way to slow down and see proportions before a line becomes permanent. A reference may contain hundreds of marks, but each grid cell asks a smaller question: where does this edge enter, where does it leave, and how much empty space surrounds it? That focus is especially helpful when copying a photograph to a larger sheet or learning to draw faces. The grid is not a shortcut around observation; it is a measuring framework that makes observation easier to repeat.
For a grid drawing, match the shape of your paper to the reference before you count squares. If the photograph is wide and your page is tall, cropping or changing the layout first prevents stretched results. Then rule the same number of rows and columns on both. Transfer large landmarks before details: the top of the head, the horizon, the widest shadow, or the angle of a shoulder. Cell labels can make critique calmer, because feedback can point to one place without redrawing an entire area.
This tool creates the reference overlay locally and offers a grayscale version when colour is competing with values. Set the line opacity low for a subtle guide or use a stronger line when the print will be copied by a class. The selected paper format calculates the distance between grid lines in millimetres, so the digital reference and physical sheet agree. Export a PNG for Procreate or another drawing app, a JPG for sharing, or a PDF with the printing guide. Your source stays on your device throughout the grid drawing process.
For practice, try completing only a few connected cells in one sitting and reviewing their alignment before continuing. This keeps grid drawing from becoming a race to fill squares. Over time, you will notice which proportions you can judge without help and which relationships deserve a slower second look.
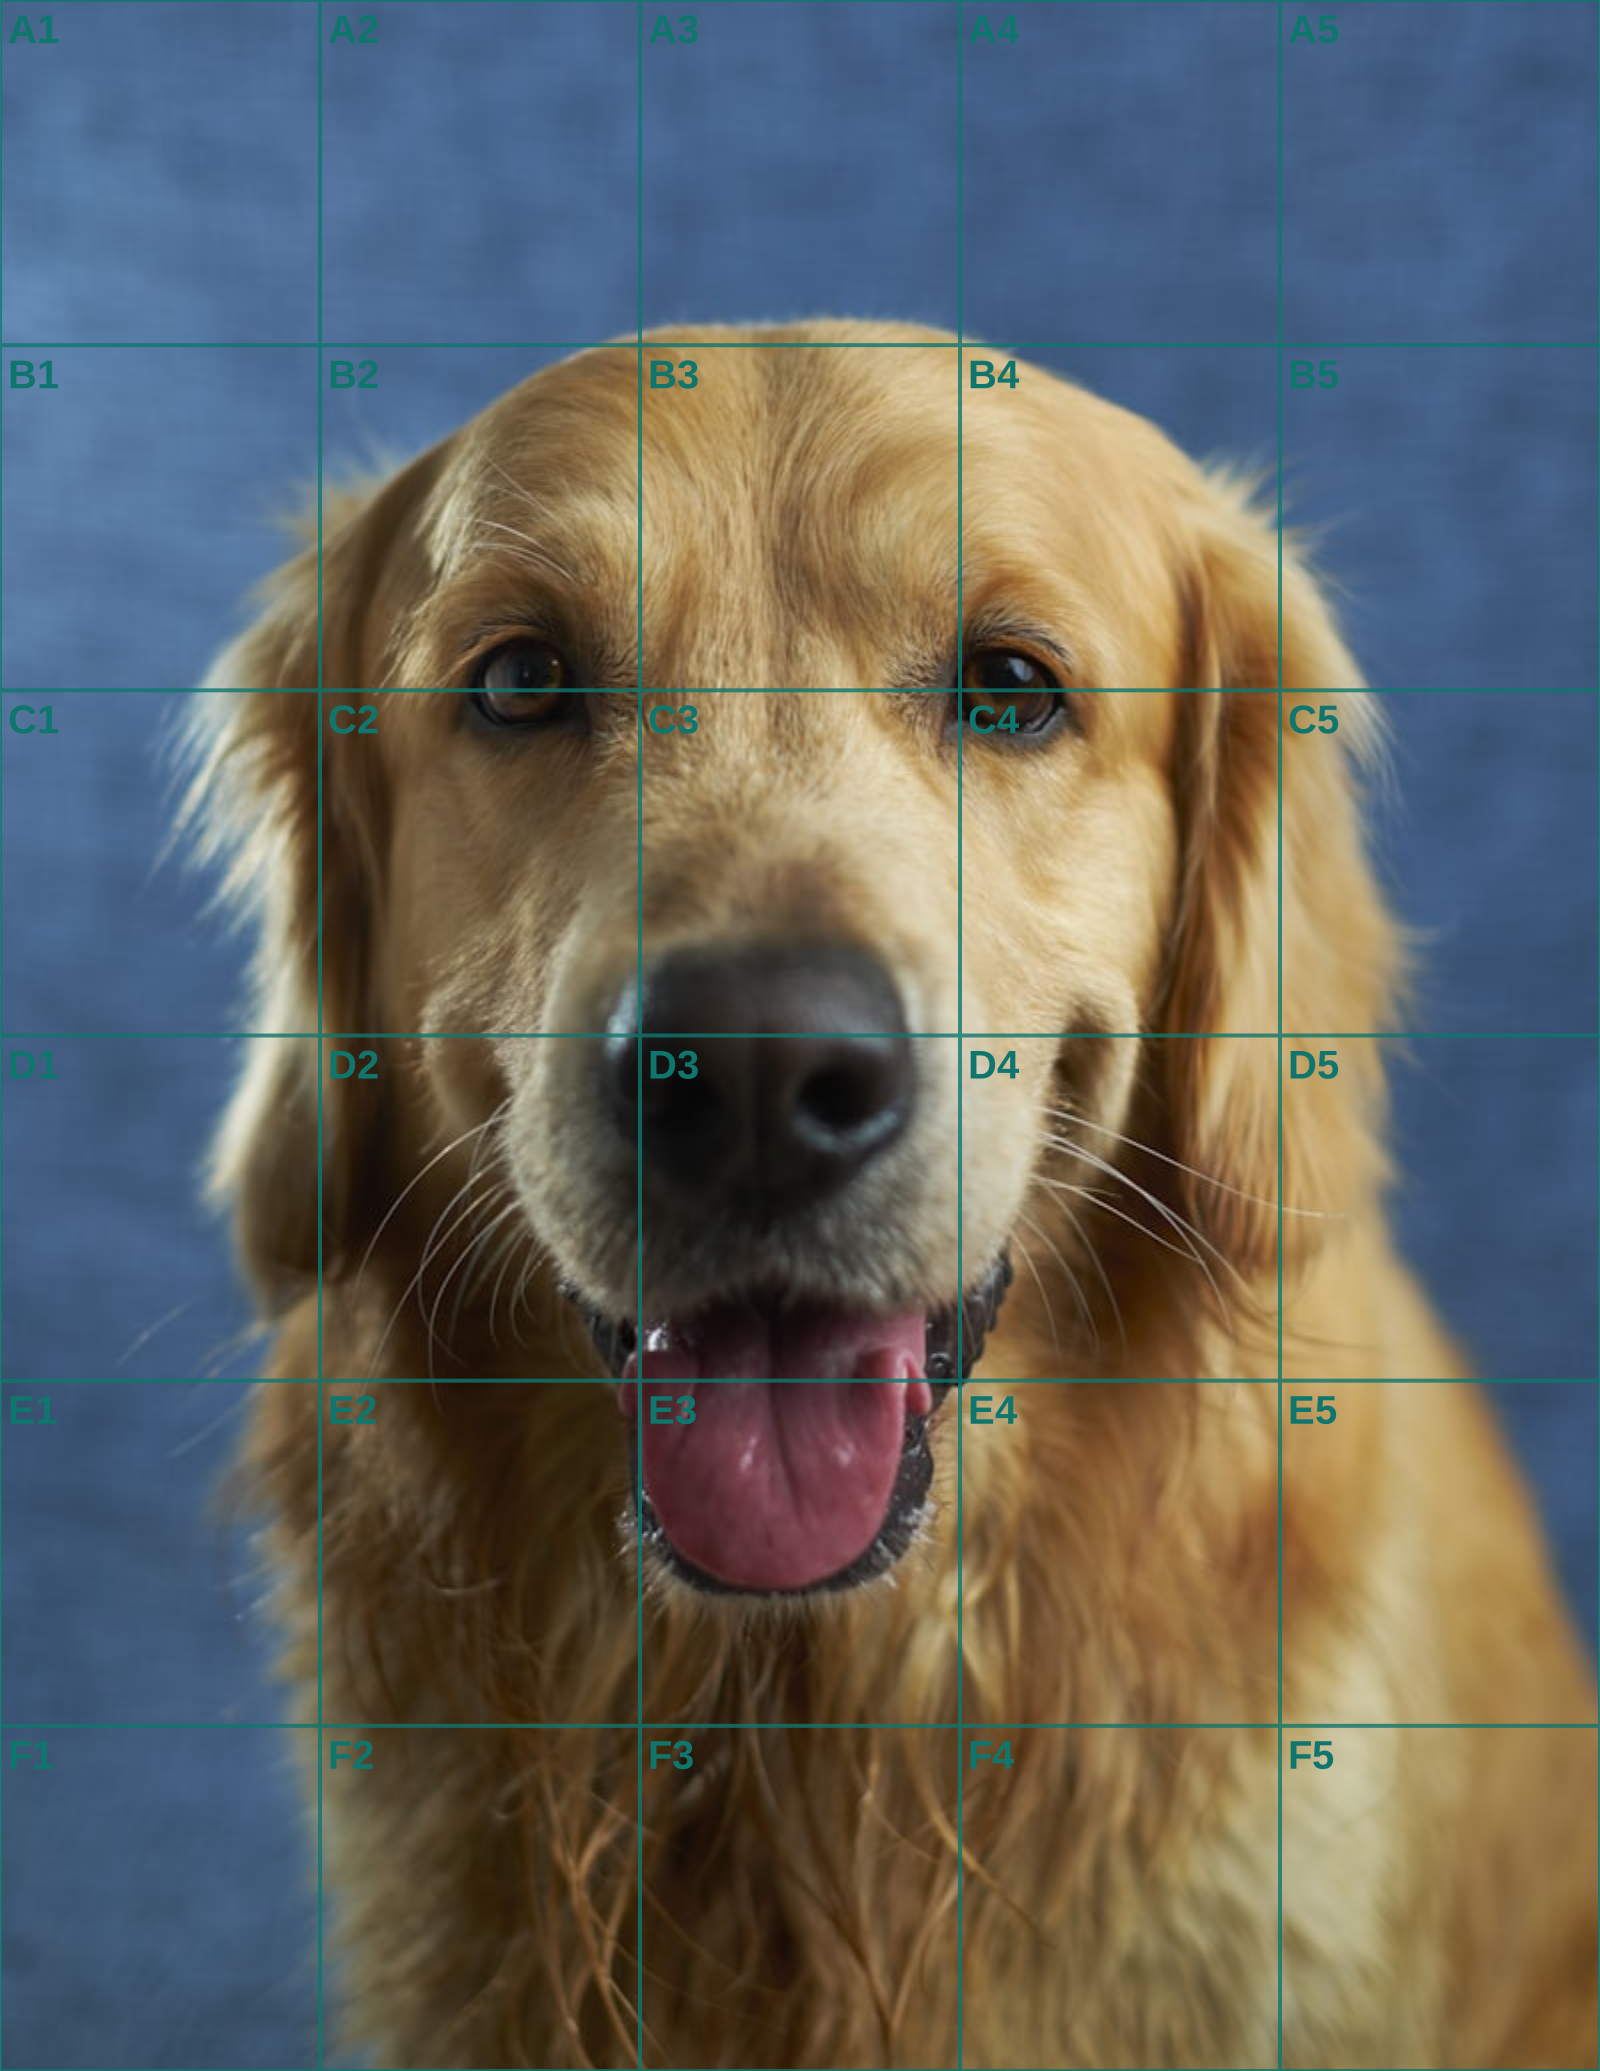
For commissioned grid drawing, make a two-minute proof before beginning the final sheet. Mark the outer rectangle, the centre vertical, and four crossings that describe the pet: the highest ear tip, the nose centre, the lowest chest edge, and the tail’s widest turn. If those marks agree with the printed reference, the rest of the drawing has a trustworthy scaffold. If they do not, erase now. Correcting a one-cell shift after fur texture and whiskers are present wastes both paper and the client’s deadline.
Commissioned grid drawing benefits from a proof that is small enough to correct without drama. Before starting the final sheet, plot the outer border, a centre line, and four unmistakable landmarks from the approved pet photograph. An ear tip, nose centre, lowest chest point, and tail bend make a better proof than a detailed patch of fur. If those marks land convincingly, the rest of the drawing has a reliable framework.
Choose the sheet orientation after looking at the pose rather than after choosing a standard frame. A reclining animal may need a landscape rectangle and breathing room ahead of the face; a sitting animal can often use a vertical support. Once that rectangle is agreed, crop the digital reference to it and preserve a clean copy. Measuring from one crop while drawing for another is a surprisingly easy way to make a paid piece feel subtly wrong.
For grid drawing on smooth paper, make perimeter ticks first and connect them only after opposite edges agree. A hard pencil makes removable construction lines, while a non-photo blue pencil can suit a workflow that will be scanned. The PDF's stated millimetres are useful because you can verify the ruler work before the drawing begins. Disable fit-to-page printing; the printed grid must represent the same interval you will reproduce.
Start with connected territory, not with the photogenic feature. Map the head mass into the neck, then the neck into the chest, or follow the back through the haunch to the paws. Completing a glossy eye first feels productive but can make it difficult to move the whole skull when later comparisons reveal a tilt. The grid drawing sequence should protect the large relationships while they are still cheap to change.
After a short block-in, place the drawing and reference side by side at arm's length. Compare the spaces between the body and the border as carefully as the body itself. A triangular gap beneath a chin or a strip of background beside a foreleg is easier to measure than familiar anatomy. Correct the first divergent crossing, then recheck the adjoining cells instead of redrawing completed areas on instinct.
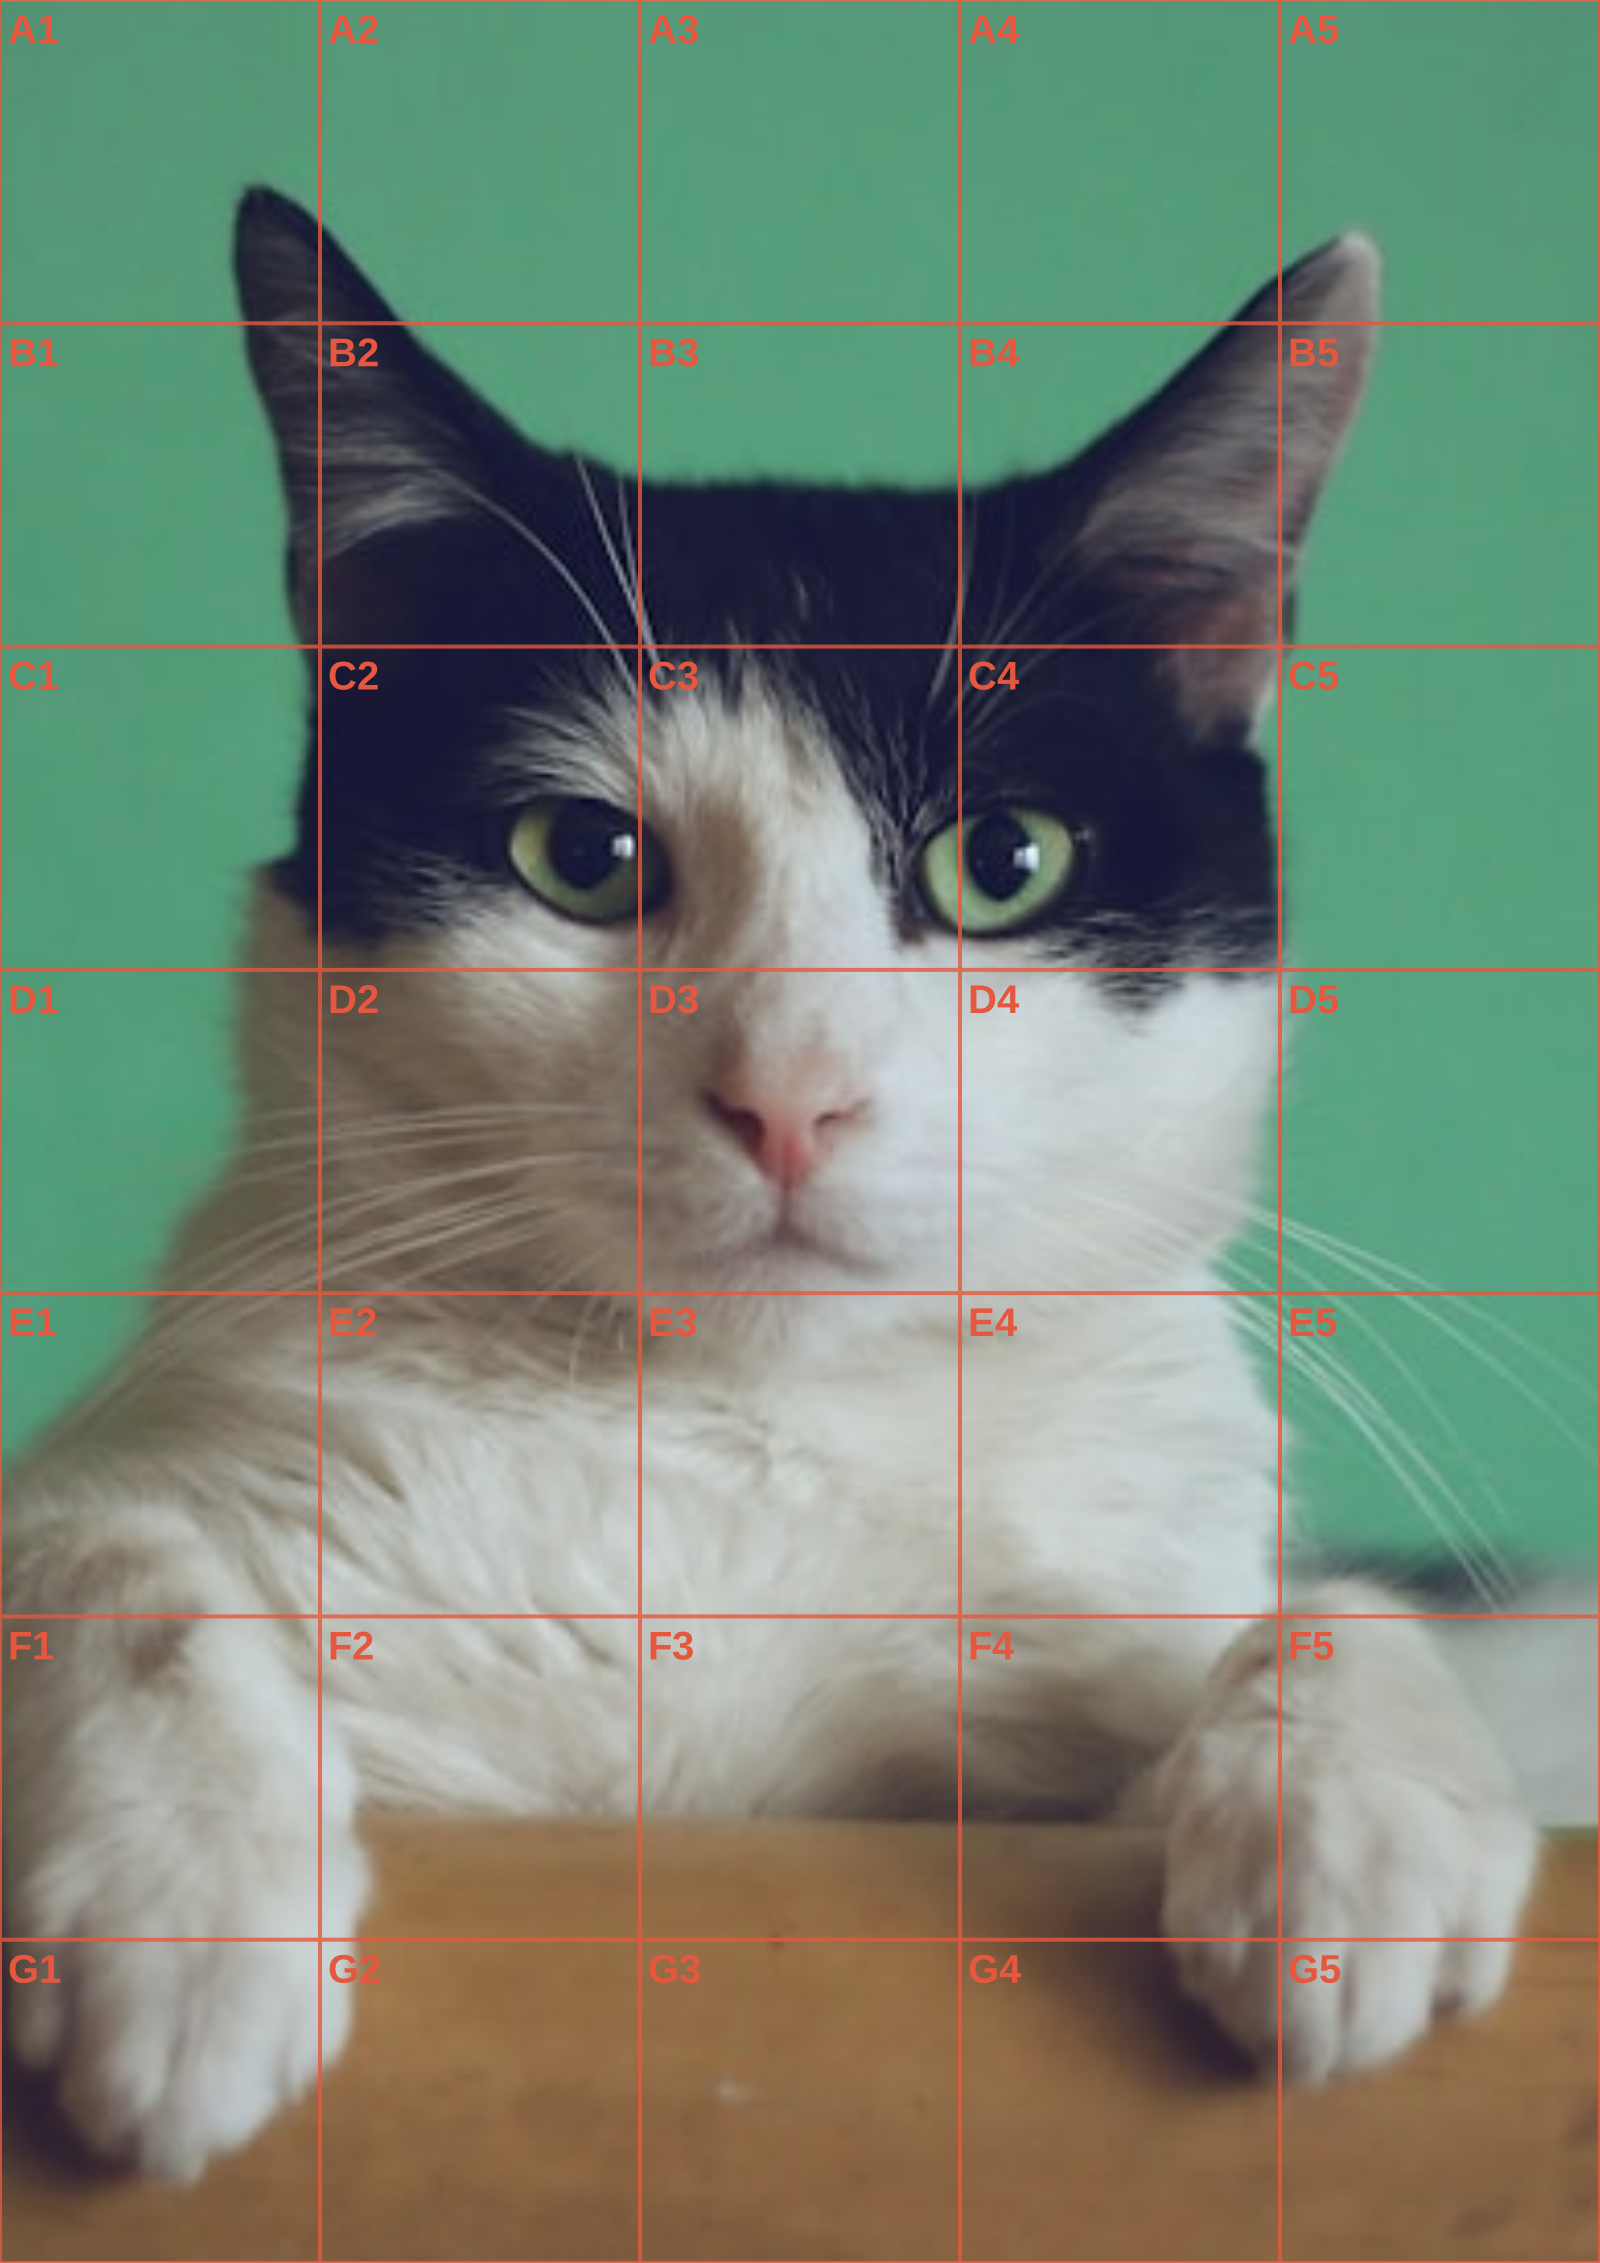
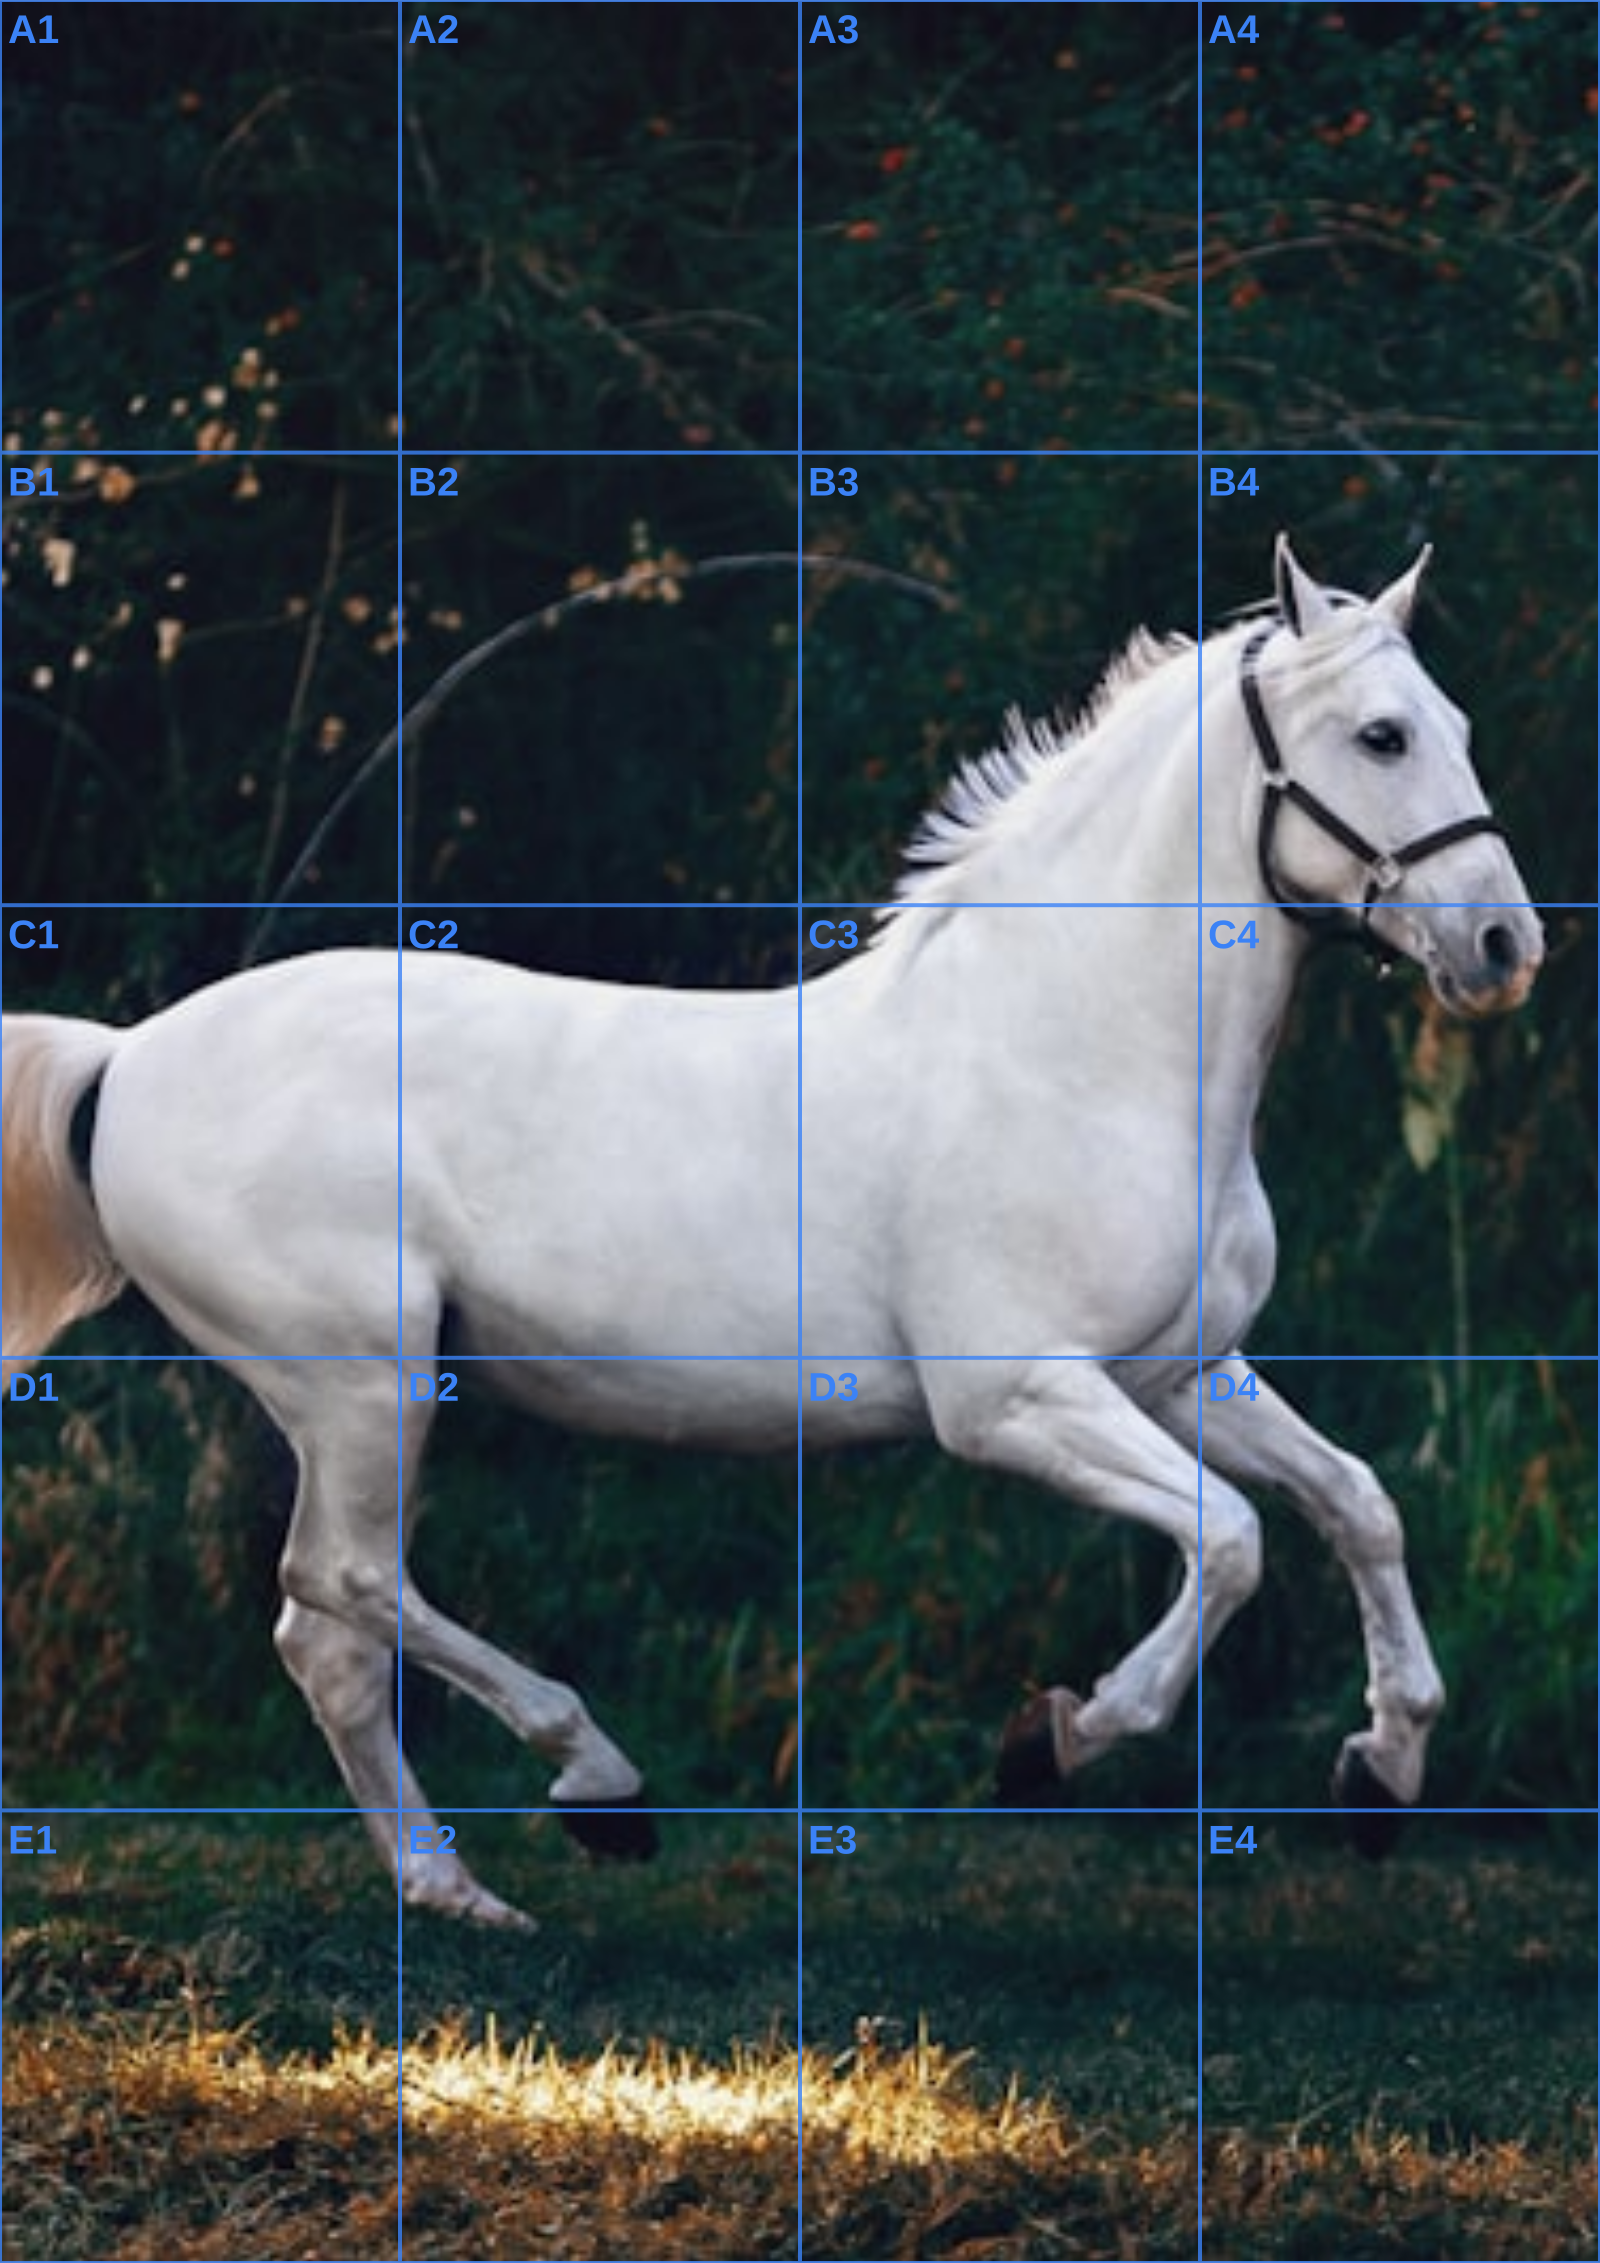
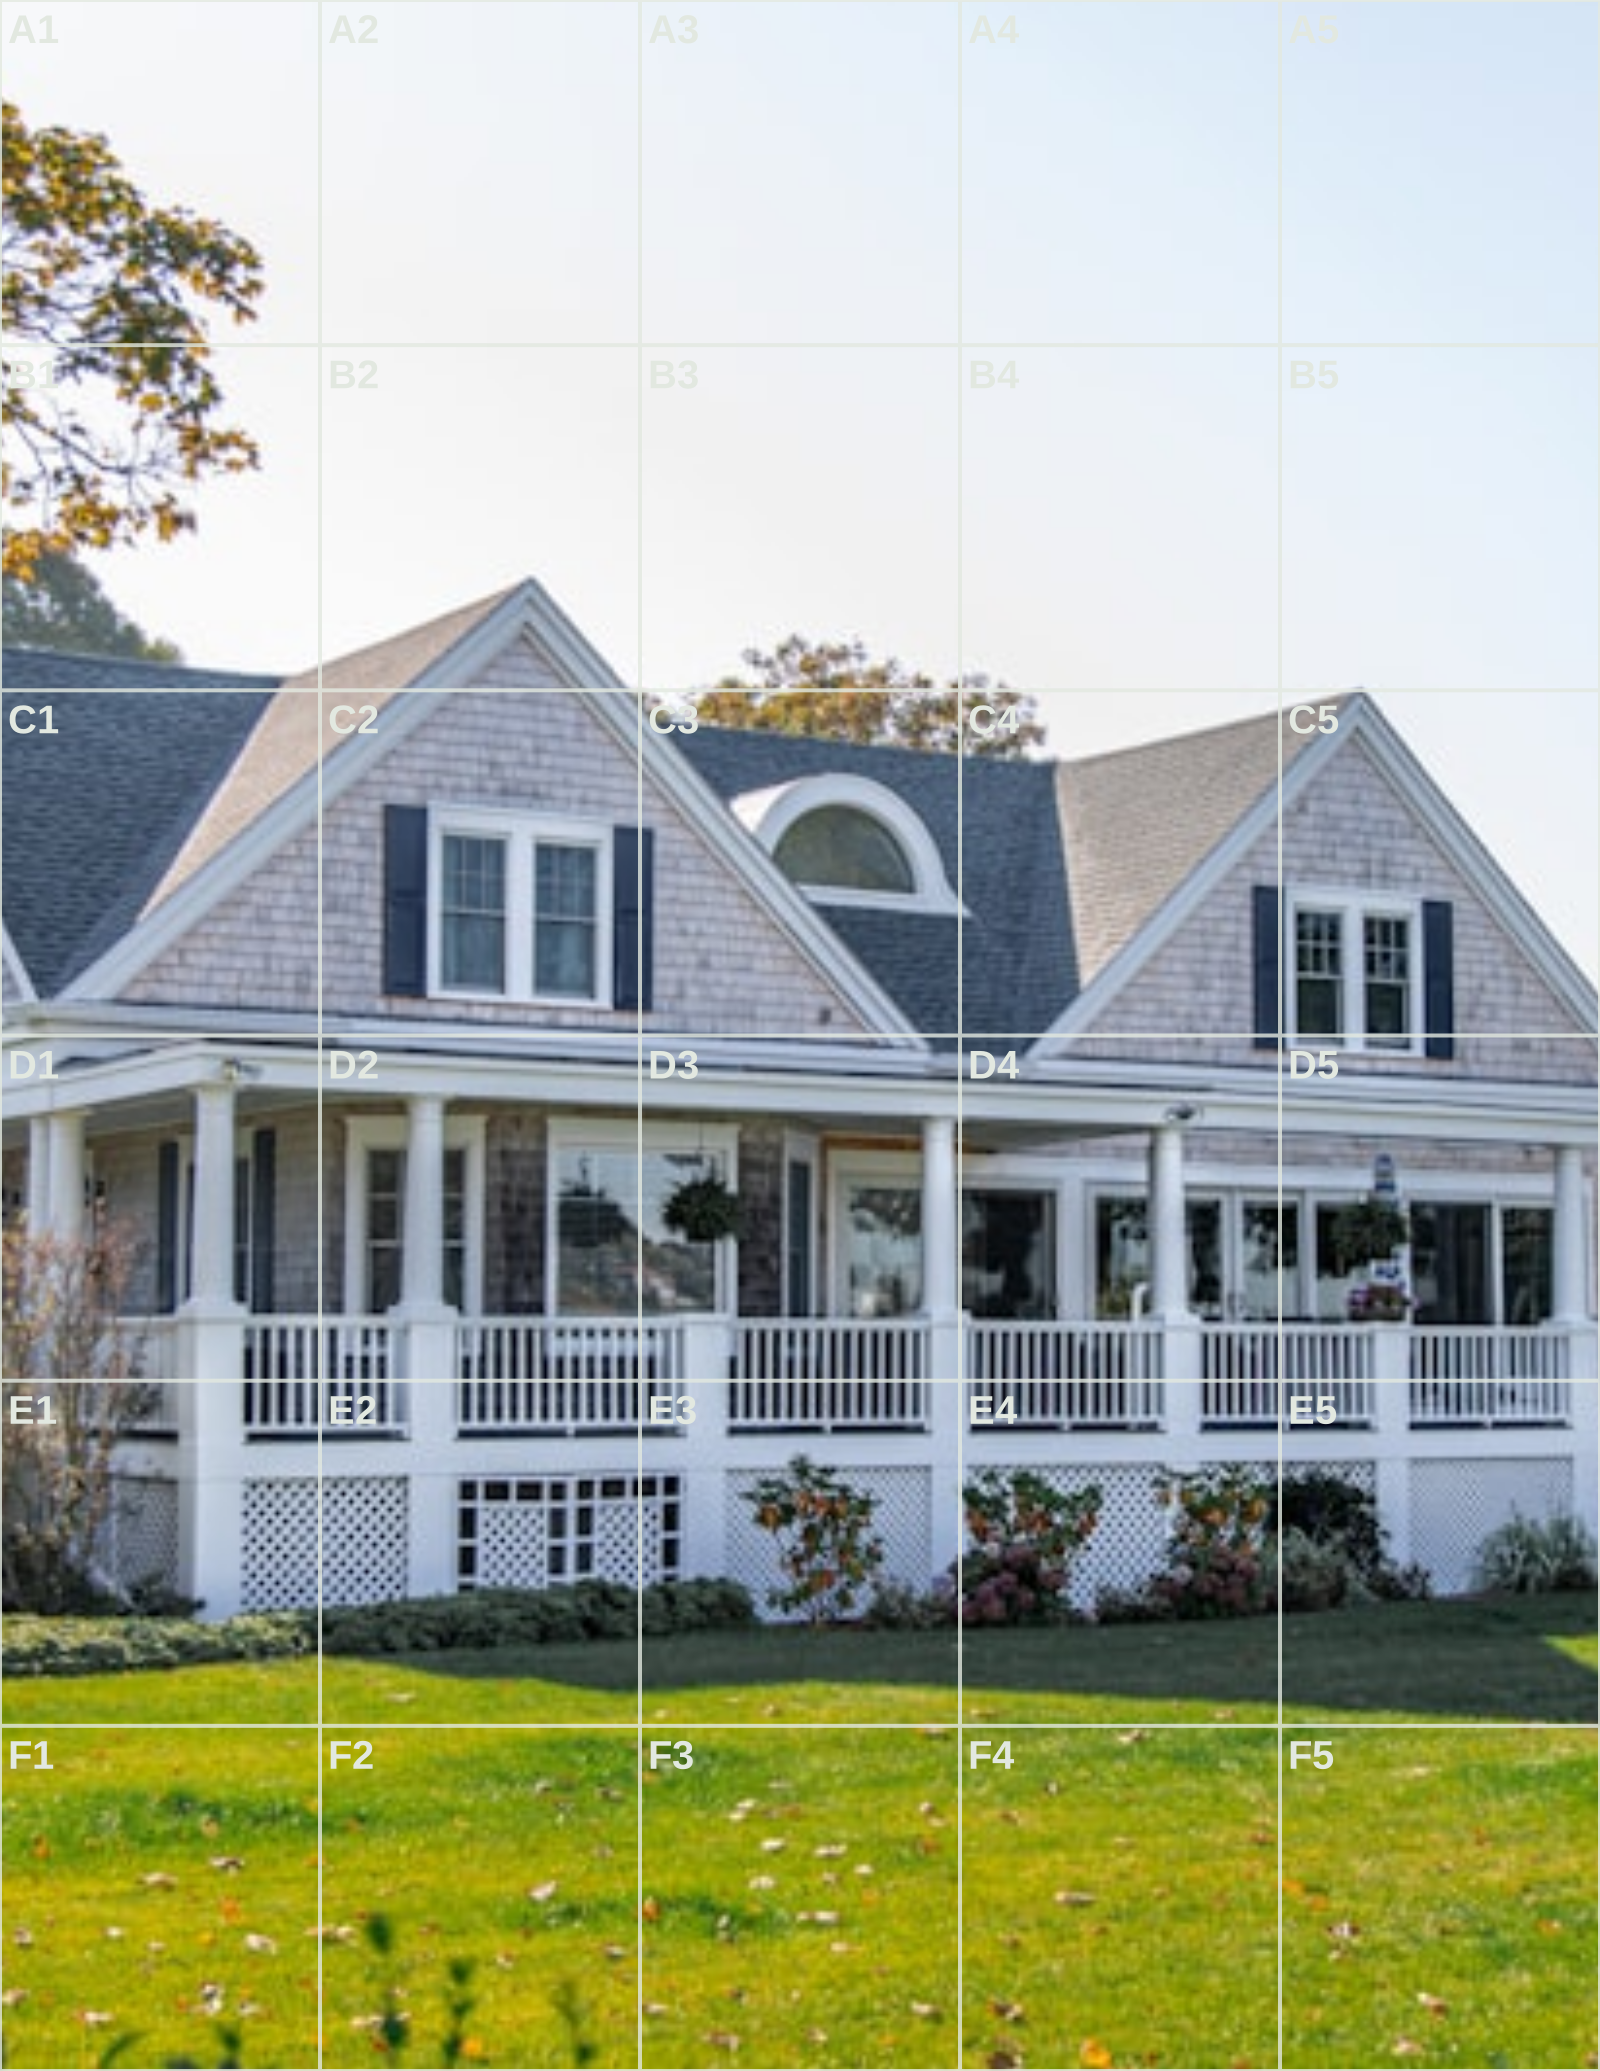
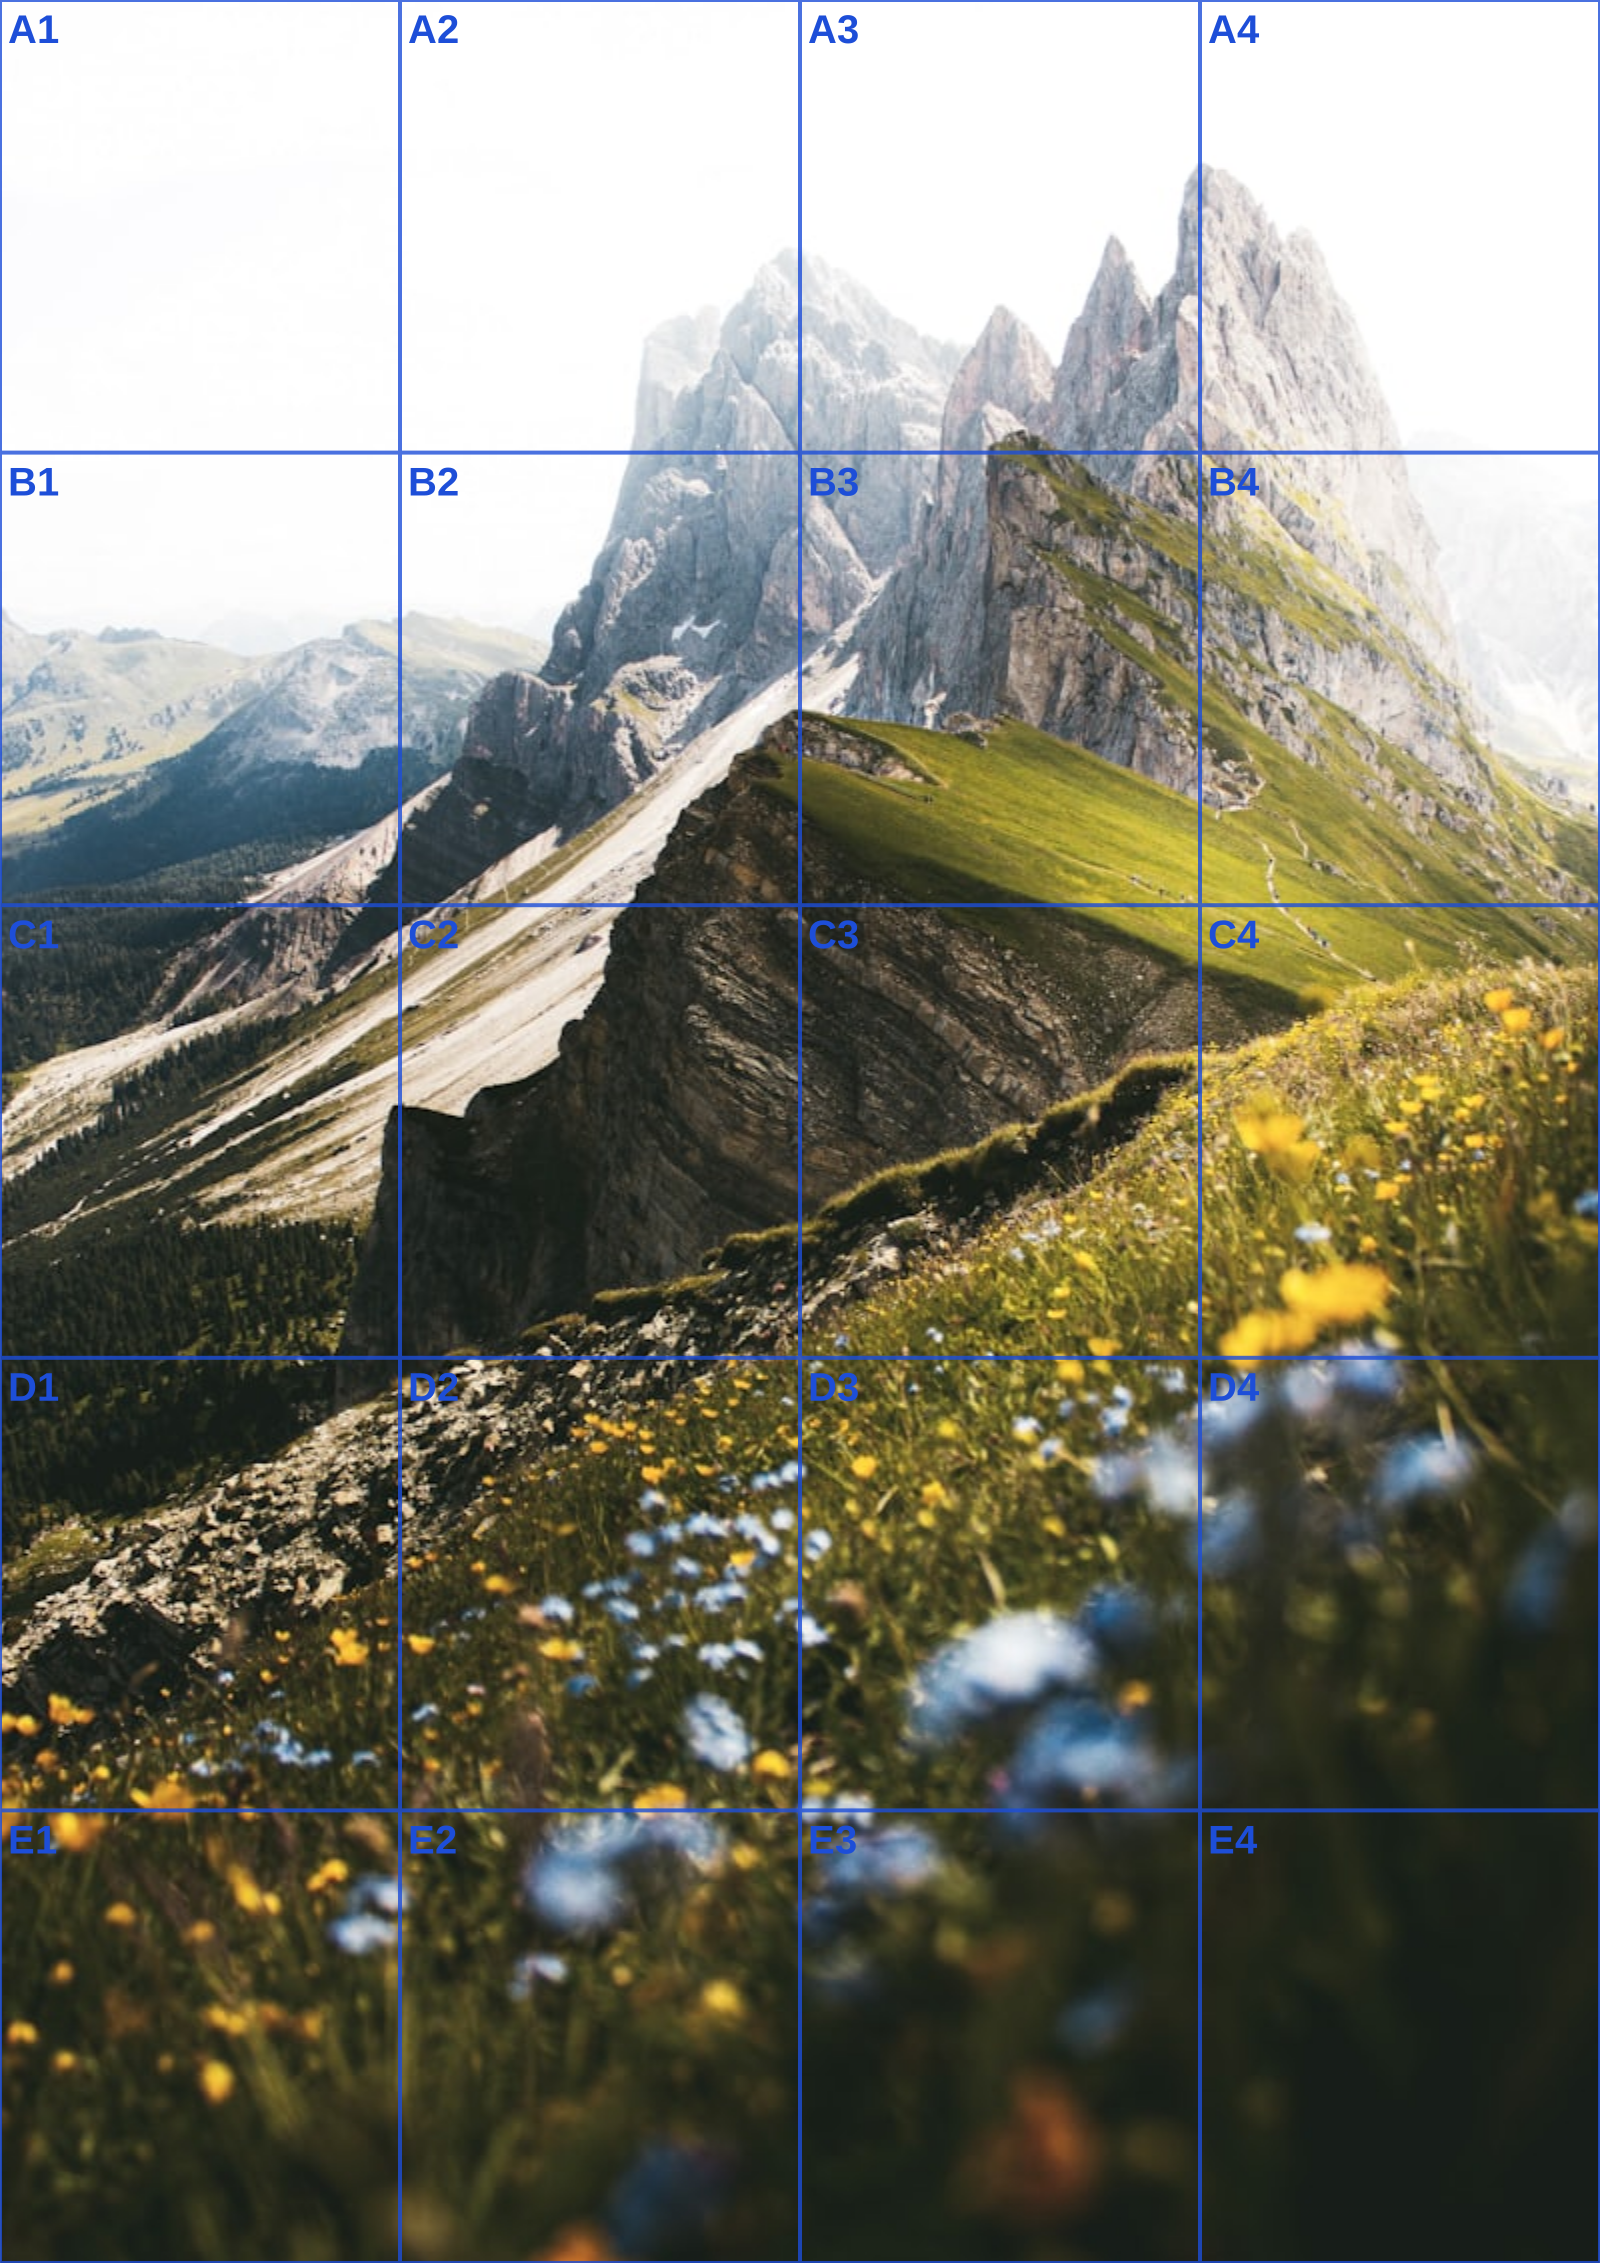
Use labels only when they help communication. A studio assistant can be asked to review C4 or E6, and an instructor can leave a focused note without marking across the whole sheet. For a solo commission, an unlabeled, low-opacity reference may be calmer. The exported PNG or JPG can live next to a tablet canvas, while the PDF preserves the print dimensions for physical work.
Before delivery, look at the drawing without the grid visible. The customer will see the pose, scale, and character before they see your construction method. That last pass is where you can soften an edge, rebalance a shadow, or correct a silhouette that was technically measured but visually stiff.
When the reference is a close likeness, the portrait drawing grid guide covers facial landmarks; for the measured transfer itself, use the grid method walkthrough.
Continue the workflow
See Also
- grid method
Choose a related guide for the next stage of this measured drawing session.
- drawing grid maker
Choose a related guide for the next stage of this measured drawing session.
- portrait drawing grid
Choose a related guide for the next stage of this measured drawing session.
- grid image
Choose a related guide for the next stage of this measured drawing session.
- art grid
Choose a related guide for the next stage of this measured drawing session.
Questions answered
grid drawing FAQ
Is grid drawing suitable for beginners?+
Yes. It breaks proportion into smaller comparisons while still requiring you to observe and place each mark.
Should the grid be drawn over the final artwork?+
Usually no. Draw the grid lightly on a separate sheet or erase it after the main proportions are established.
Why use grayscale for a grid drawing?+
Grayscale reduces colour distractions and makes it easier to compare light, midtone, and dark value groups.
Real output
See the grid before you make one
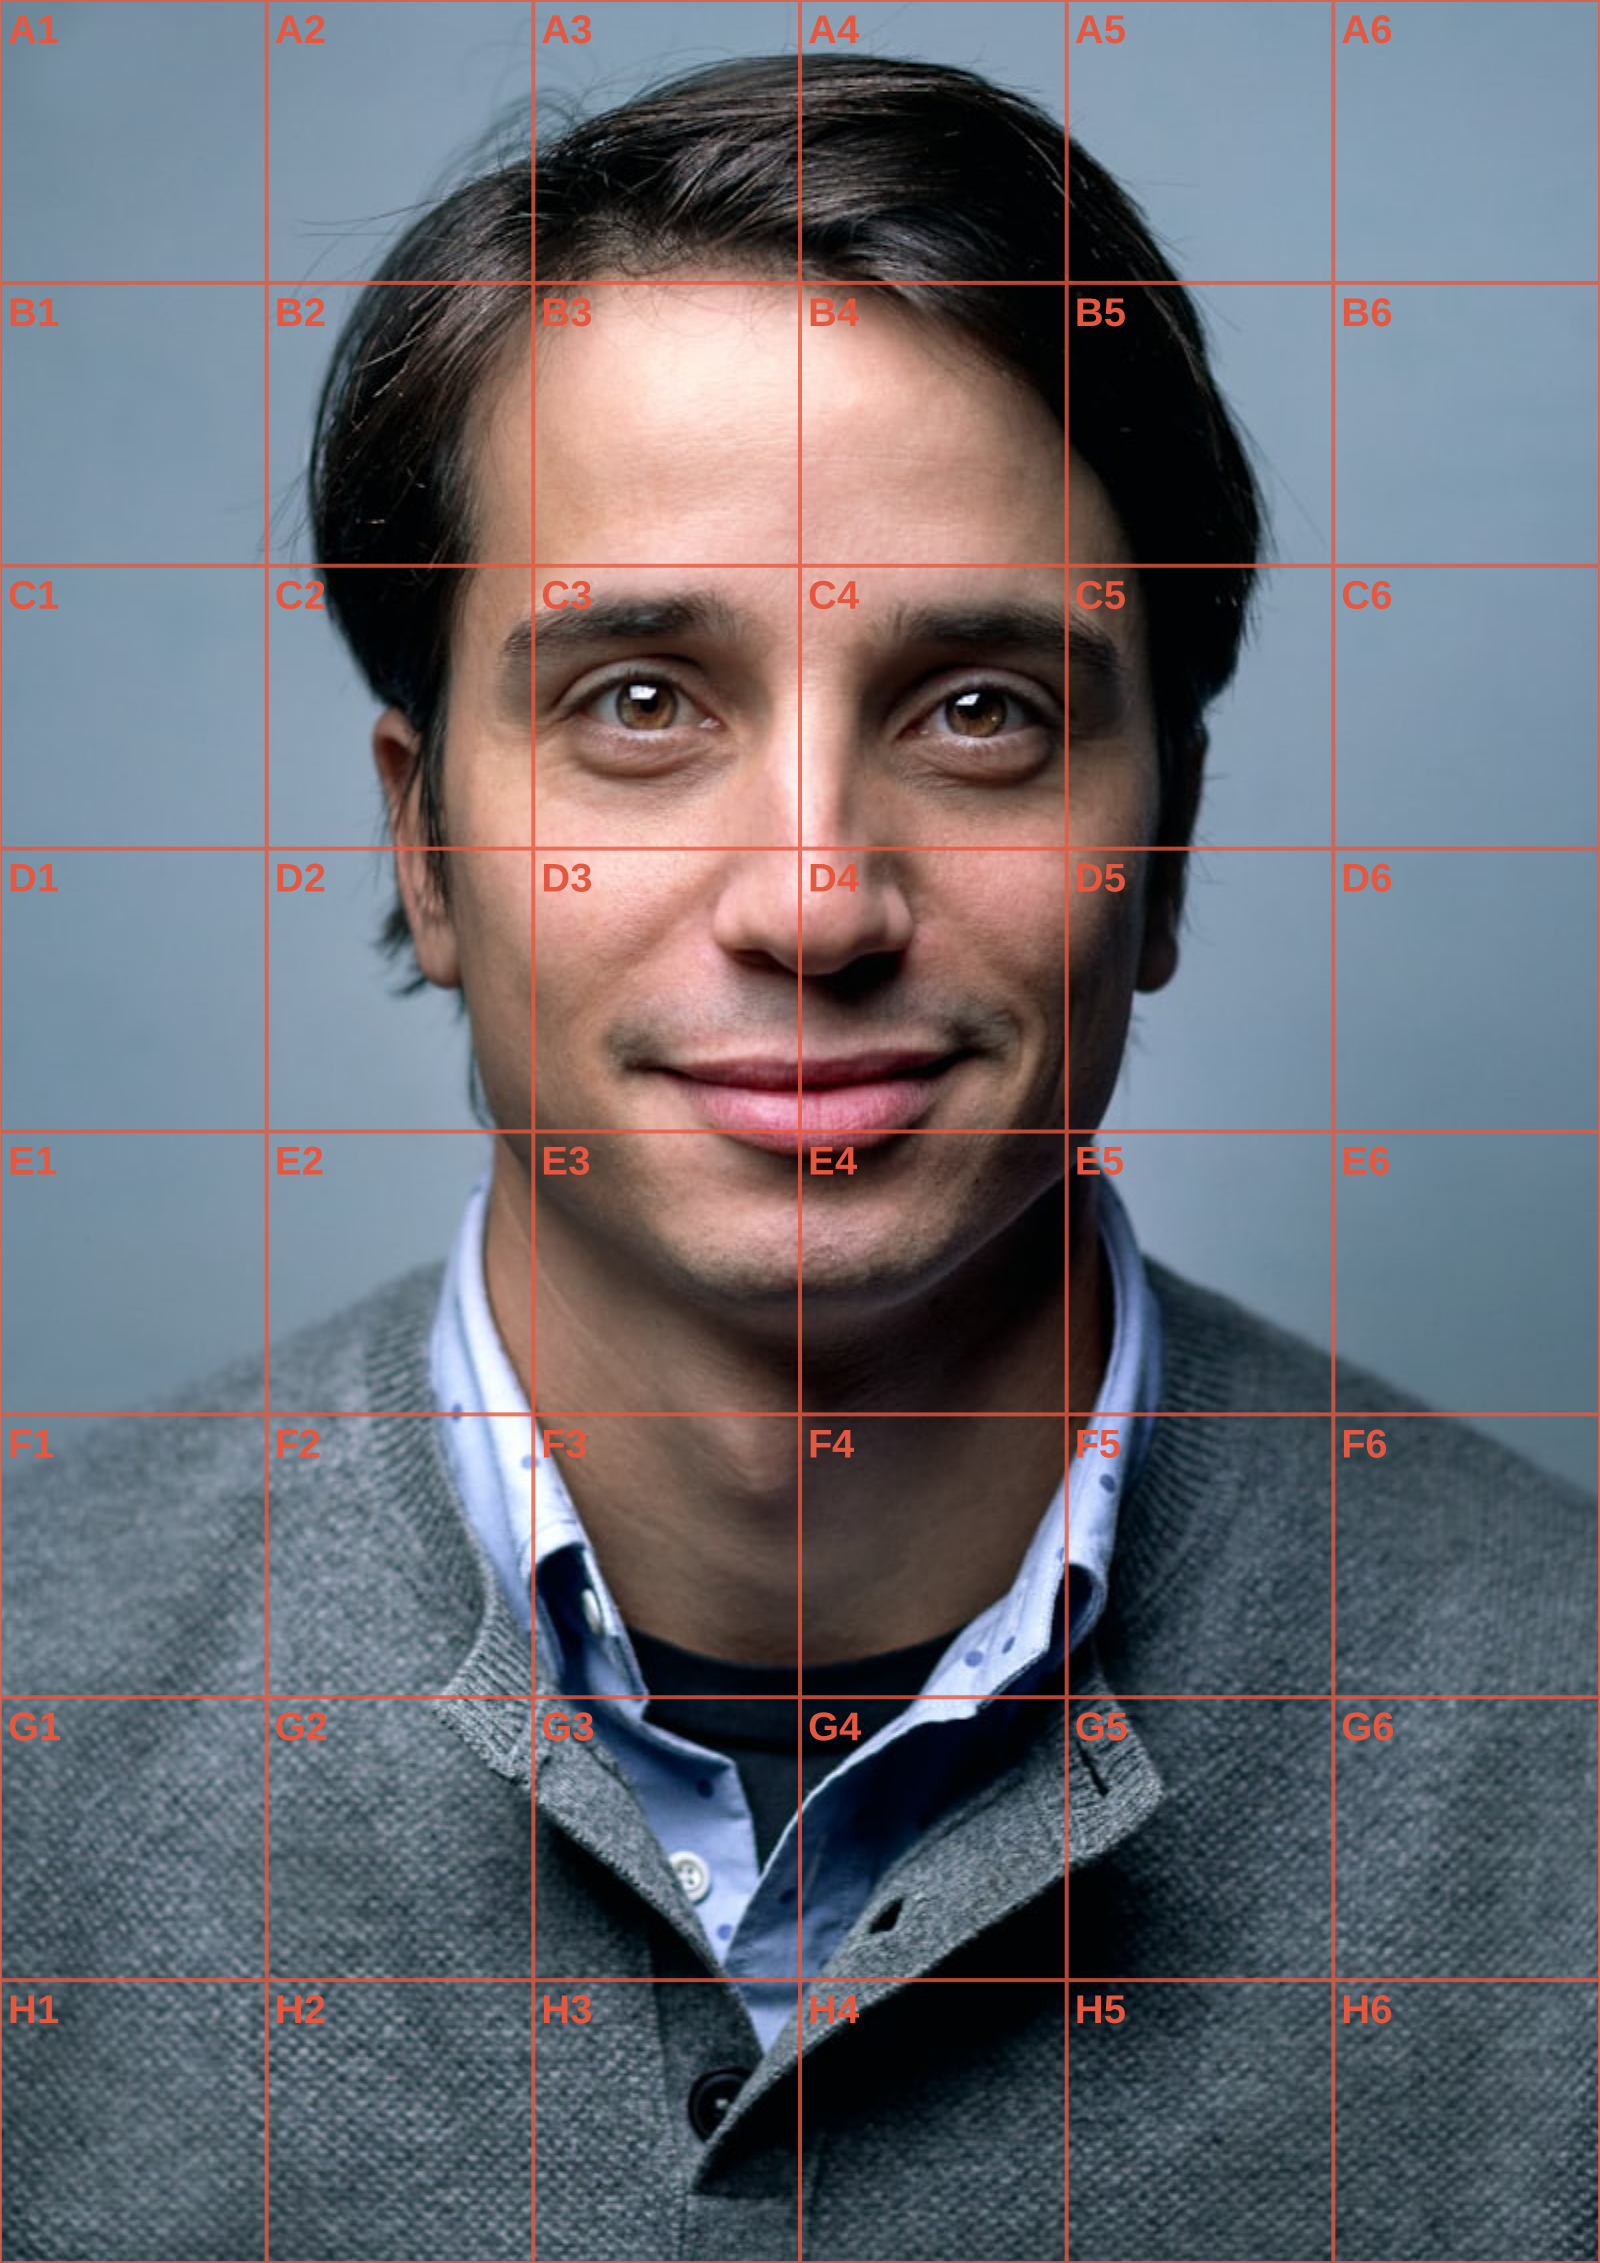
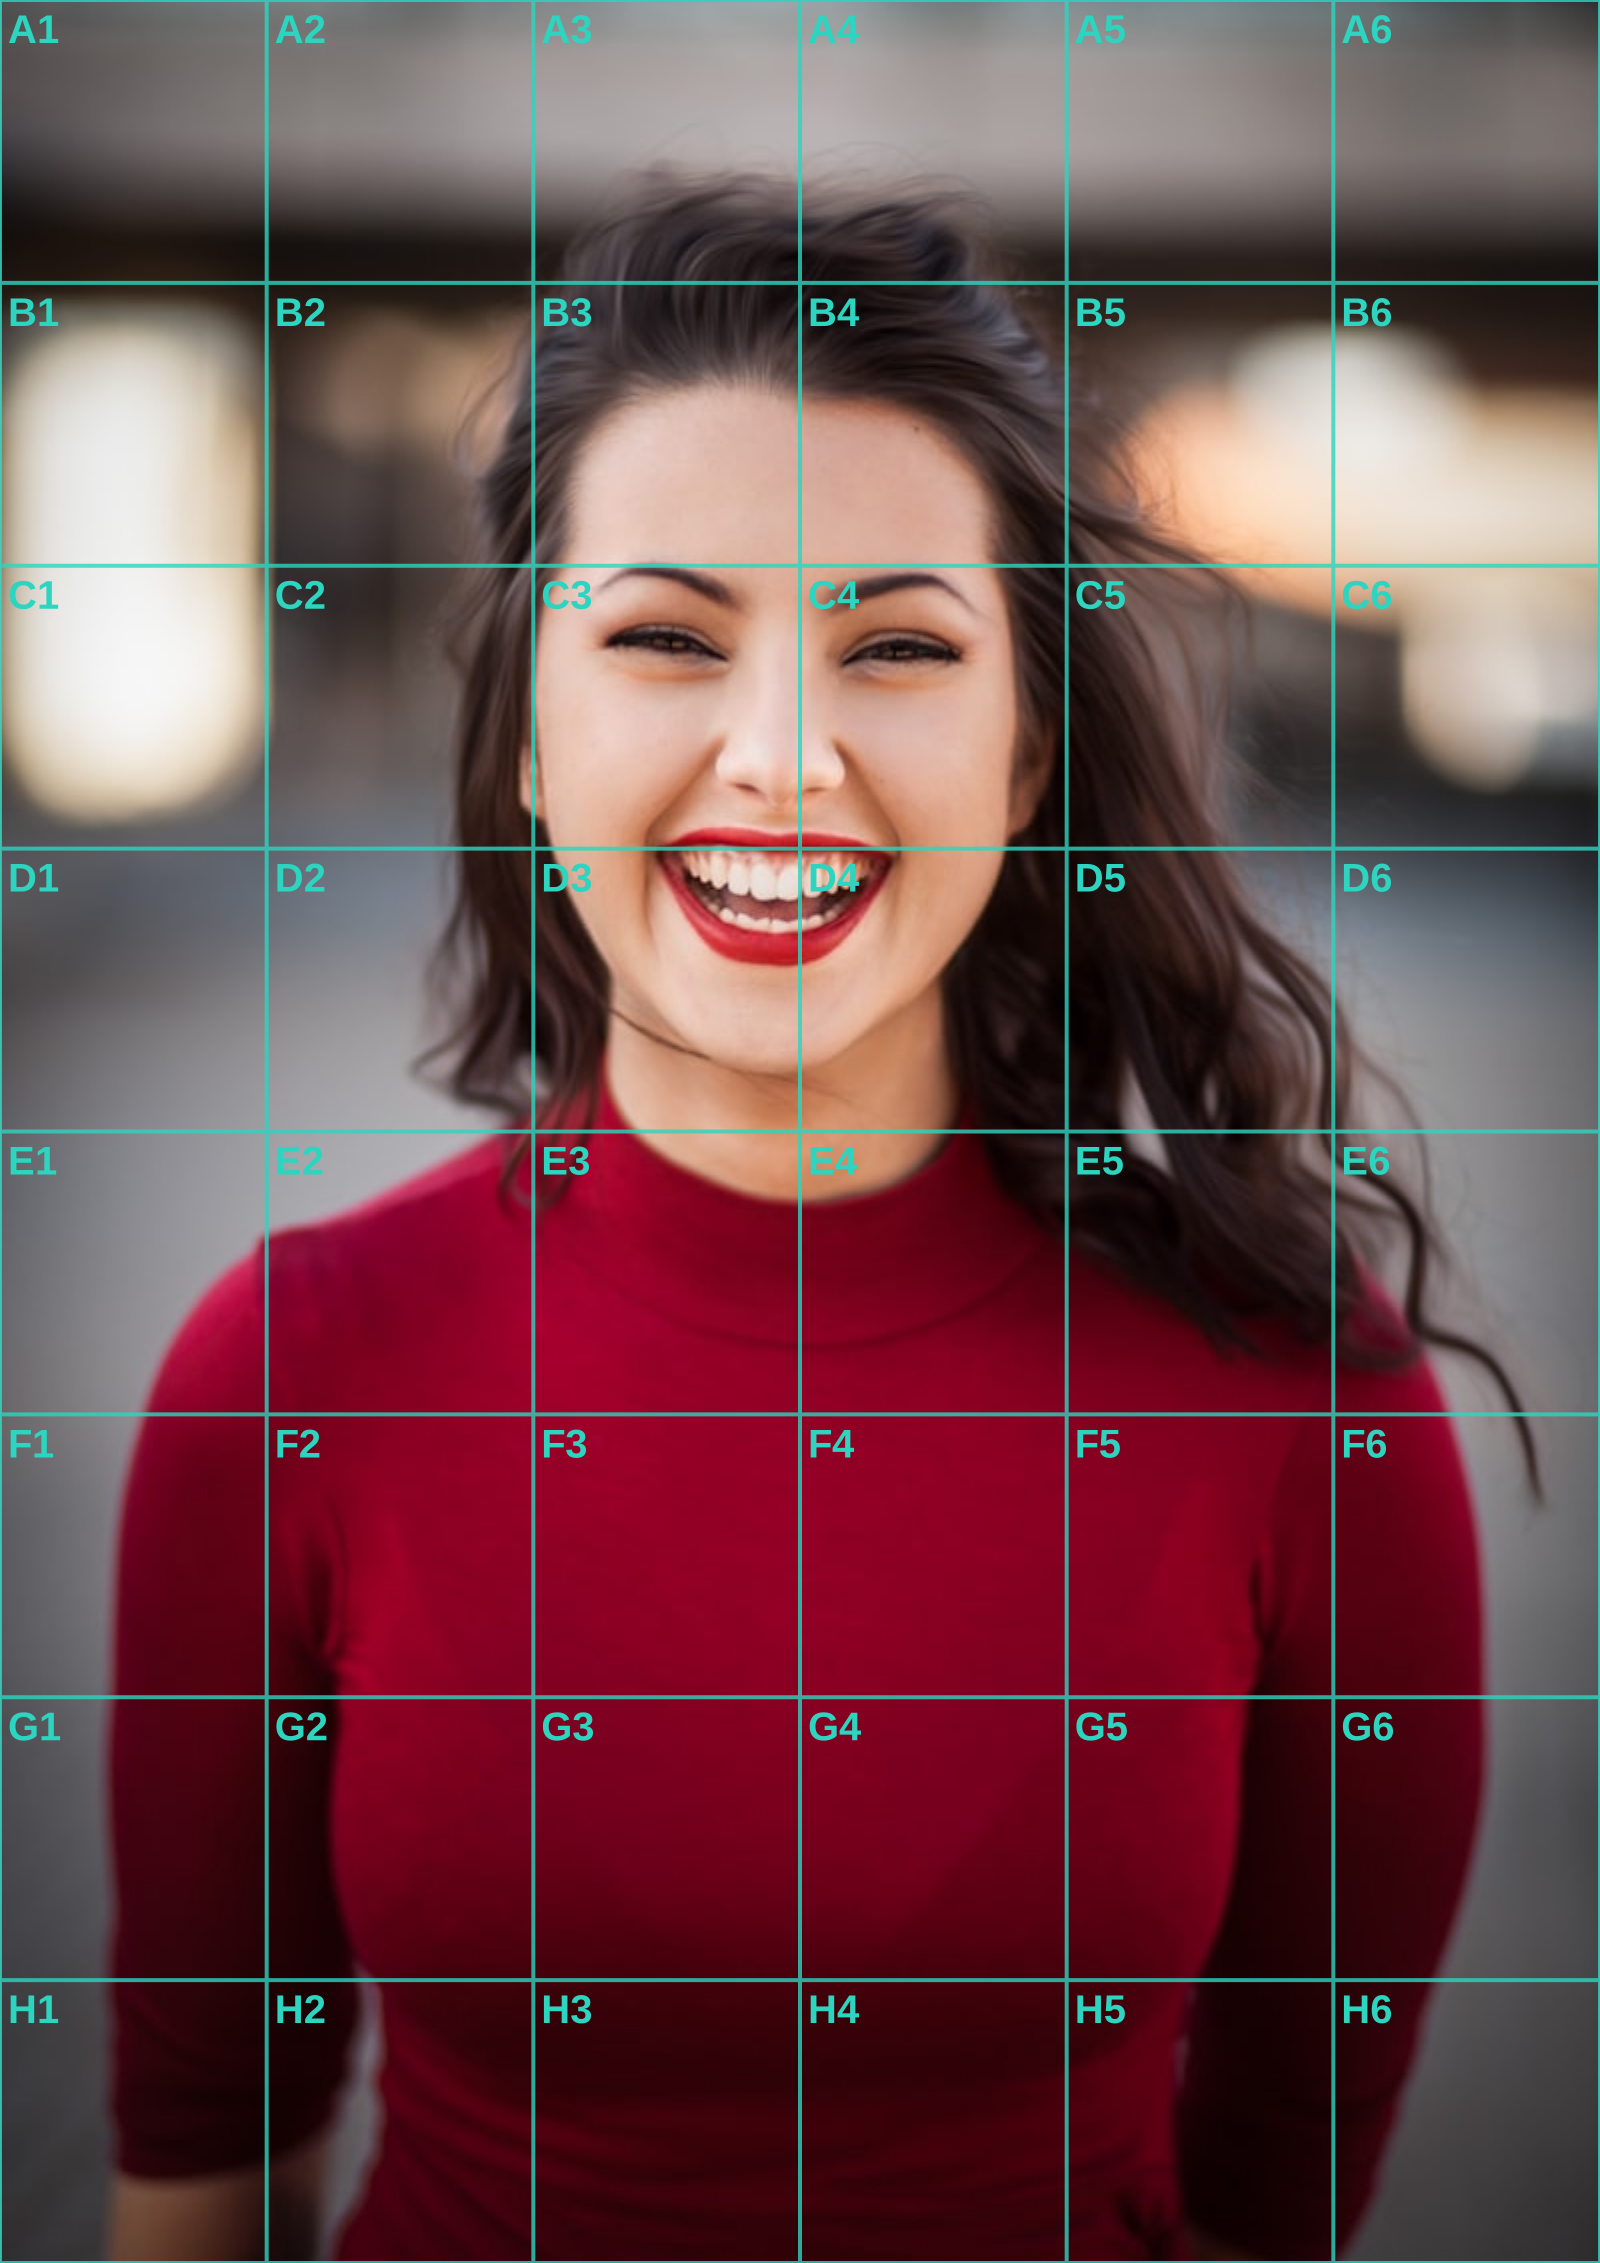
Three references run through this tool at different settings. The measurements are the spacing you would rule on paper at that size, so you can check them against a ruler after printing.