For commissioned artists
A practical guide to art grid maker
An art grid maker is a useful bridge between an image and a blank support. It gives the reference a stable set of divisions so you can focus on accurate relationships rather than trying to capture everything at once. A curve can be located by its distance from a cell edge; a shadow can be compared with the empty space beside it. These small measurements accumulate into a drawing that feels more convincing, while the final style still comes from your choices of line, tone, and material.
Make the grid serve the subject. Select a broad layout for bold shapes or a finer layout for an image with small landmarks. Avoid choosing the maximum number by default: too many cells encourage copying fragments instead of noticing the larger rhythm of the composition. When enlarging, retain the same count and simply make every ruled cell larger on the target. Use a ruler and the paper spacing shown above to keep the physical grid consistent. A grayscale view is a helpful checkpoint if the image’s colours make its light-dark organisation difficult to see.
The art grid maker operates entirely on the current device. Once you select a supported image file, the browser Canvas handles the grid and all subsequent exports. The tool offers line colour, opacity, width, cell labels, fit, and paper controls in one panel, so the preview is always close to the decision you are making. Download PNG or JPG for a screen-based workflow, or a print-ready PDF that includes a direct guide for drawing the correct millimetre intervals. There is no account and no remote image library to maintain.
Try using the grid as a short warm-up: identify the lightest cell, darkest cell, strongest diagonal, and largest empty shape before making marks. Those observations help across pencil, paint, ink, and pixels. The art grid maker offers a framework while the choices about emphasis remain entirely yours.
An art grid maker should protect the source photograph as well as the drawing. Client photos can be personal, sometimes showing a home, child, or memorial pet alongside the subject. This tool processes the file in the browser, so no image is sent to an ArtGrid server. Keep your own original and the approved crop locally, export the print reference, and remove the working copy according to the privacy practice you have promised the client. Privacy is a workflow boundary, not a marketing claim about magic encryption.
An art grid maker should protect a client's source photograph as carefully as it protects proportions. Commission images may show a home, a child, or a memorial pet in addition to the intended subject. This tool draws its overlay in the browser, so the file is not sent to an ArtGrid server. Keep the original and the approved crop in your own studio records, then remove temporary working copies according to the privacy practice you have promised.
Privacy does not eliminate the need for file discipline. Make one clean, approved crop and one separate gridded export. The unmarked image remains the authority for colour, soft edges, and expression; the grid supplies location. Naming those files with the subject and support size makes it far less likely that an older crop will slip into a new stage of the commission.
Decide the final rectangle with the customer before ruling anything. A phone photograph may be three-by-two while the commissioned support is square or four-by-five. Preserve proportion within a border when necessary rather than stretching the animal to fill paper. A quick crop proof can settle whether ears, paws, or meaningful background remain visible, and the grid should be generated only after that choice is recorded.
For a physical drawing, choose the paper format and use the PDF's millimetre figures to mark the destination rectangle. Rule from matched edge ticks, then check the whole width and height with a ruler. Print at 100 percent or actual size; fit-to-page is convenient for casual documents but unreliable for a measured transfer. This is a practical studio check, not a feature to take on faith.
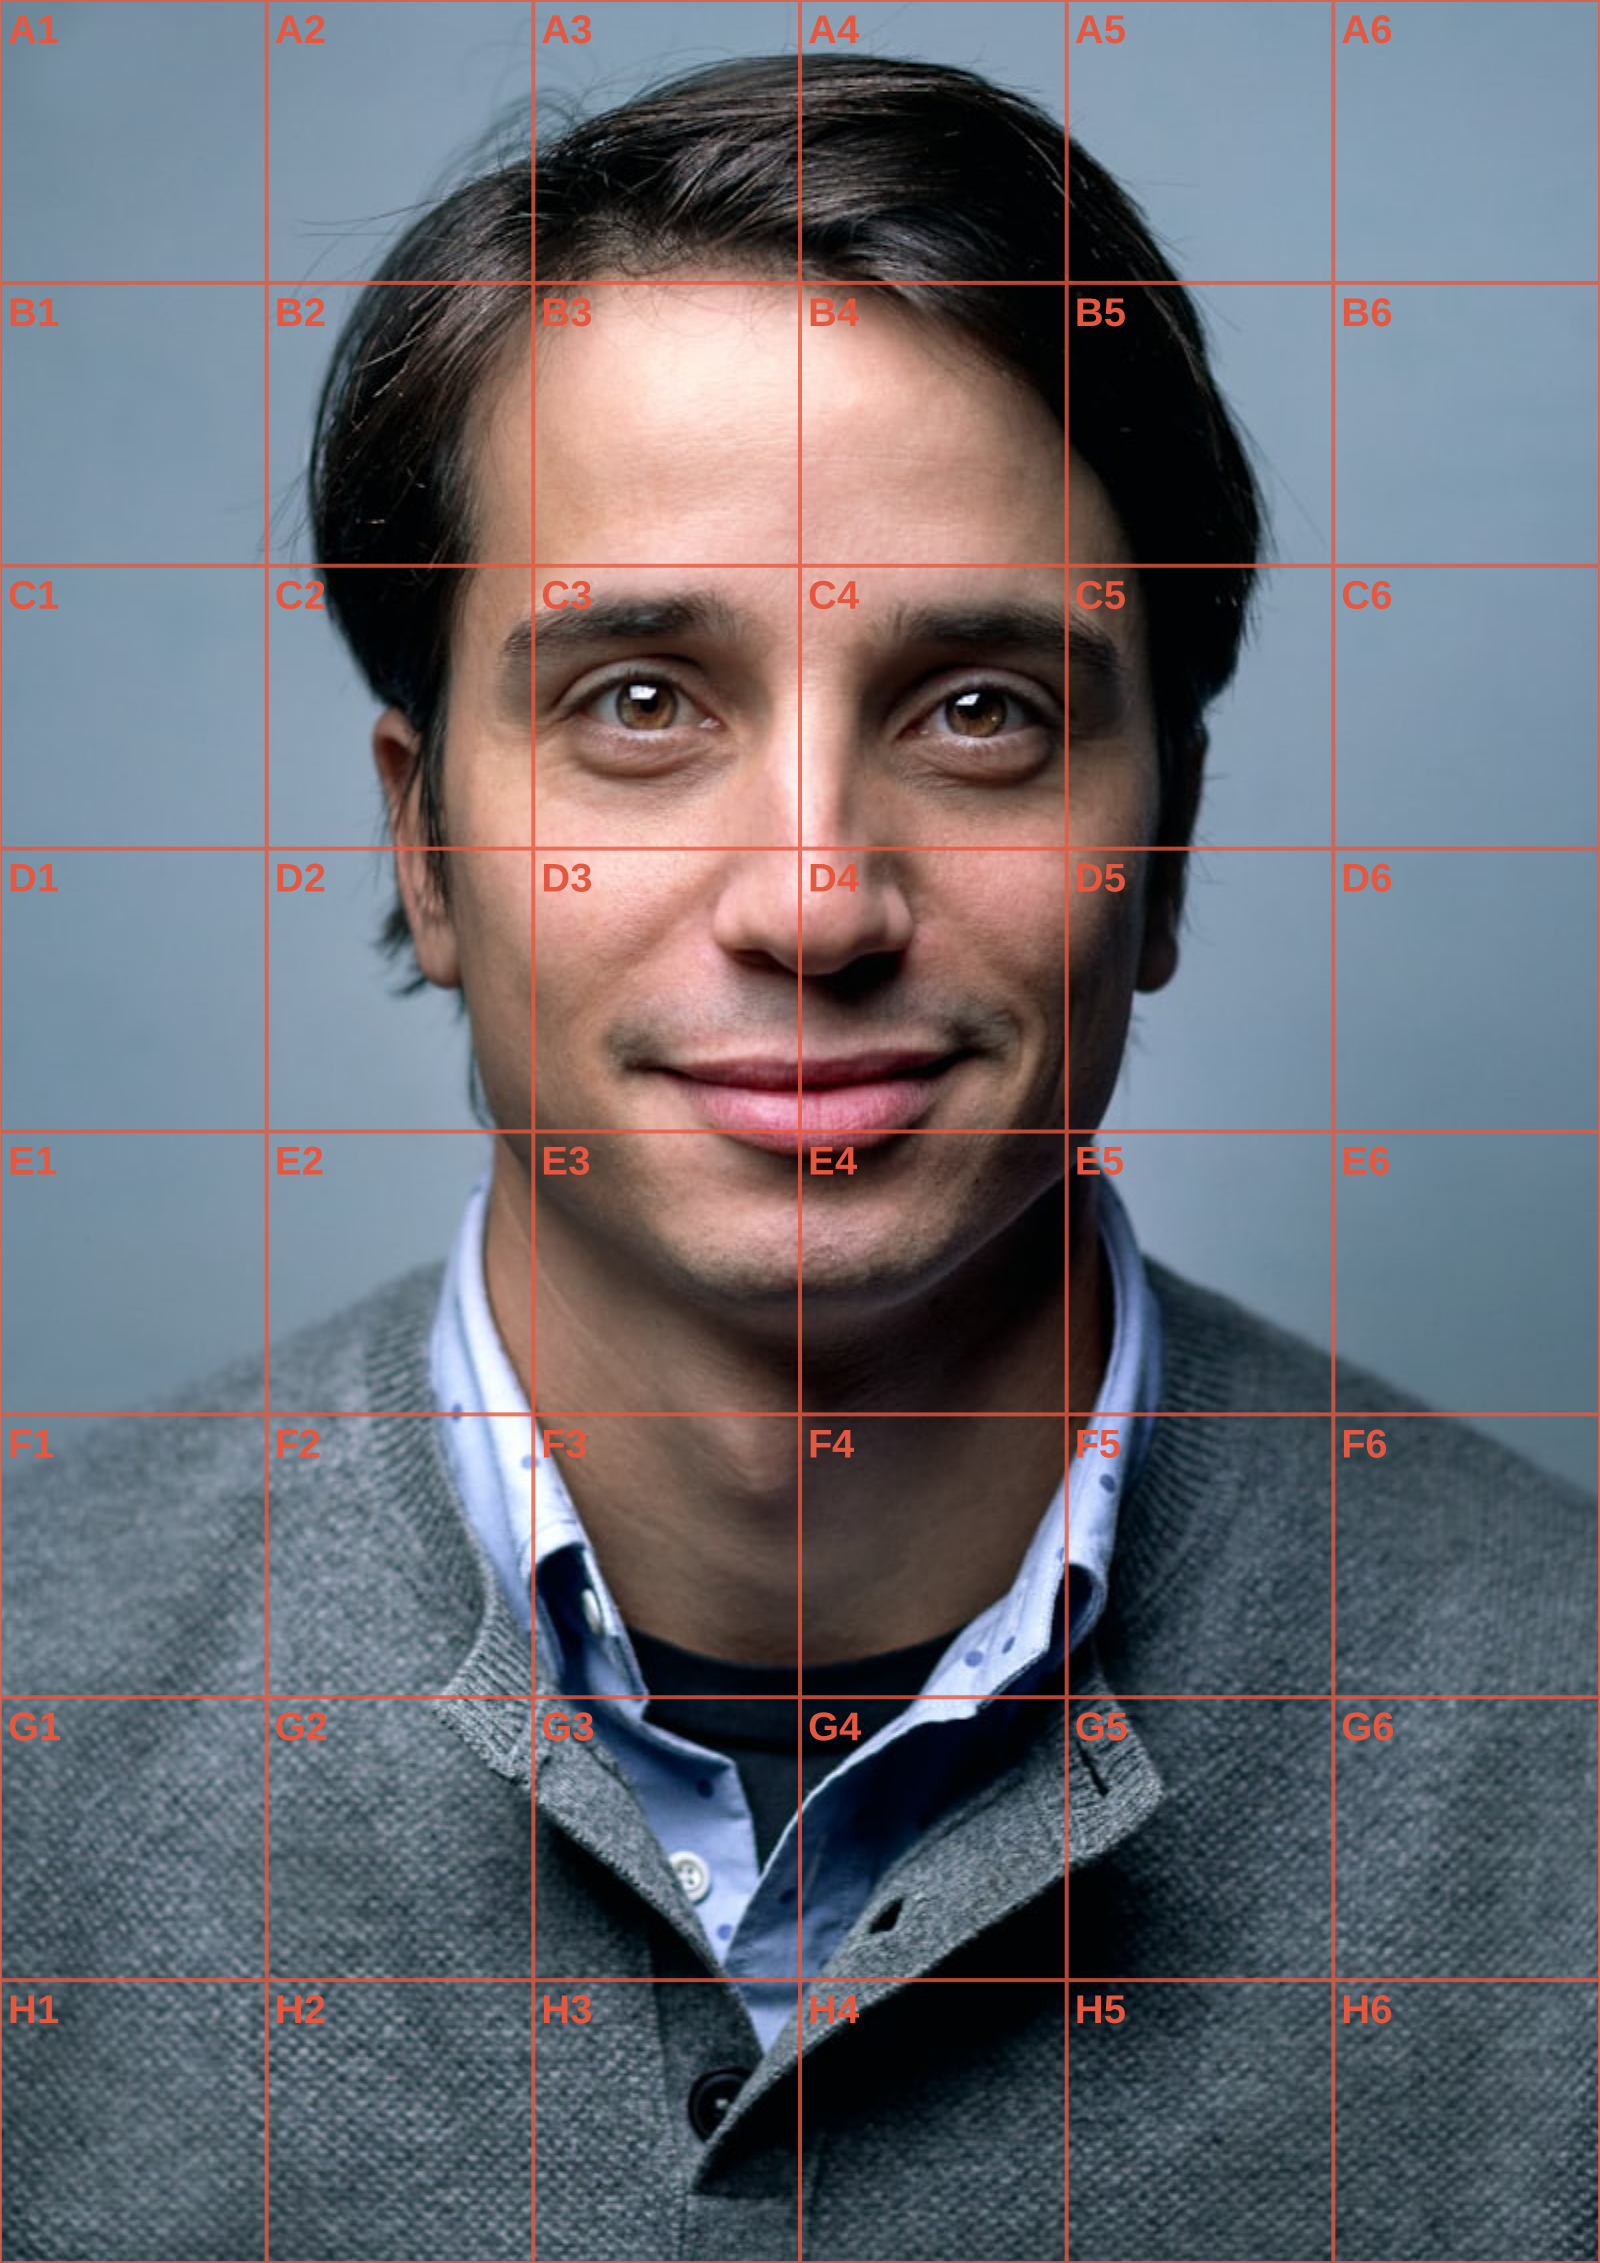
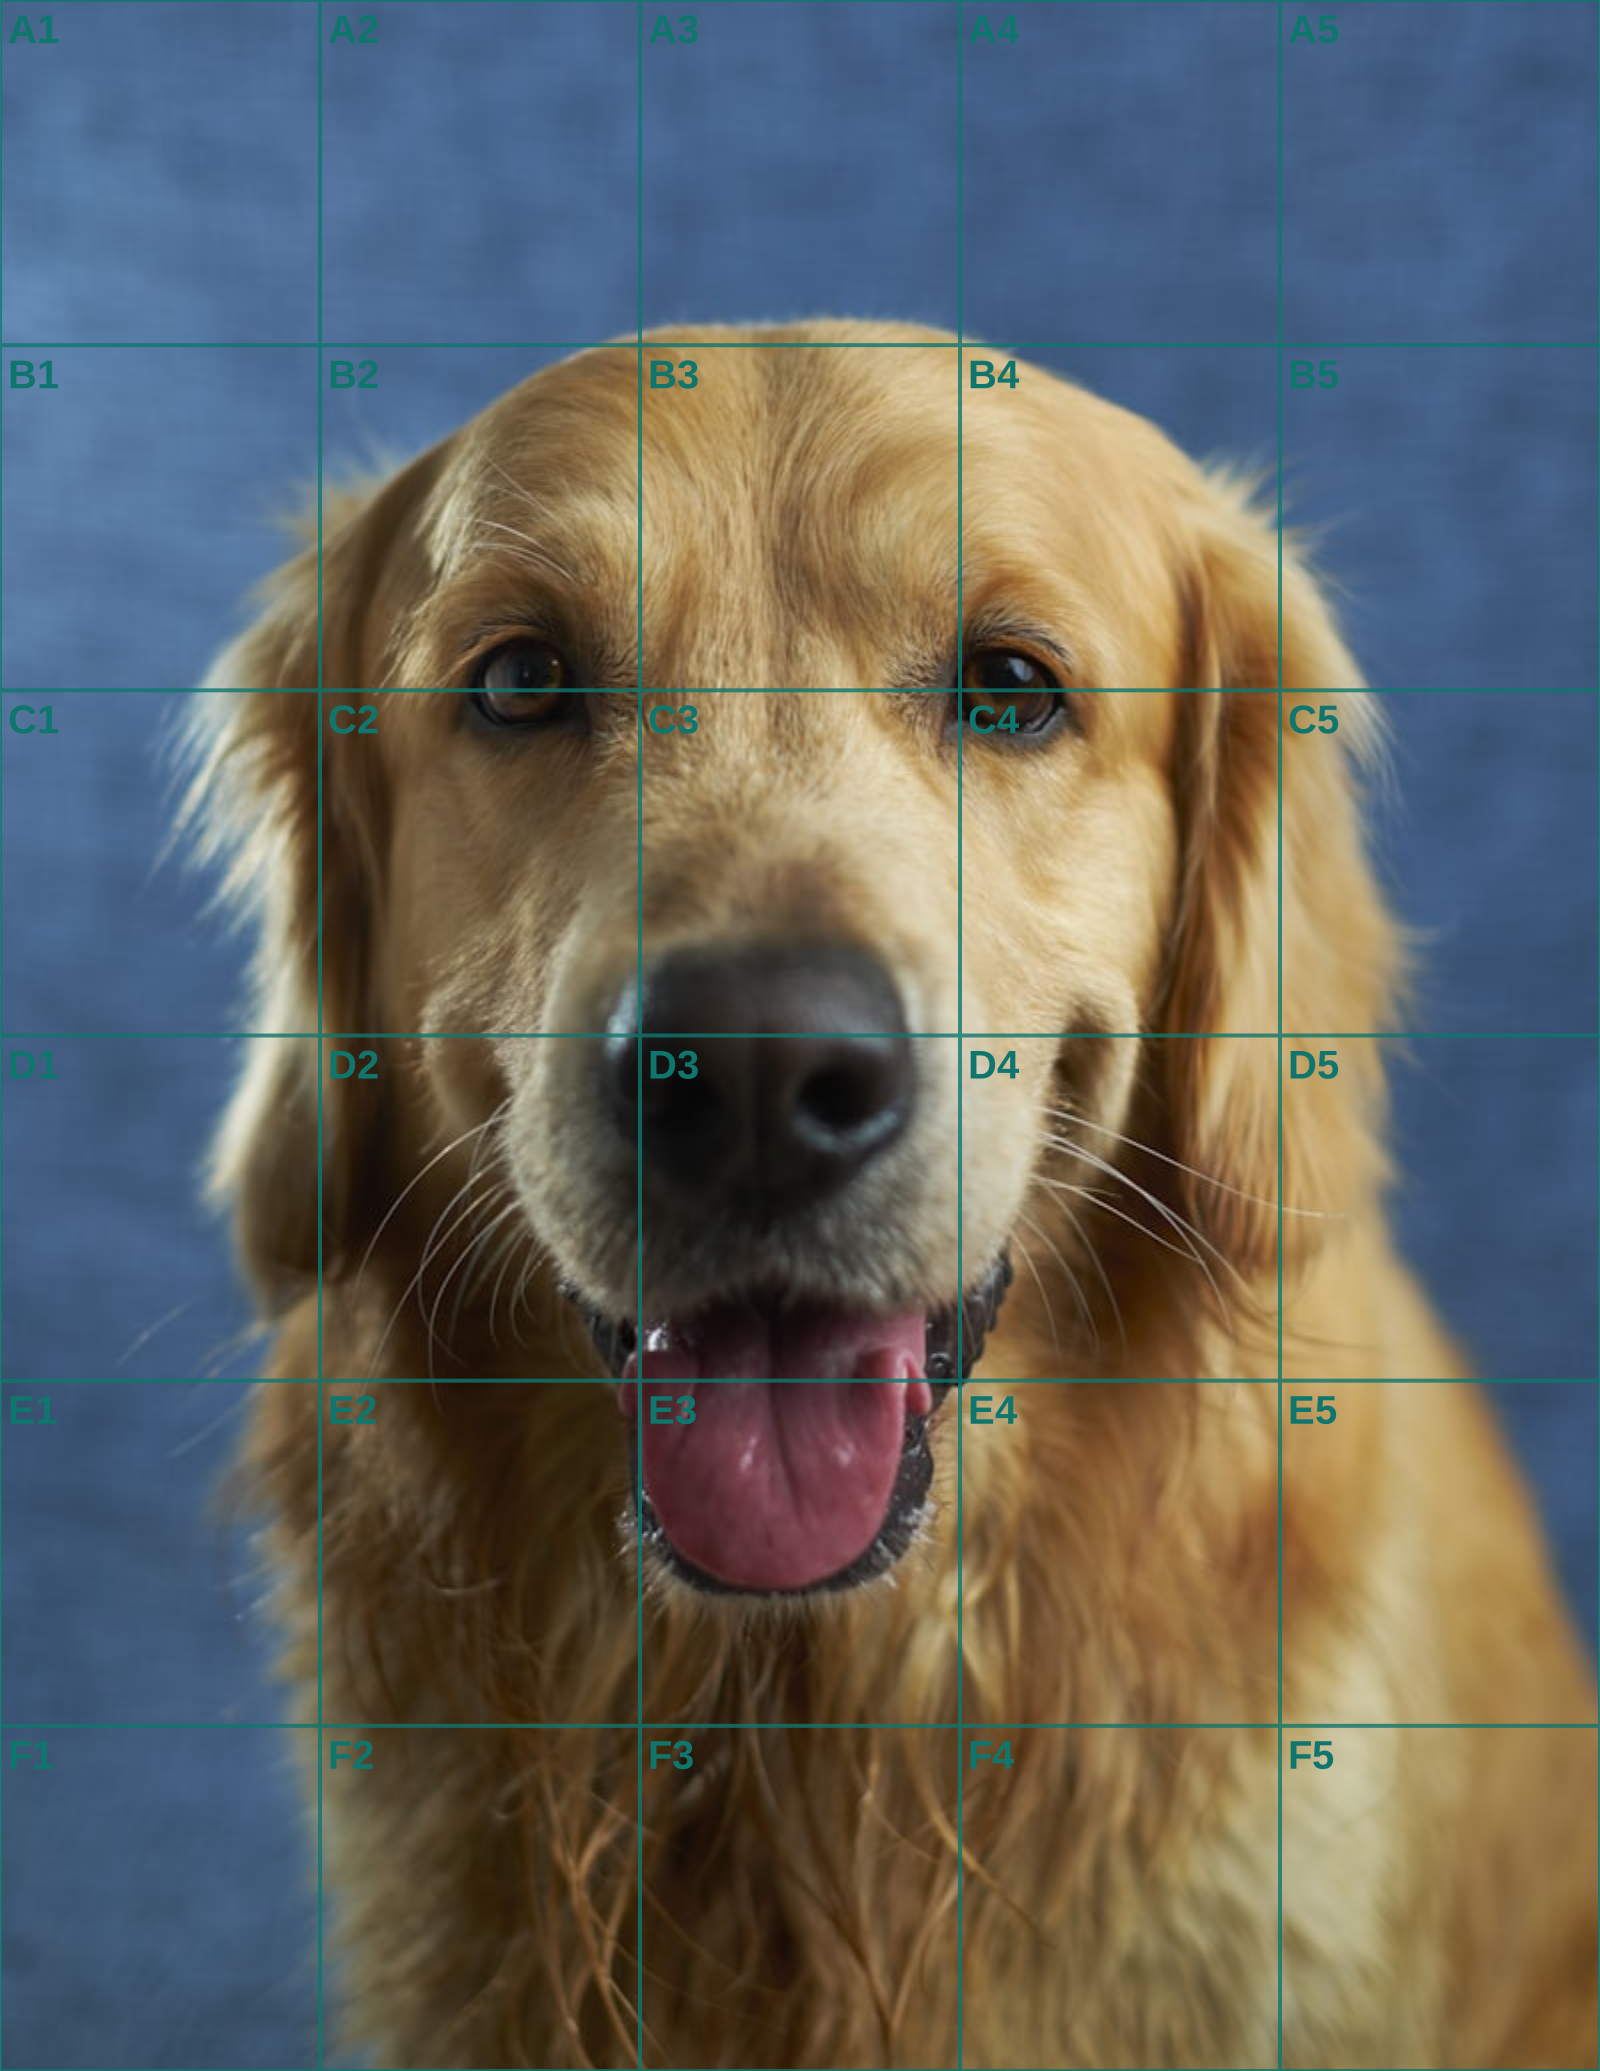
Let the subject determine grid density. A broad, simple pose benefits from cells that keep its largest rhythms visible. A close portrait needs enough landmarks for the eye line, nose, and muzzle, yet not so many that the head breaks into fragments. Start with the outer silhouette and the darkest shape relationships before committing to textures that are costly to remove.
Use the local preview to lower opacity or change line colour when the photograph contains delicate values. The most useful overlay is legible without competing with fur, skin, or a pale background. Once a location has been established, return to the clean source for artistic judgement. The grid cannot decide which edges should be lost or where colour should carry the likeness.
Before delivery, assess the work without construction evidence showing. A customer sees balance, pose, and character rather than your workflow. The art grid maker has succeeded if it quietly reduced redraw risk and allowed the final medium to look intentional, private, and entirely yours.
When the reference is a close likeness, the portrait drawing grid guide covers facial landmarks; for the measured transfer itself, use the grid method walkthrough.
Continue the workflow
See Also
- art grid tool
Use a related guide when the protected source reaches its next studio stage.
- grid art
Use a related guide when the protected source reaches its next studio stage.
- artists grid
Use a related guide when the protected source reaches its next studio stage.
- grid image generator
Use a related guide when the protected source reaches its next studio stage.
- art grid
Use a related guide when the protected source reaches its next studio stage.
Questions answered
art grid maker FAQ
Can an art grid maker help enlarge a small photo?+
Yes. Copy the same grid count onto a larger support and transfer each cell at the new scale.
Are image files stored after export?+
No. The processing occurs in the browser and the tool does not upload the image to a server.
What is the fit image control for?+
It controls whether the reference is fitted to the grid area, helping you keep the layout aligned while planning a transfer.
Real output
See the grid before you make one
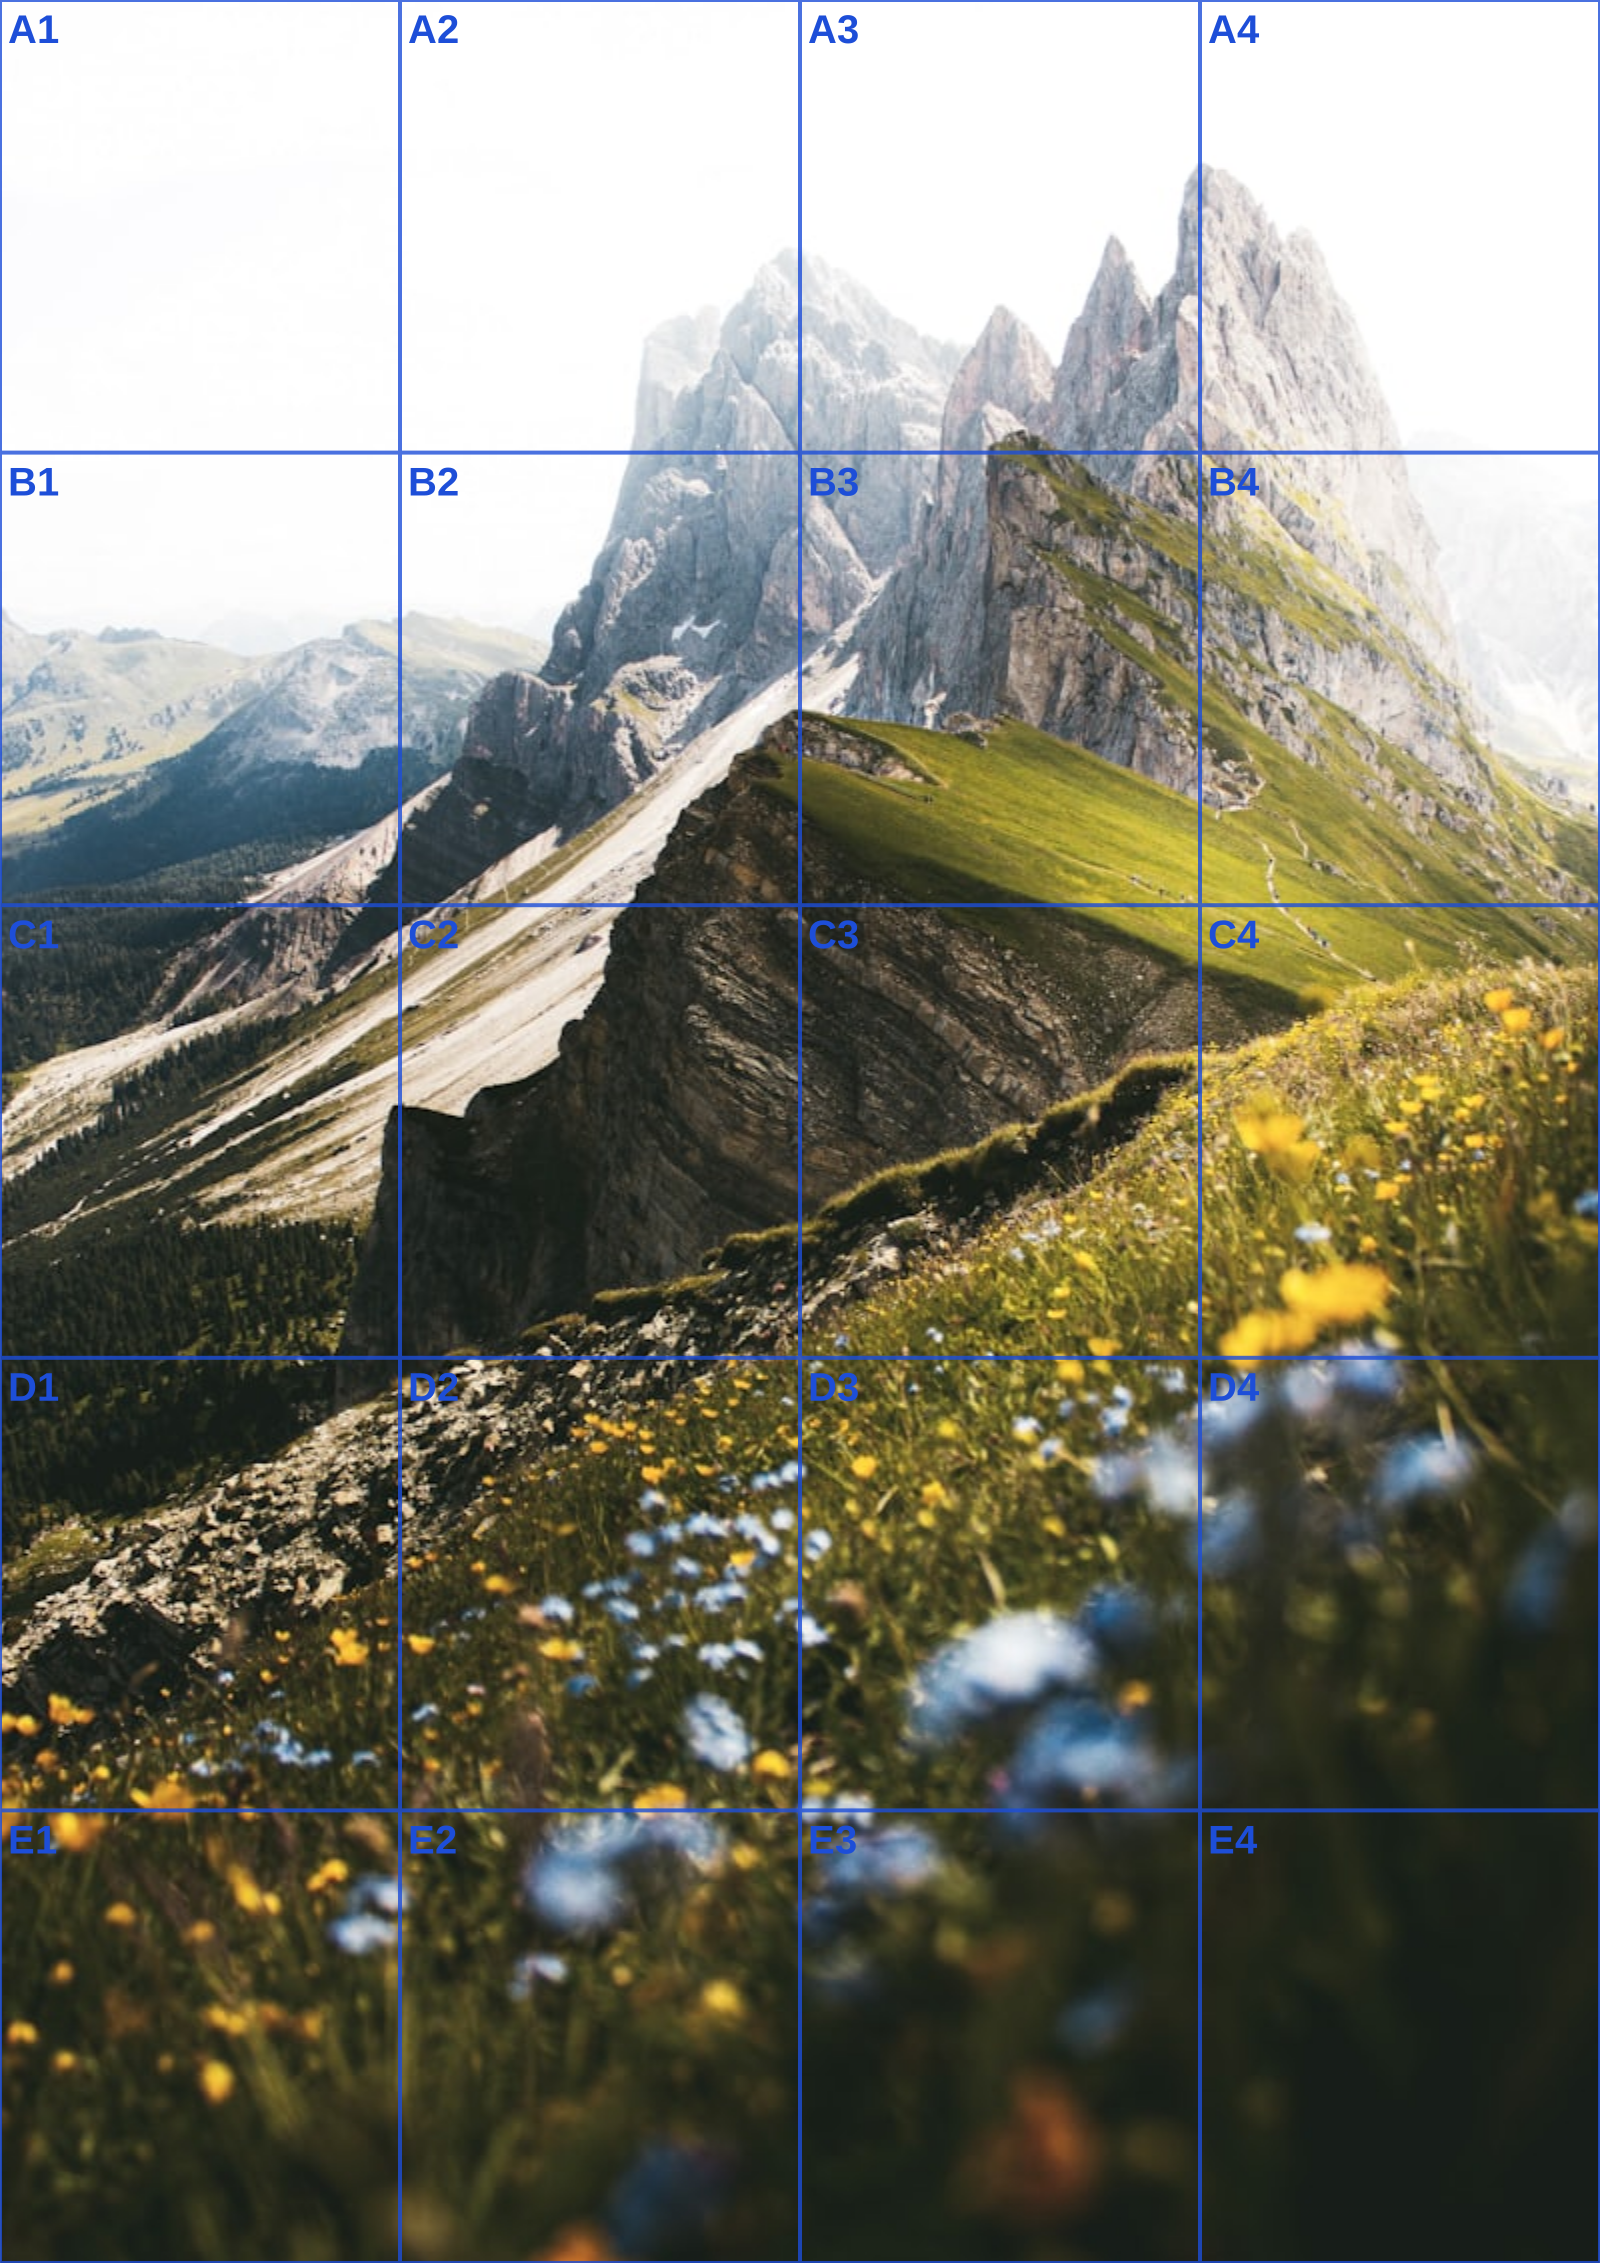
Three references run through this tool at different settings. The measurements are the spacing you would rule on paper at that size, so you can check them against a ruler after printing.