For commissioned artists
A practical guide to grid image generator
A grid image generator creates a prepared reference rather than a new picture. You choose the source image and the grid makes its structure easier to transfer to paper, canvas, or a drawing app. This is valuable for anyone who wants a precise starting point without changing the subject itself. A labelled coordinate system can show where a contour begins, where a highlight sits, or how an object relates to the frame. The generated grid is simply a tool for seeing those relationships more clearly.
Before generating an overlay, consider what you will do with it next. If you plan a small pencil study, fewer divisions keep the image readable. If you are mapping a mural, more divisions can give a useful framework, as long as the physical grid is practical to rule. Choose a line colour that remains distinct over both dark and light areas, then lower its opacity until it acts as a guide rather than a barrier. Switch to black and white when the important information is value, and add labels if you need to discuss exact locations with a student or collaborator.
This grid image generator is local by design. Your selected image is rendered in browser Canvas and only the final file is downloaded to your device. The paper format option calculates the width and height of each cell in millimetres for A4, A3, and US Letter sheets. Its PDF export includes the generated reference plus the wording needed to reproduce the grid with a ruler. PNG and JPG exports are equally available for digital use. There is no cloud generation queue, no account, and no reuse of your source image.
For collaborative projects, agree on a grid count and paper size before sharing the export so everyone can refer to the same cells and intervals. For solo work, make one labeled copy and one quiet copy. Both grid image generator outputs are created locally and can remain completely offline.
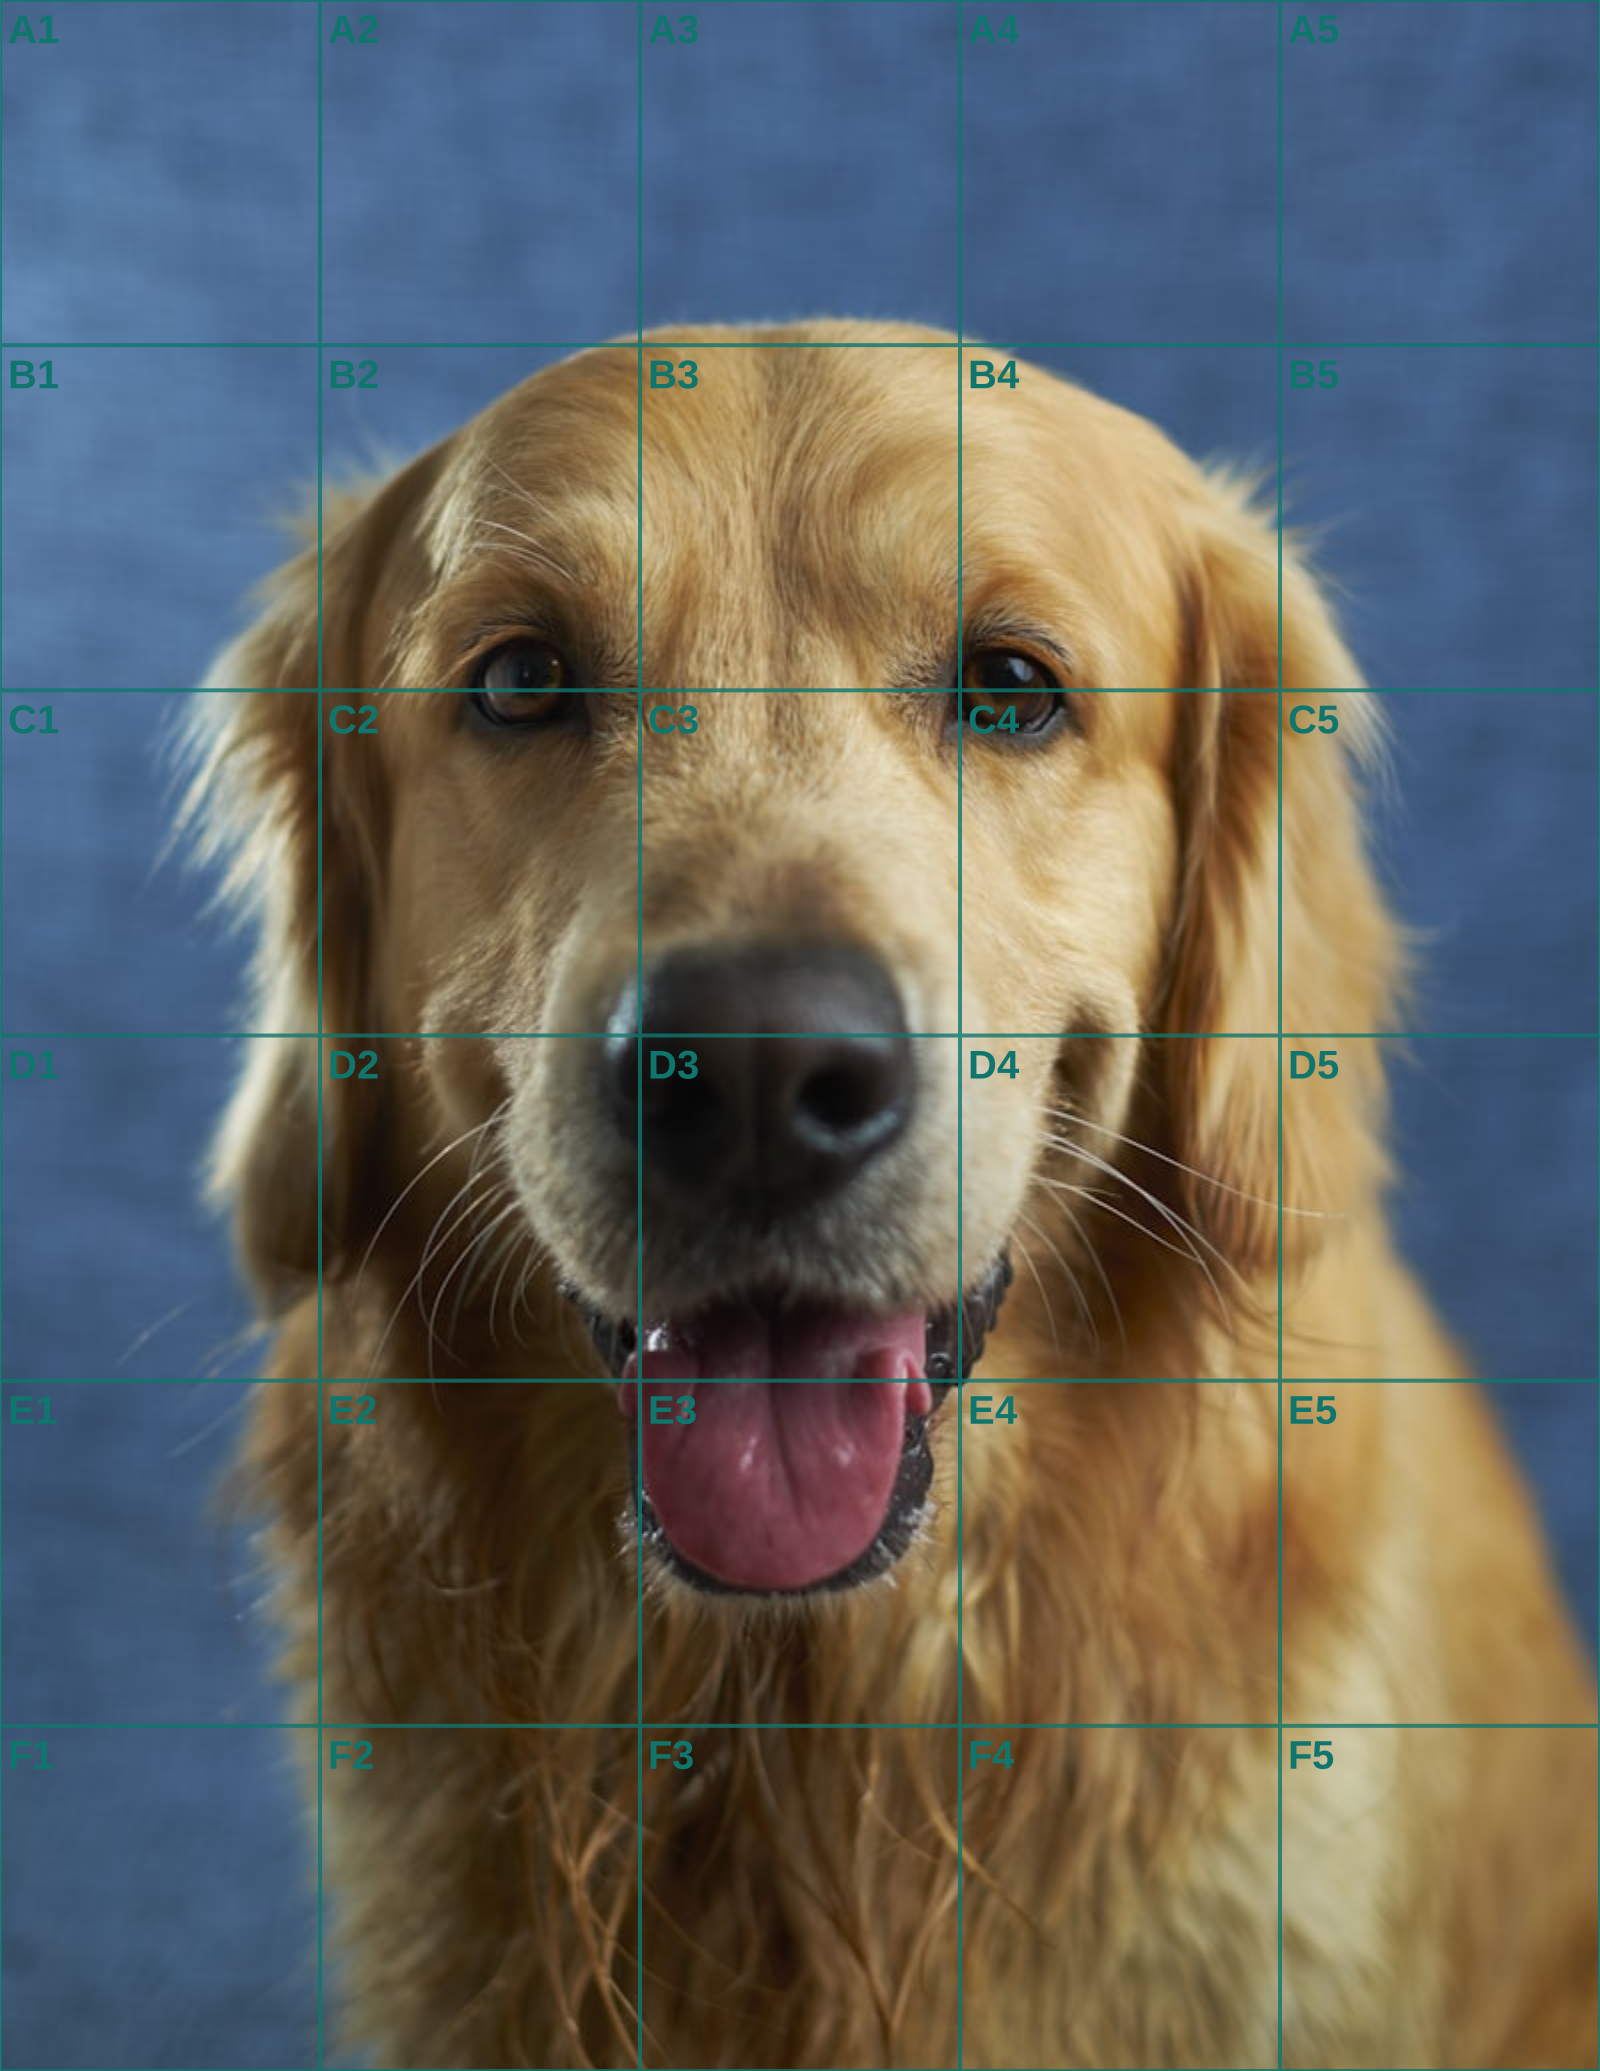
A grid image generator is best treated as a production step, not as an image creator. It does not invent a clearer eye, remove a leash, or repair a blurry paw; it places an overlay on the photograph you supply. That distinction matters when setting expectations with a client. If an important feature is hidden or out of focus, request another reference before measuring. A grid can make a proportion easier to transfer, but it cannot supply information that the photograph never contained.
A grid image generator is a production step for a commission, not an image creator. It places an overlay on the photograph you supply; it does not invent a clearer eye, remove a leash, or recover a blurry paw. Set that boundary with the client before measuring. If an important feature is hidden or out of focus, request a better source instead of promising that a grid can create information the photograph never contained.
Begin with an approved clean crop. A proof should settle the final frame, the amount of background, and whether meaningful details such as a collar remain visible. Keep that unmarked file unchanged, then generate a separate working version. This simple separation makes it possible to discuss composition with the customer while preserving an exact source for later colour and edge decisions.
The generated overlay should answer a specific placement need. A close portrait may need cells that locate eyes, muzzle, and ear bases; a mural planning image may need broad divisions that carry the pose across a wall. Test rows and columns at the final viewing scale. If the boxes obscure the source, reduce them rather than treating maximum density as a mark of precision.
For print work, select the actual paper format and export the PDF. Its guide gives the horizontal and vertical millimetres required to rule a matching grid on the support. Print the reference at actual size and check one interval with a ruler before you mark paper. Digital exports can be placed beside a tablet canvas, but they do not replace the physical measurement needed for a traditional transfer.
Work from connected evidence. Locate the outside frame, central axis, silhouette, and largest dark shapes before building a small feature. This protects the commission from the familiar error of a beautifully rendered eye sitting on a head that is slightly too narrow. Compare crossings across adjacent cells, then step back to see whether the body occupies the approved frame with the intended weight.
Maintain a useful record of each output: subject, crop, paper size, grid count, and date. If a client sends a replacement photograph, it becomes clear that you need a new approval and a new export rather than an informal patch to an old grid. This is especially helpful when a studio juggles several similar pet portraits at once.
The local Canvas workflow keeps private photographs on the current device while supplying PNG, JPG, and print-ready PDF versions. Finish from the unmarked original once placement is secure. The generator's role is finished when the artist can see the proportions clearly enough to make a human, medium-specific drawing.
When the reference is a close likeness, the portrait drawing grid guide covers facial landmarks; for the measured transfer itself, use the grid method walkthrough.
Continue the workflow
See Also
- grid image
Continue with a companion guide when the generated reference is ready for transfer.
- art grid tool
Continue with a companion guide when the generated reference is ready for transfer.
- art grid maker
Continue with a companion guide when the generated reference is ready for transfer.
- grid maker for drawing
Continue with a companion guide when the generated reference is ready for transfer.
- portrait drawing grid
Continue with a companion guide when the generated reference is ready for transfer.
Questions answered
grid image generator FAQ
Does a grid image generator create AI art?+
No. It adds a measurement grid to the image you provide; it does not invent or alter the subject.
Can I export a grid image as JPG?+
Yes. Both PNG and JPG downloads are available after an image is loaded.
Why does paper format matter?+
It lets the tool calculate the real millimetre spacing needed to recreate your selected grid on paper.
Real output
See the grid before you make one
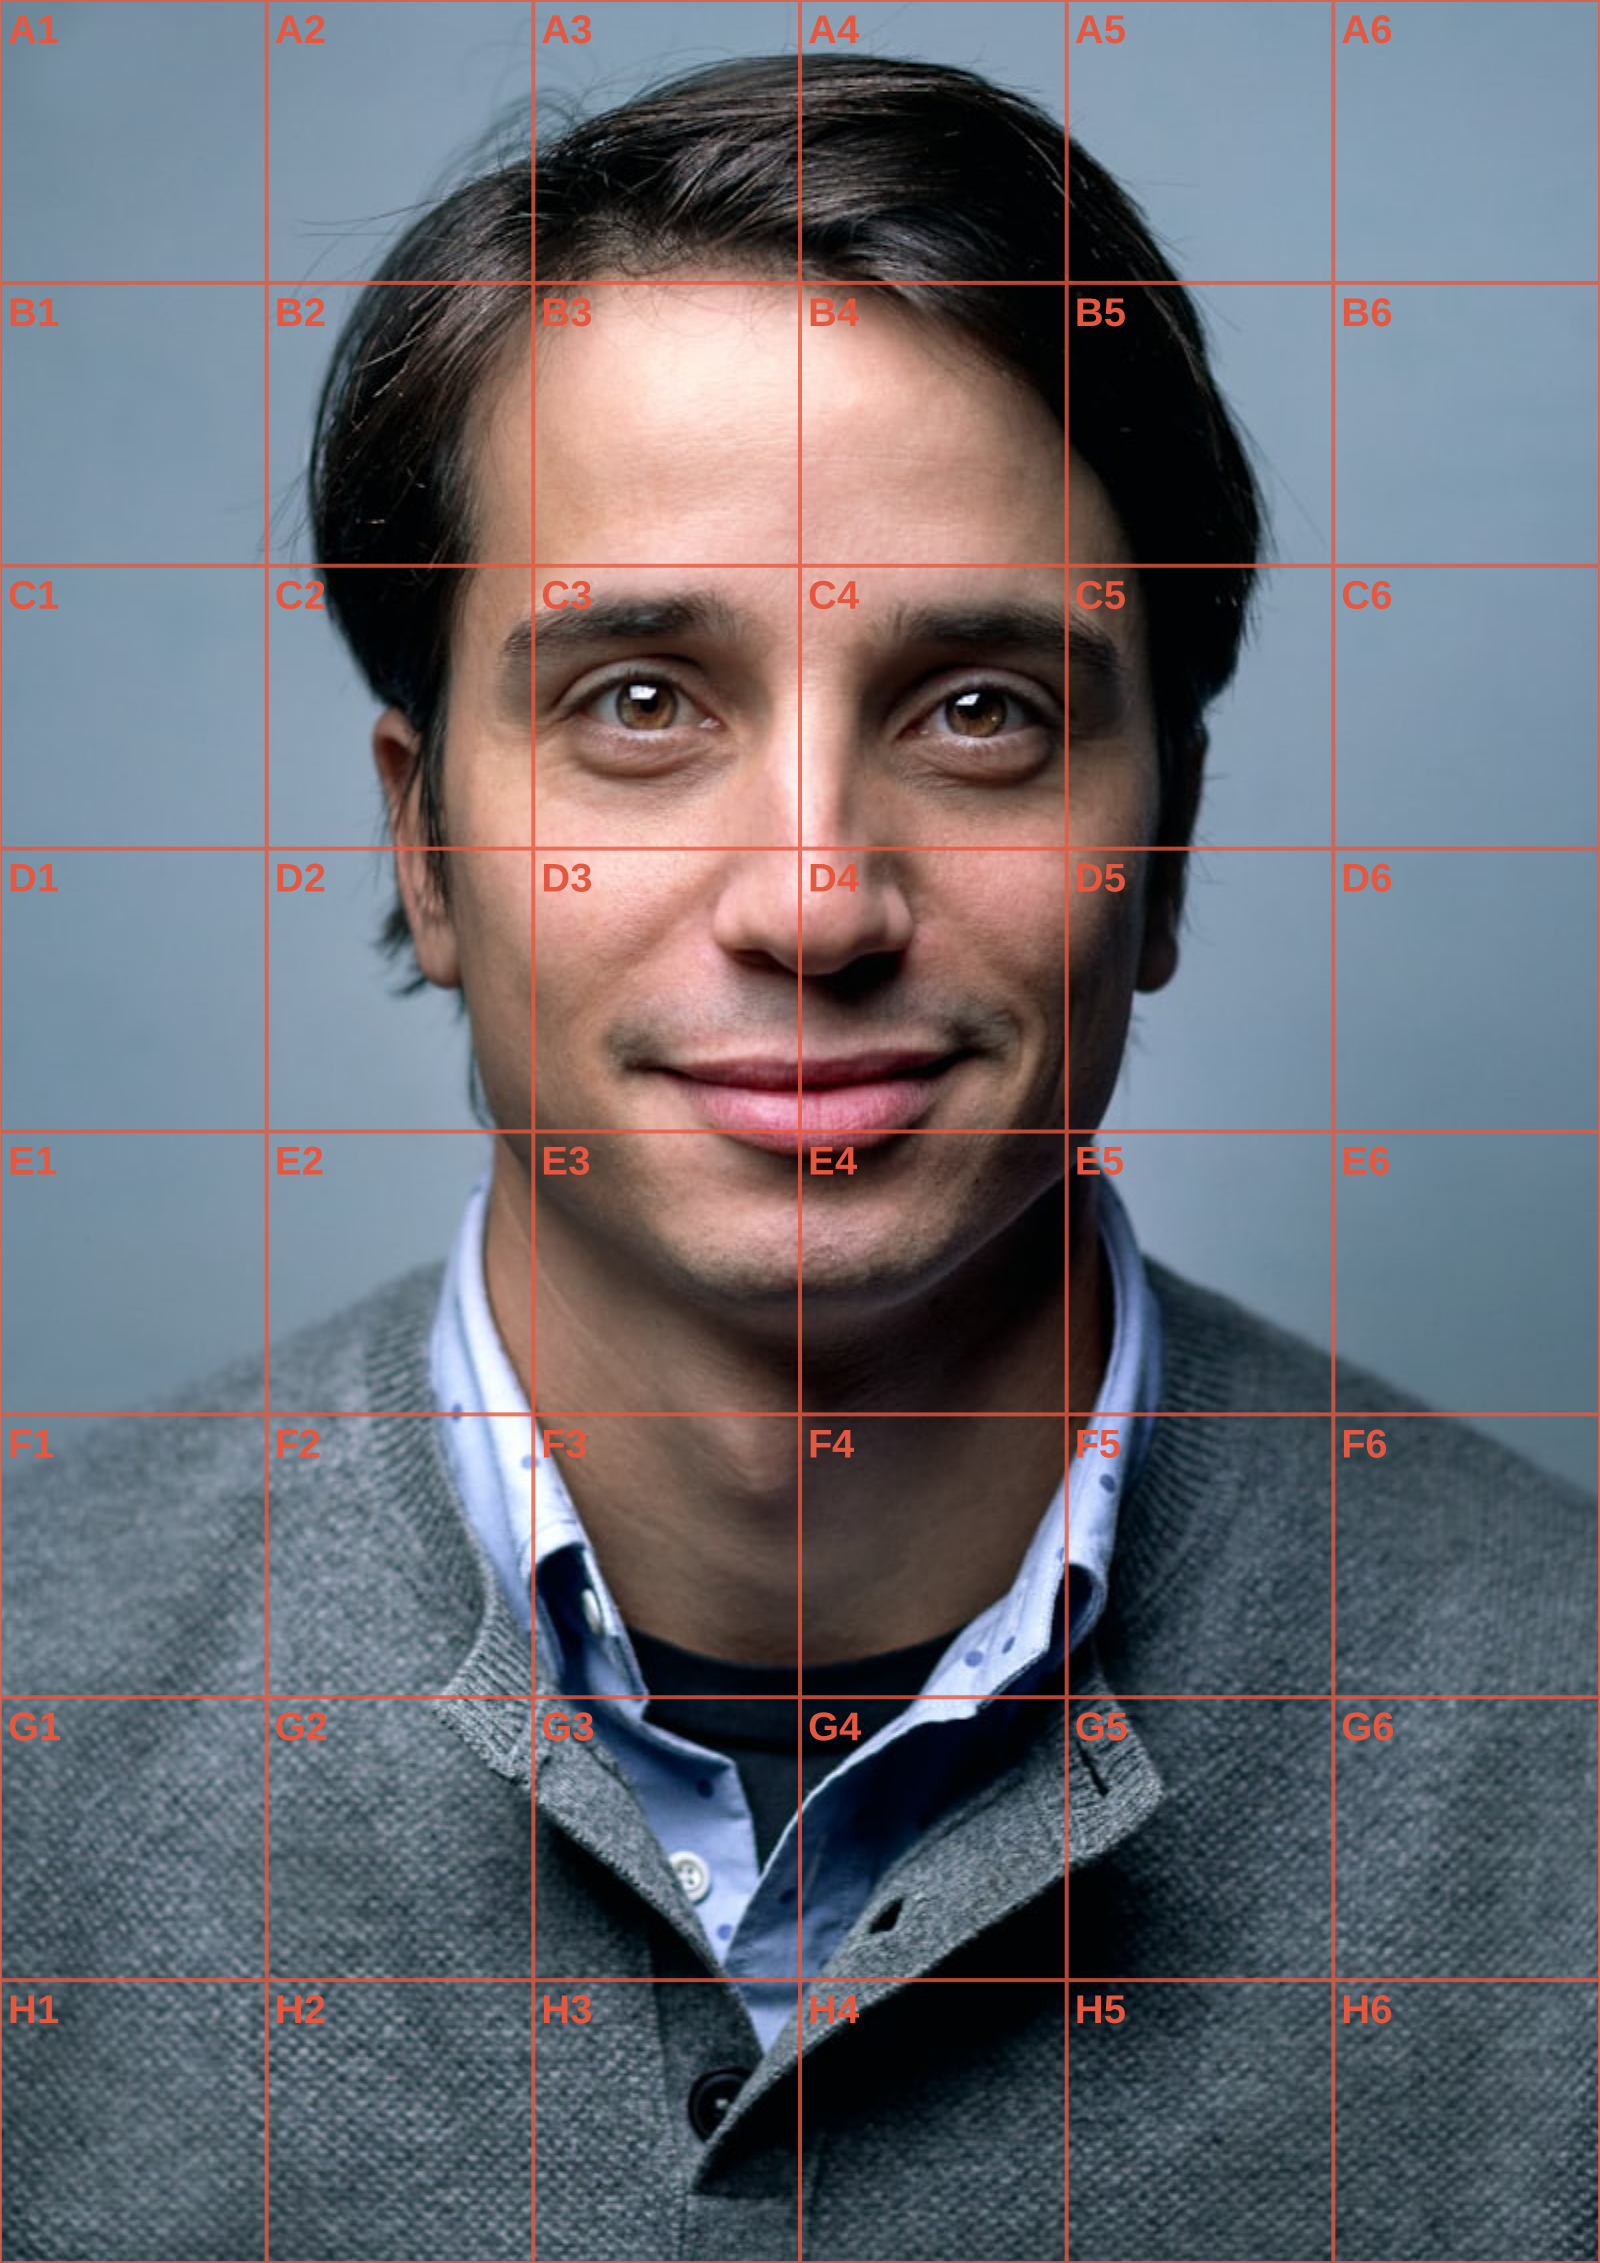
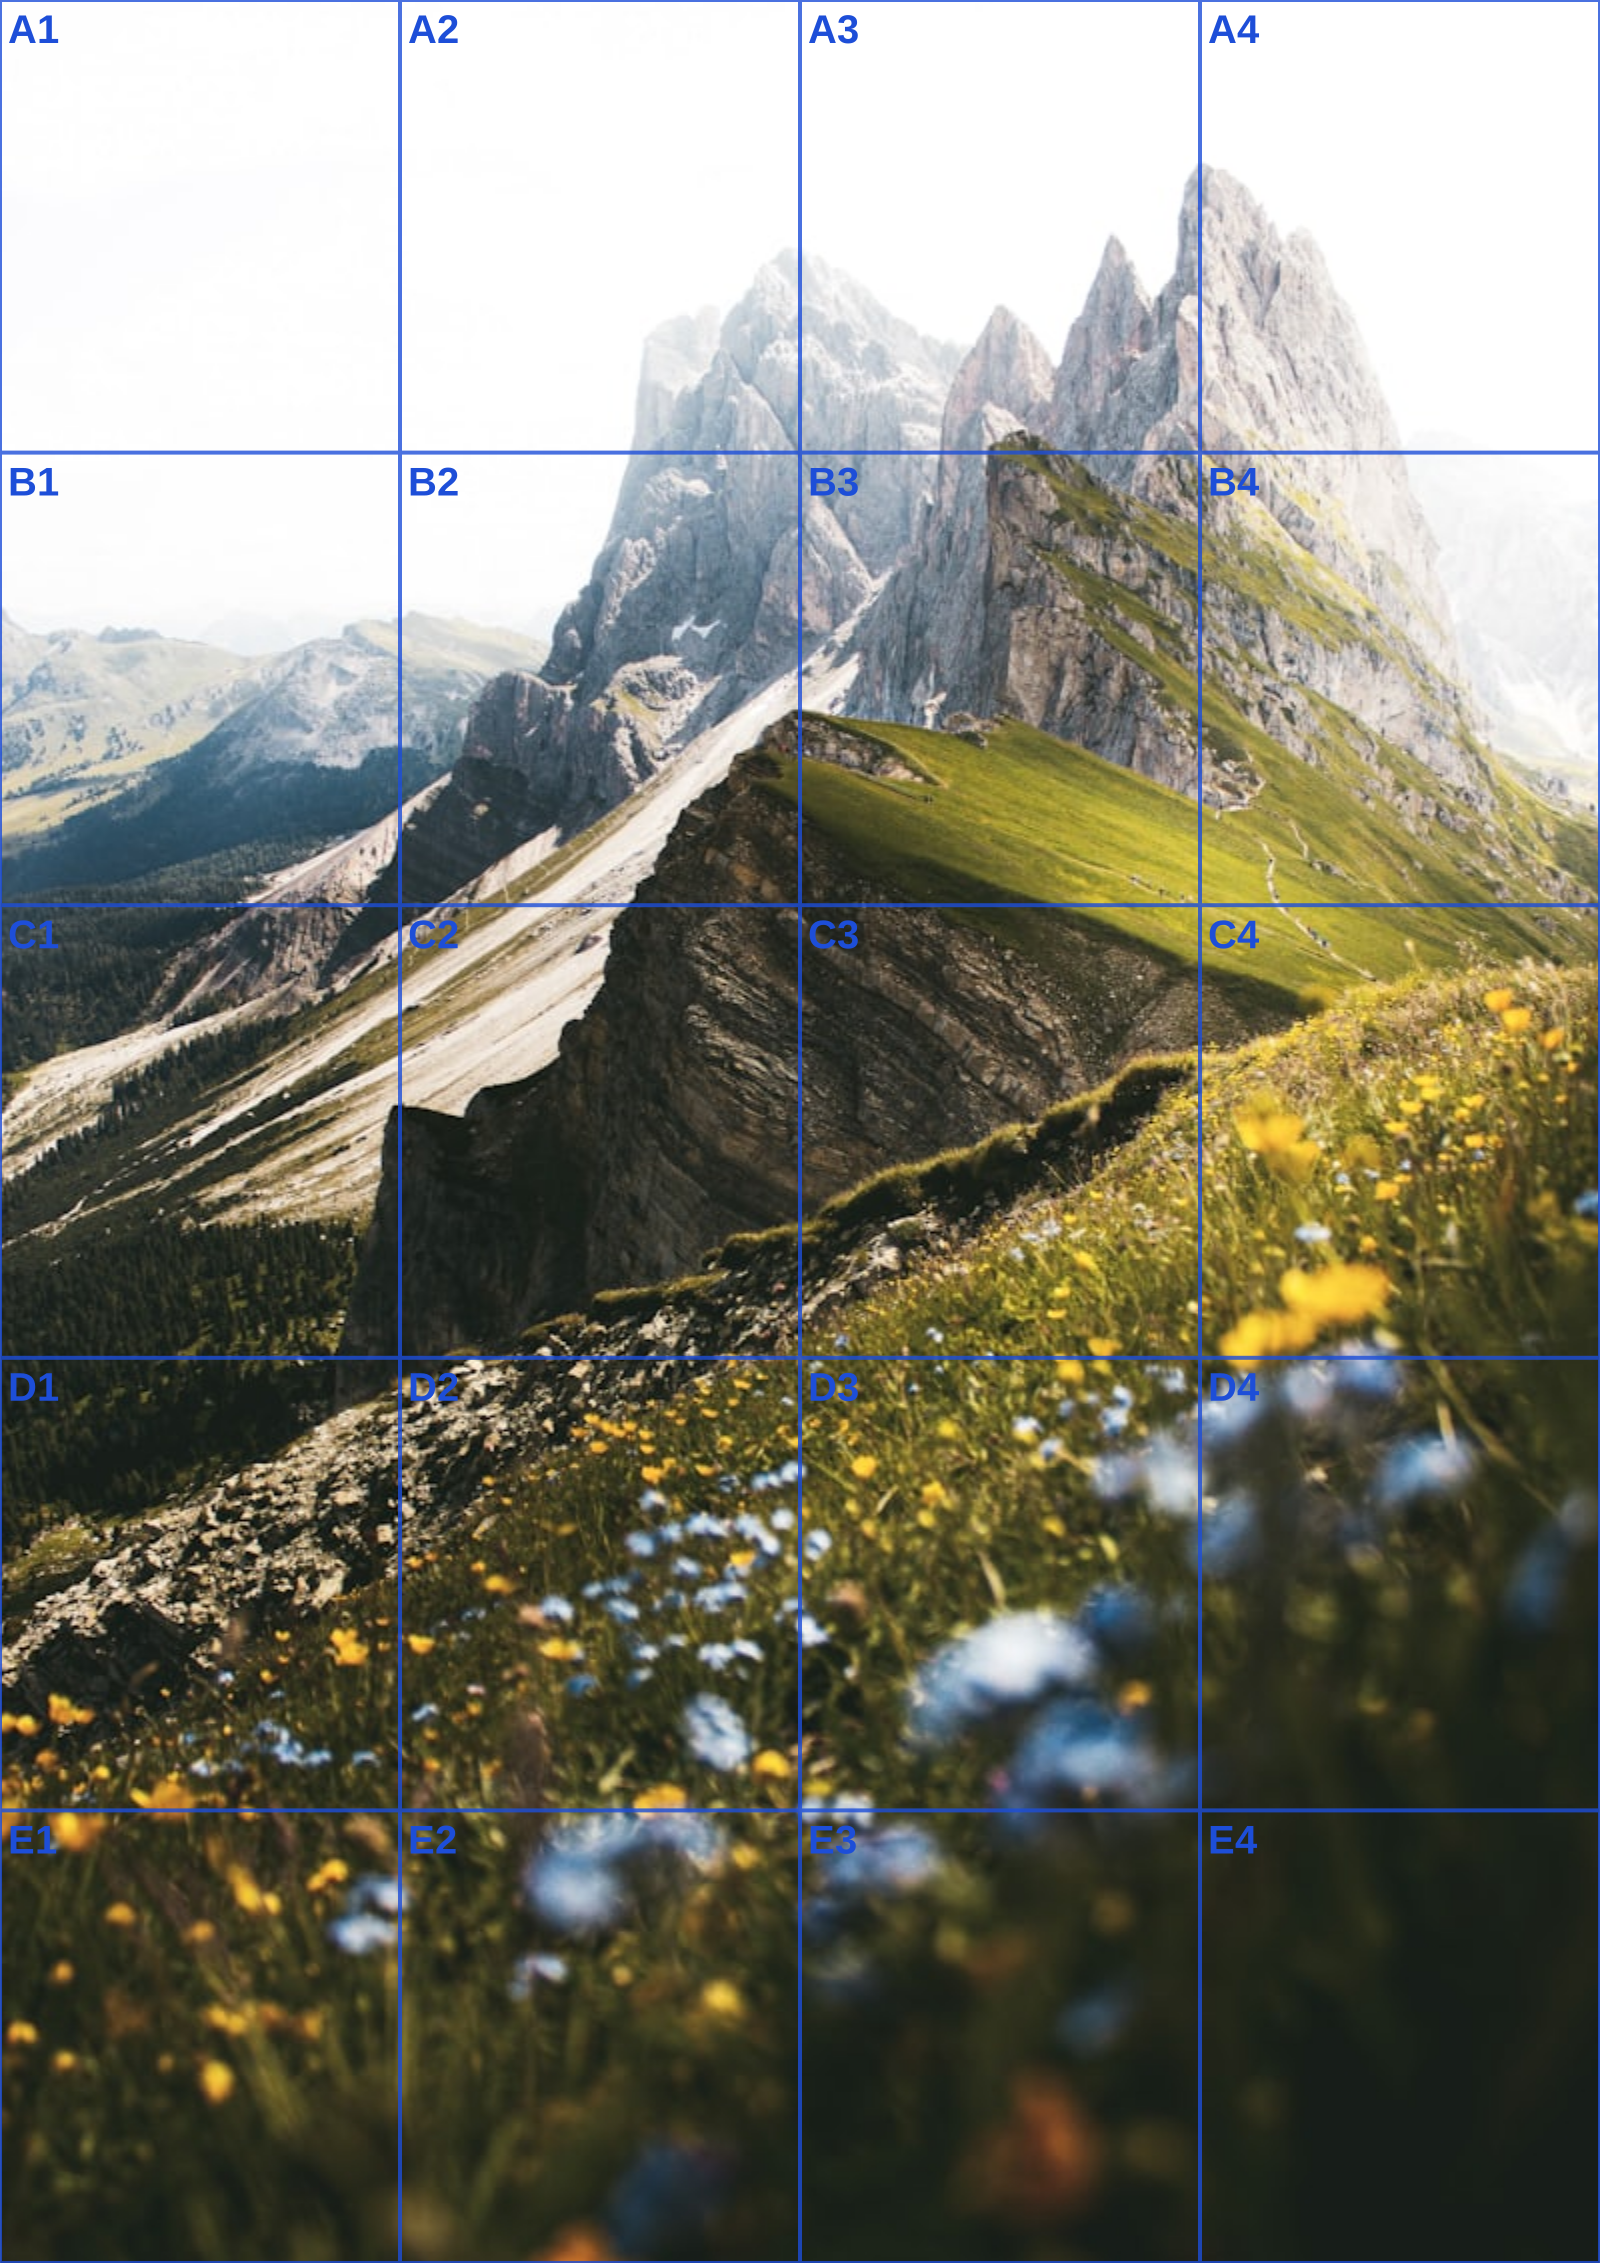
Three references run through this tool at different settings. The measurements are the spacing you would rule on paper at that size, so you can check them against a ruler after printing.