For commissioned artists
A practical guide to art grid
An art grid is a simple visual contract between a reference and a blank surface: each has the same divisions, so positions can be compared instead of guessed. It is particularly effective for a composition that must be enlarged because the cell relationships stay constant even when the physical dimensions change. Painters use it to map a canvas, illustrators use it to place a likeness, and teachers use it to show that accurate drawing grows from repeated comparison rather than a single confident outline.
Start an art grid by deciding whether the reference should fill the page. The fit control keeps the image aligned to its grid, while the paper format gives you a practical way to reproduce that grid on a real sheet. For example, an A4 landscape reference with seven columns reports a usable millimetre interval for the vertical rules. Use that measurement with a ruler, leave a small border, and check that the same number of divisions exists on the source and destination before you draw anything detailed.
This page is deliberately focused on the working step. The image preview, adjustment controls, and downloads are here above the article, not hidden behind a separate tool. Canvas handles the drawing in the current browser session; there is no sign-in and no remote image storage. You can soften grid lines with opacity, switch to black and white for a value-first study, and activate labels for a systematic pass across the composition. Save PNG or JPG for screen use, or choose PDF to get the gridded image and a printing guide in one file.
Draw the companion paper lines lightly enough to erase after the construction is secure. The art grid is a temporary set of landmarks, not part of the final surface. Once the major relationships agree, let observation of edges, value, and material lead the remaining work.
An art grid earns its keep when final size is fixed by a frame, a scan requirement, or a shipping sleeve. Suppose a client orders an A4 portrait and the source is a 4:5 vertical crop. Do not stretch the photo to fill the paper. Keep its aspect ratio inside a measured border, note the unused margin, and rule the destination rectangle rather than the whole sheet. The paper setting and PDF guide make that decision checkable: the printed reference states the working size and the ruler confirms the cell interval.
An art grid becomes indispensable when final dimensions are fixed by a frame, a scan specification, or a shipping sleeve. Start with the actual drawable rectangle, not the nominal size printed on a paper pad. A client may order an A4 portrait, yet the four-by-five phone crop may need a deliberate border to retain its proportion. Measuring that inner rectangle prevents a correctly drawn subject from being distorted to fill a format it never matched.
Make the crop decision visible in a simple approval proof. Show the unmarked image with the intended border and ask whether the ears, paws, or background cue stay in frame. Once agreed, lock the clean file and create the gridded counterpart. A late crop change affects every cell, so it is far cheaper before graphite lines exist than after a face has been developed.
The paper controls turn the art grid into a ruler-based plan. Select A4, A3, or US Letter, read the horizontal and vertical millimetre figures, and mark them along the inner rectangle rather than across the whole sheet. Confirm the first, middle, and final interval on both axes. If the last mark is off, correct the layout before connecting any lines.
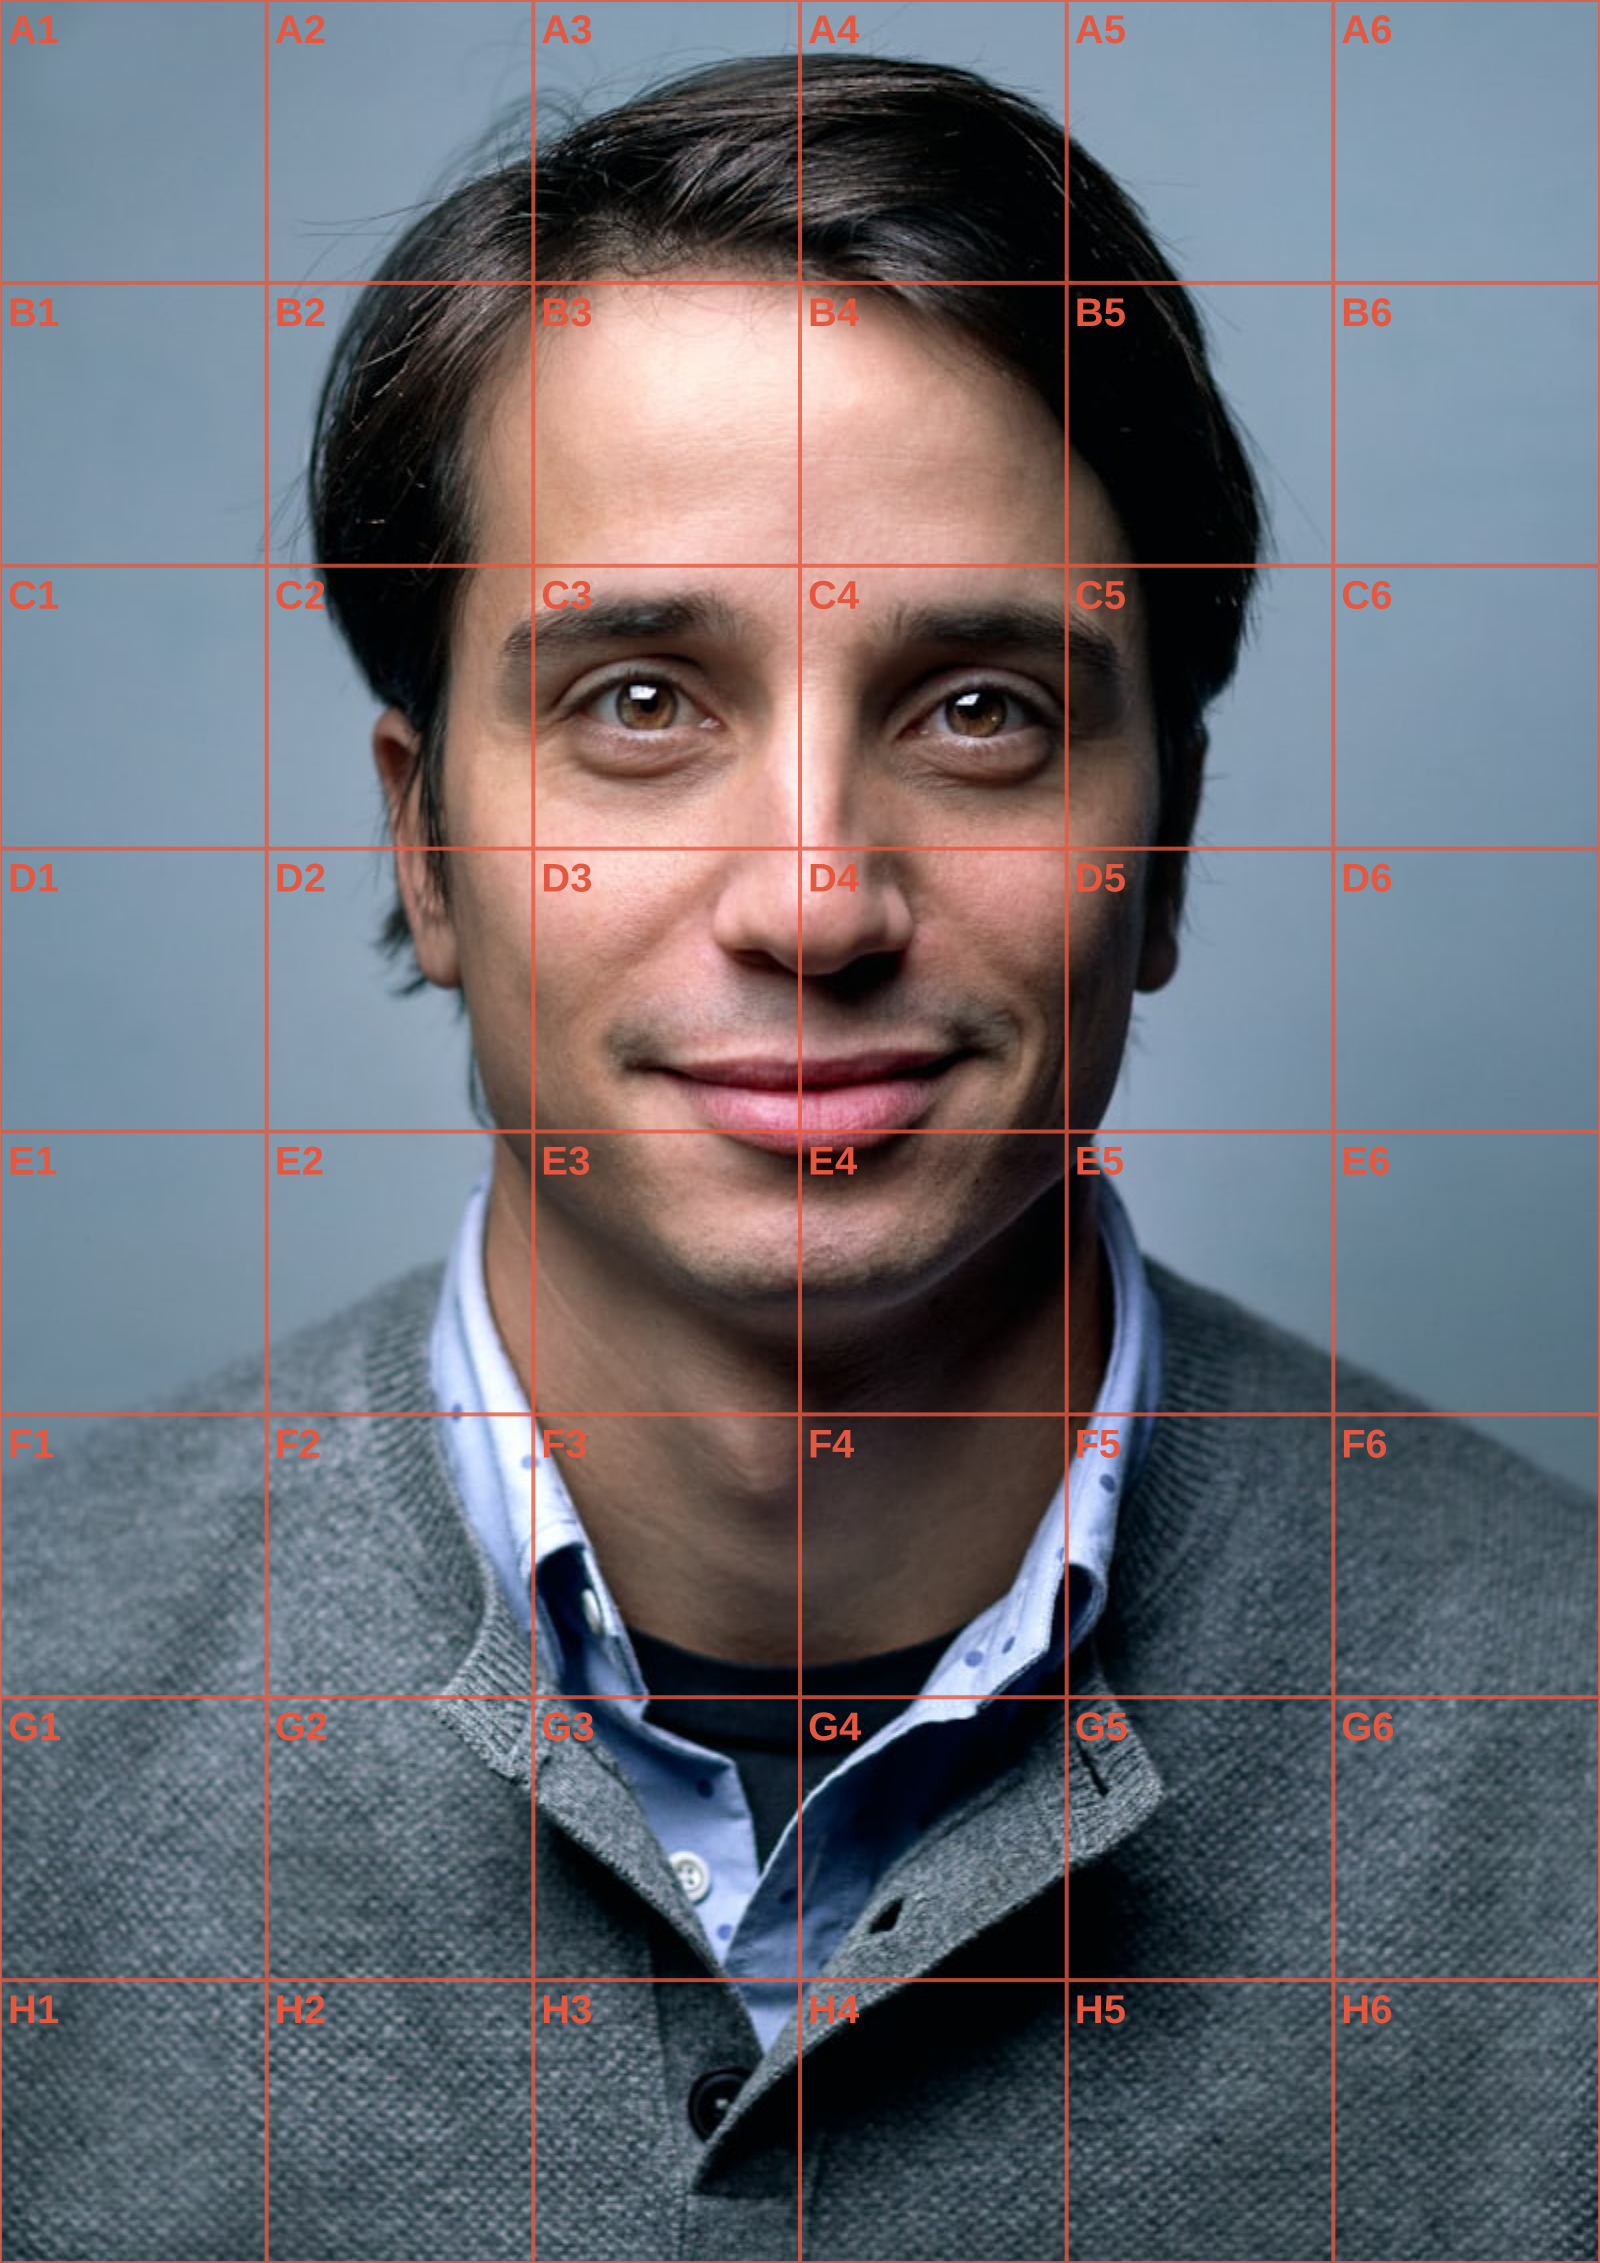
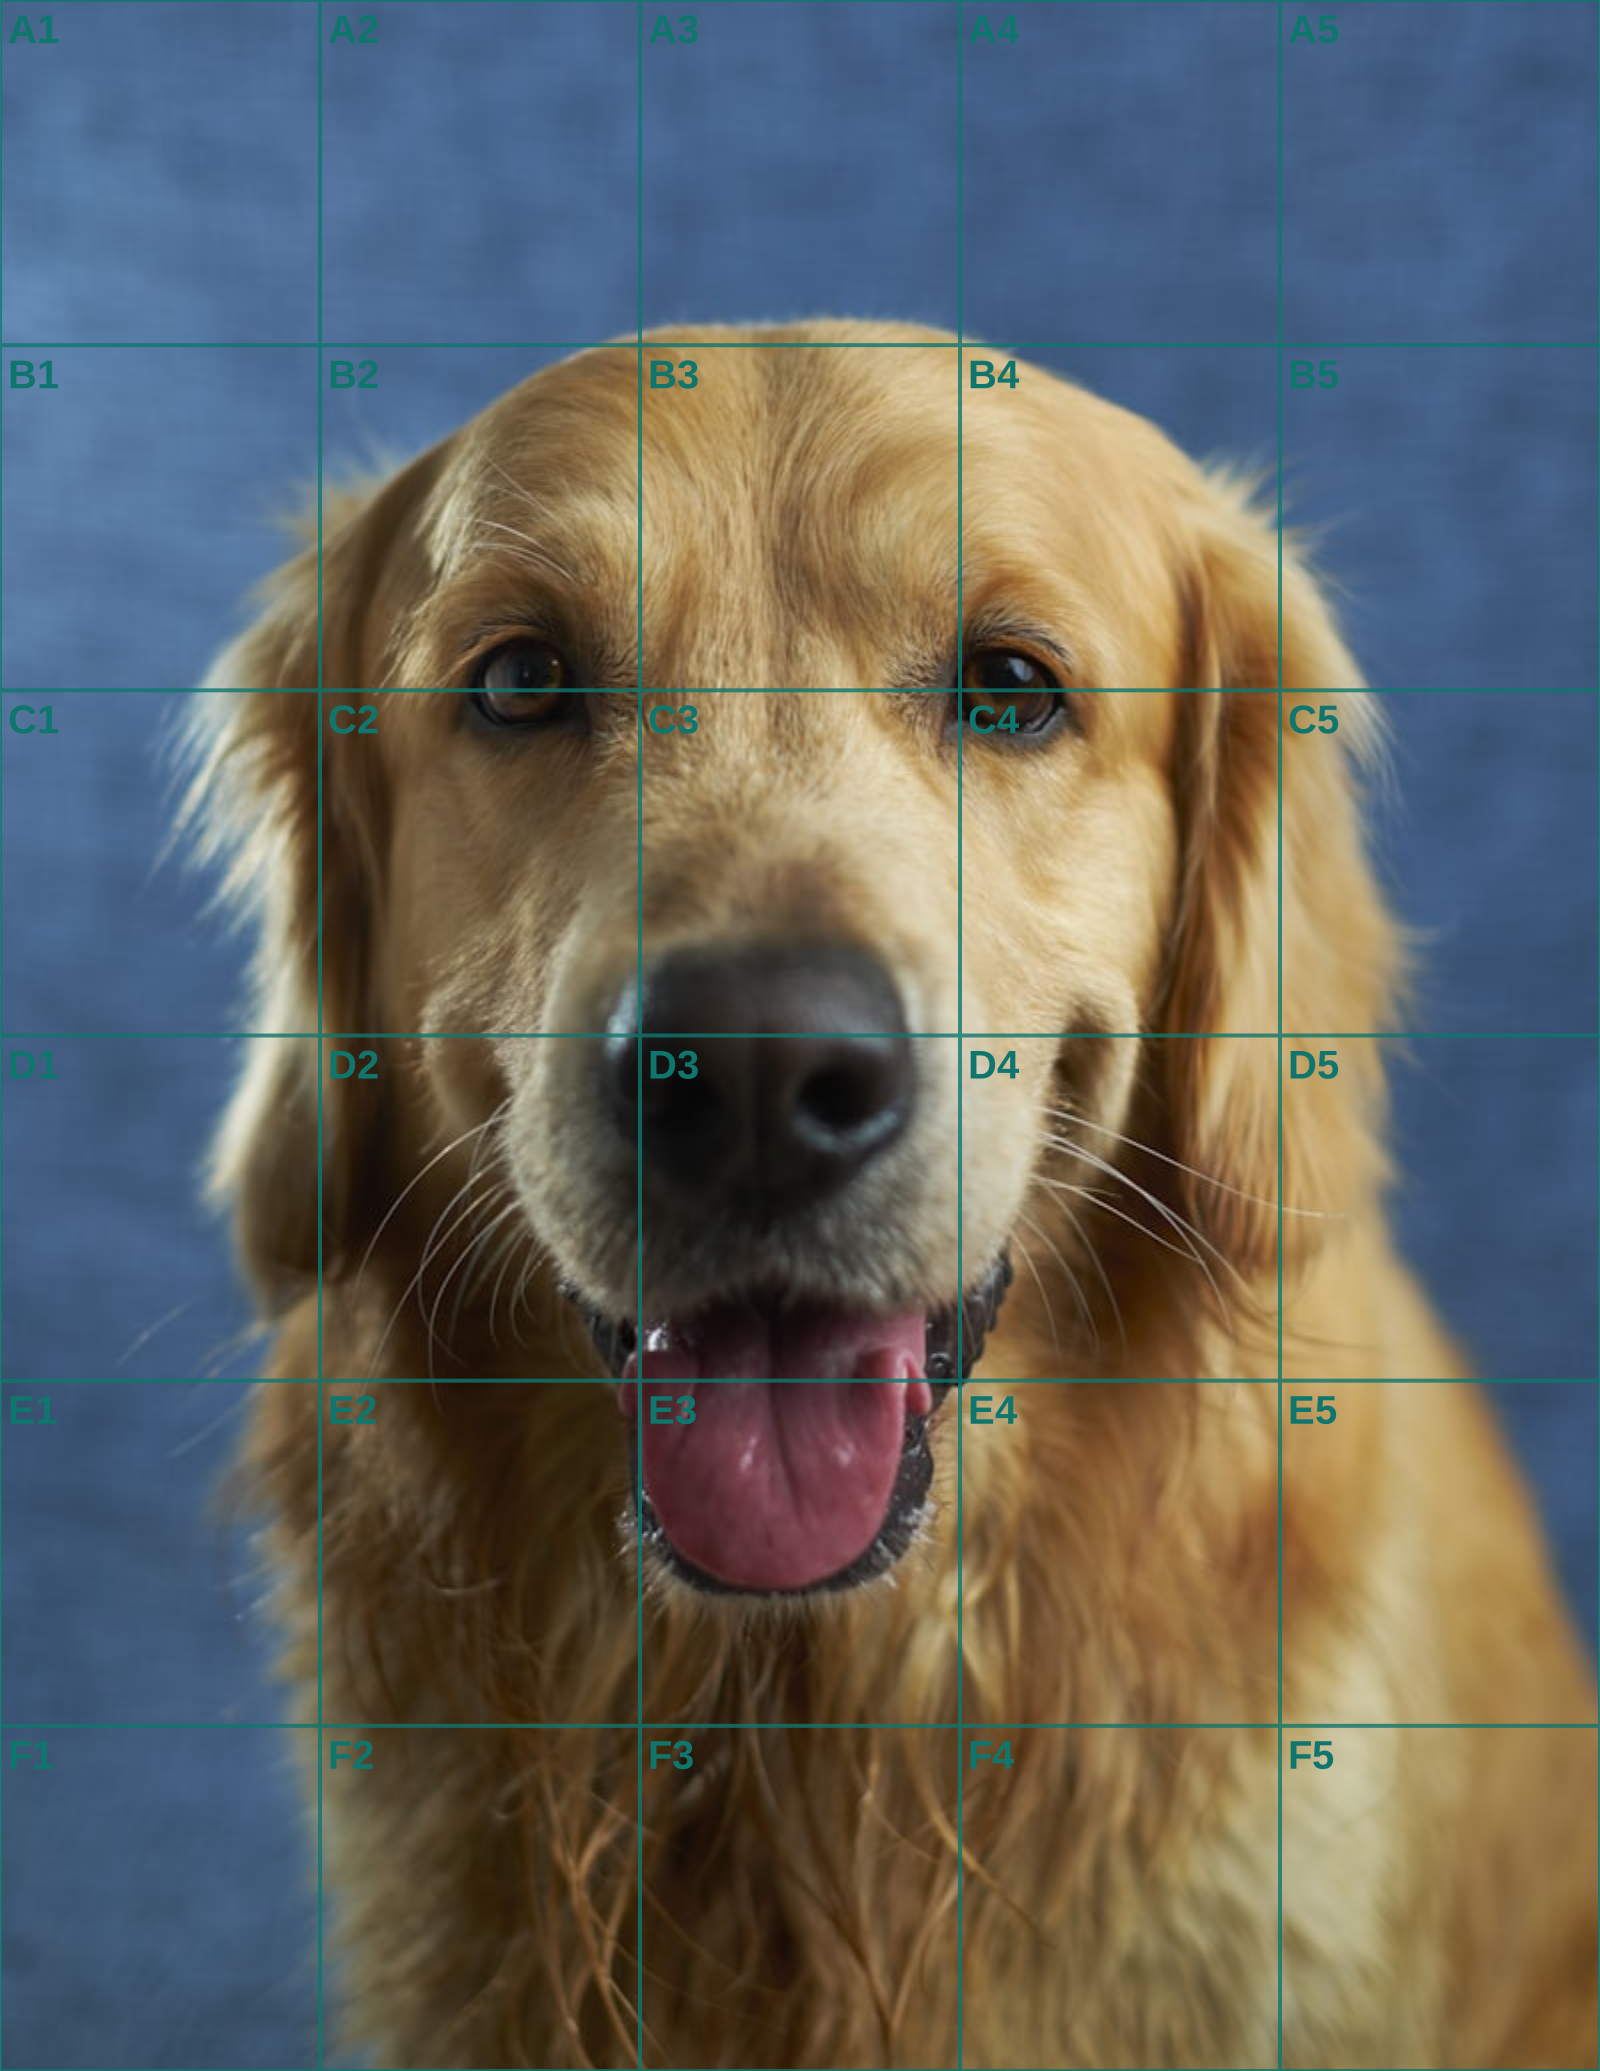
Choose divisions according to the commission's visual problem. A full figure against a quiet background needs large cells to establish the pose, while a close animal portrait needs enough structure around the eye line and muzzle. The grid should reveal where forms enter and leave a cell, not turn the reference into a pattern of anonymous fragments. Lower opacity if the important contours are getting lost behind the overlay.
When transferring, map the border, centre axis, and longest silhouettes before chasing familiar detail. In a seated pet, the curve from skull through spine to haunch often determines likeness before an individual eye does. Compare adjacent crossings and the negative spaces at the edges. This method makes correction local: move the shape that disagrees while the broader design is still open.
Keep the approved original available for the later stages. The grid reports placement, but it cannot tell you whether an edge should dissolve, a colour should warm, or a background should remain quiet. PNG and JPG exports suit a digital canvas; the PDF is more useful on a drawing board because it records the physical rules. Both can be made without uploading the client's photograph.
Before finishing, cover the construction lines and judge the piece as a customer will. Check its overall tilt, margins, and balance from several steps back. The measured setup should vanish into a natural-looking commission rather than remain visible as a system imposed on the image.
A dated crop approval beside the final scan also makes later reprints more consistent for both artist and customer.
When the reference is a close likeness, the portrait drawing grid guide covers facial landmarks; for the measured transfer itself, use the grid method walkthrough.
Continue the workflow
See Also
- art gridding
Move to a related guide when framing, scale, or portrait detail becomes the next concern.
- art grid tool
Move to a related guide when framing, scale, or portrait detail becomes the next concern.
- grid for artists
Move to a related guide when framing, scale, or portrait detail becomes the next concern.
- grid method
Move to a related guide when framing, scale, or portrait detail becomes the next concern.
- portrait drawing grid
Move to a related guide when framing, scale, or portrait detail becomes the next concern.
Questions answered
art grid FAQ
How do I copy an art grid onto paper?+
Rule the same number of rows and columns using the displayed millimetre intervals, then compare one cell at a time.
Does an art grid need square cells?+
No. Matching rectangular cells work well as long as the reference and drawing use the same proportions.
Is the paper measurement exact?+
The spacing is calculated from the selected paper dimensions and current row and column settings.
Real output
See the grid before you make one
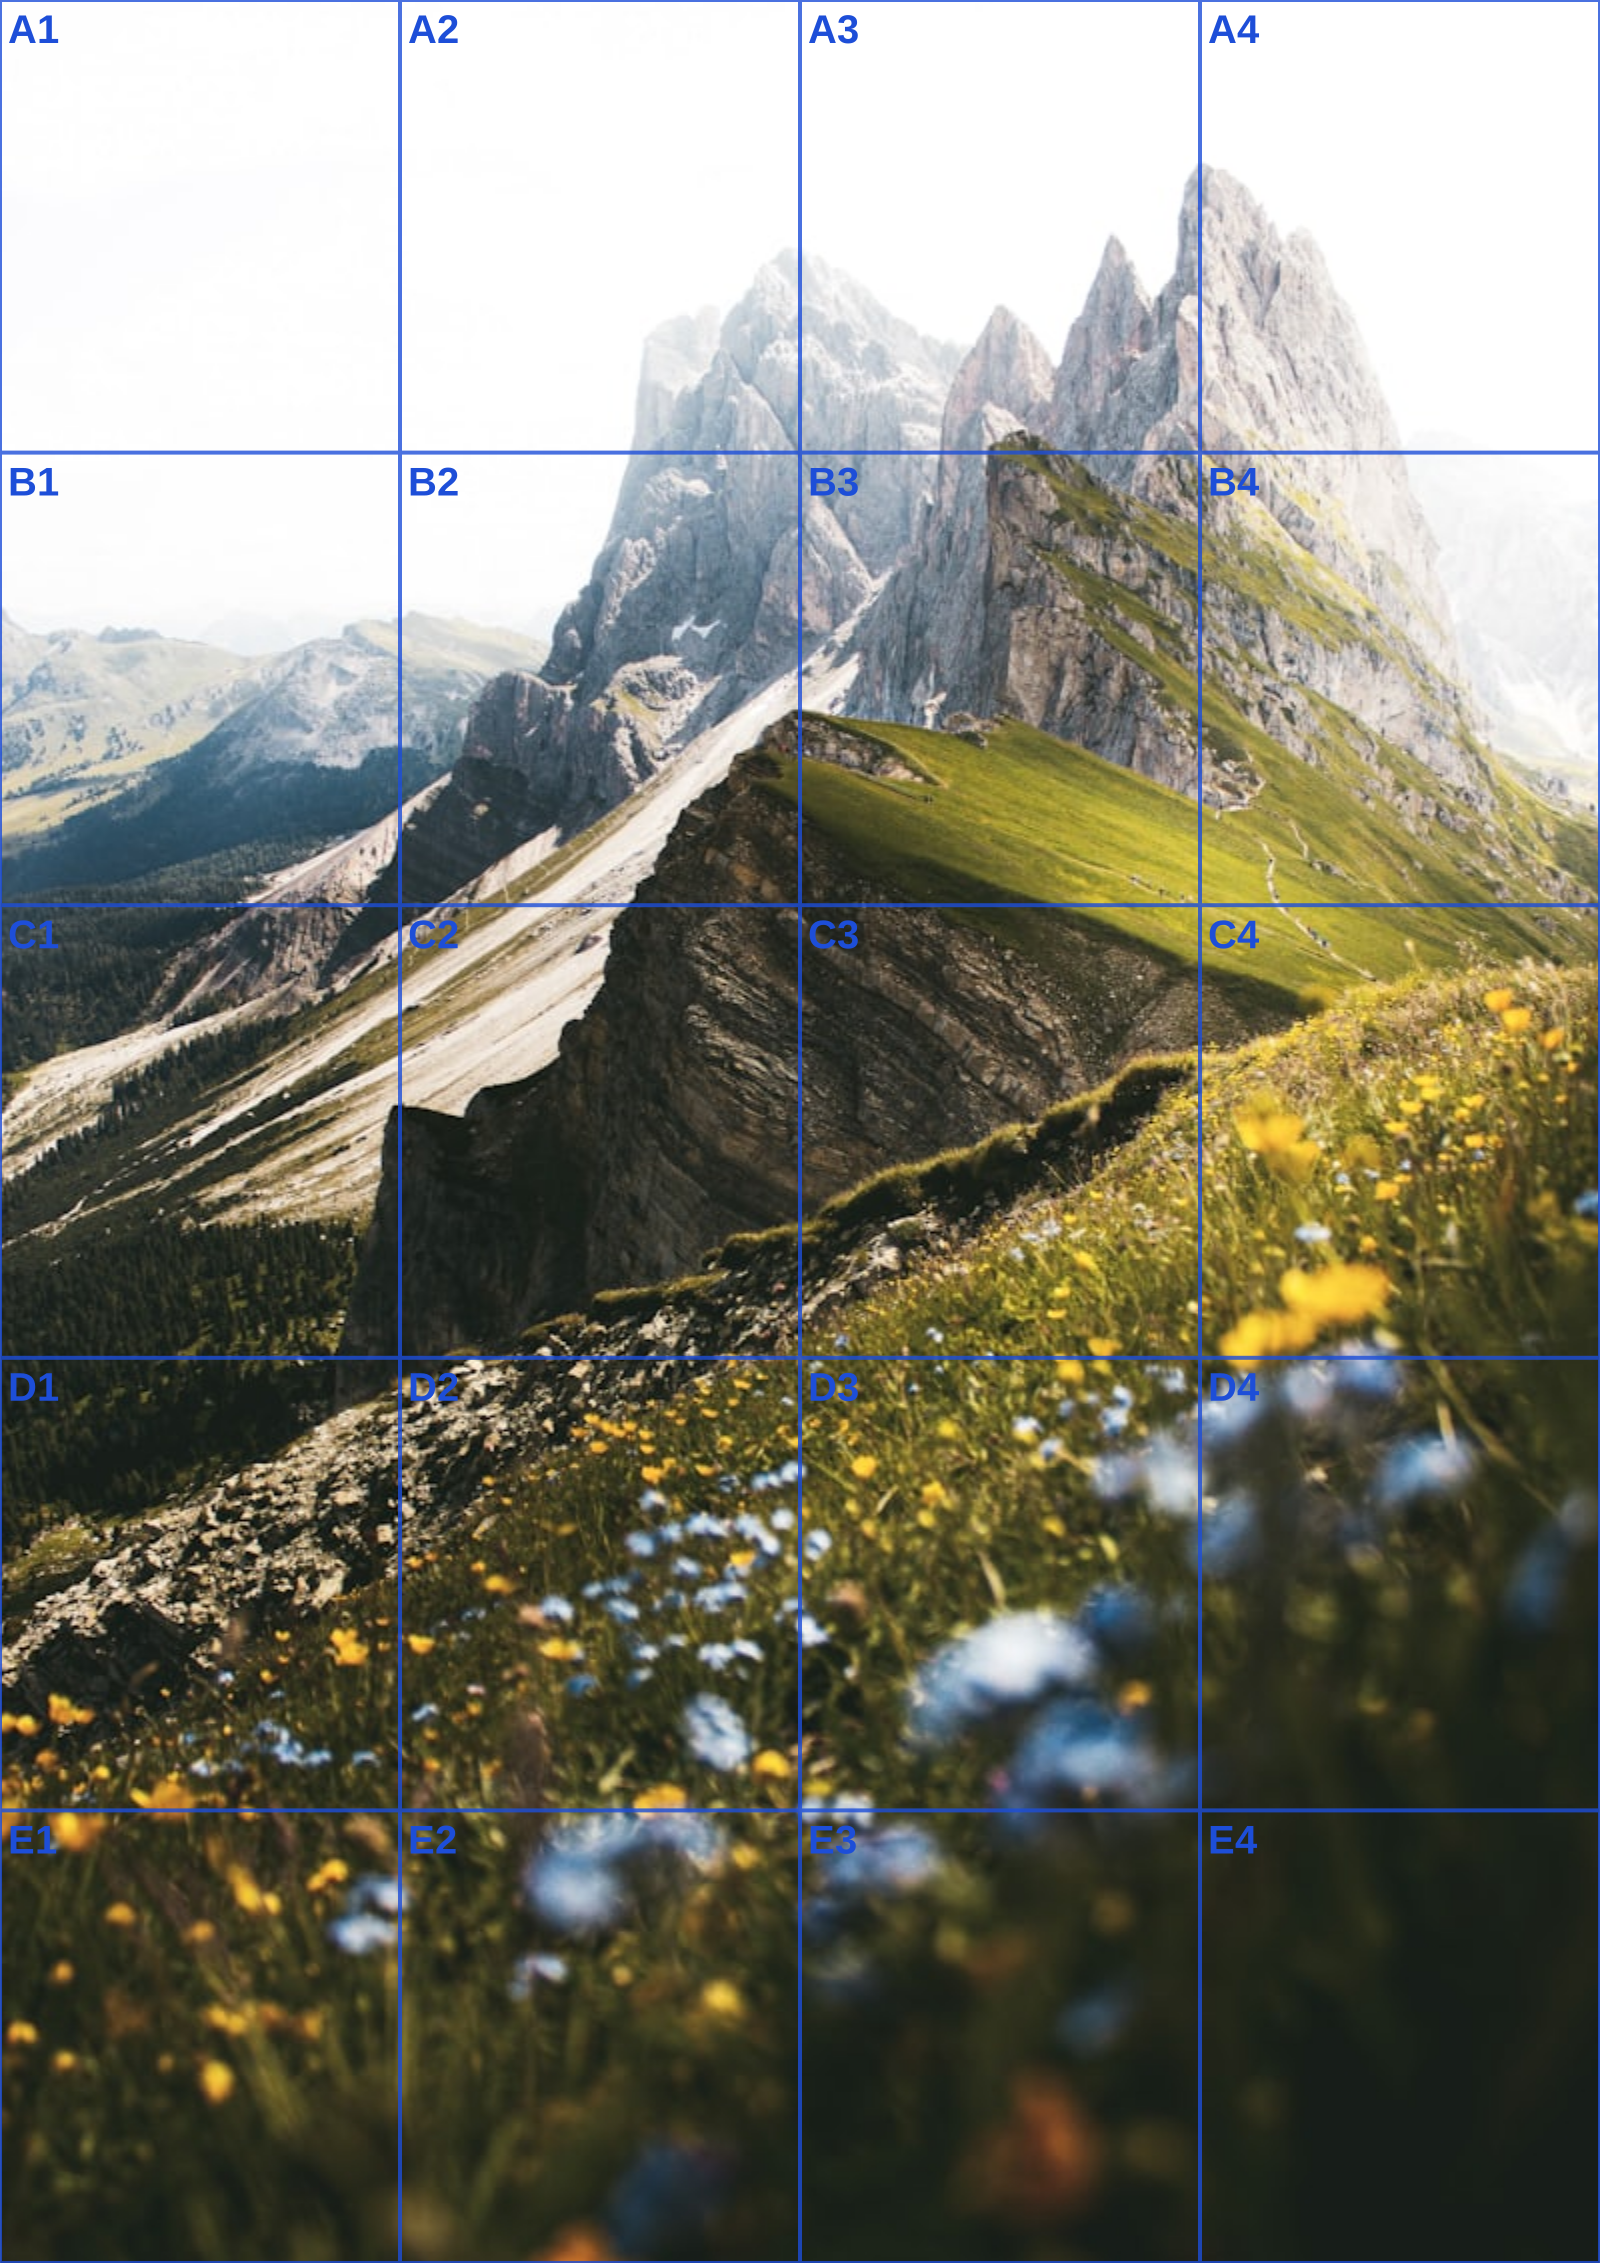
Three references run through this tool at different settings. The measurements are the spacing you would rule on paper at that size, so you can check them against a ruler after printing.