How to use it
A practical guide to grid method
The grid method is a drawing process for transferring the relative position of marks from a reference to another surface. First, divide the reference into rows and columns. Then divide the paper or canvas in the same ratio. Instead of copying the whole picture, compare one section at a time and place landmarks where they appear inside its matching cell. It is a method of measurement, not tracing: you still judge angles, negative space, and values with your own eye.
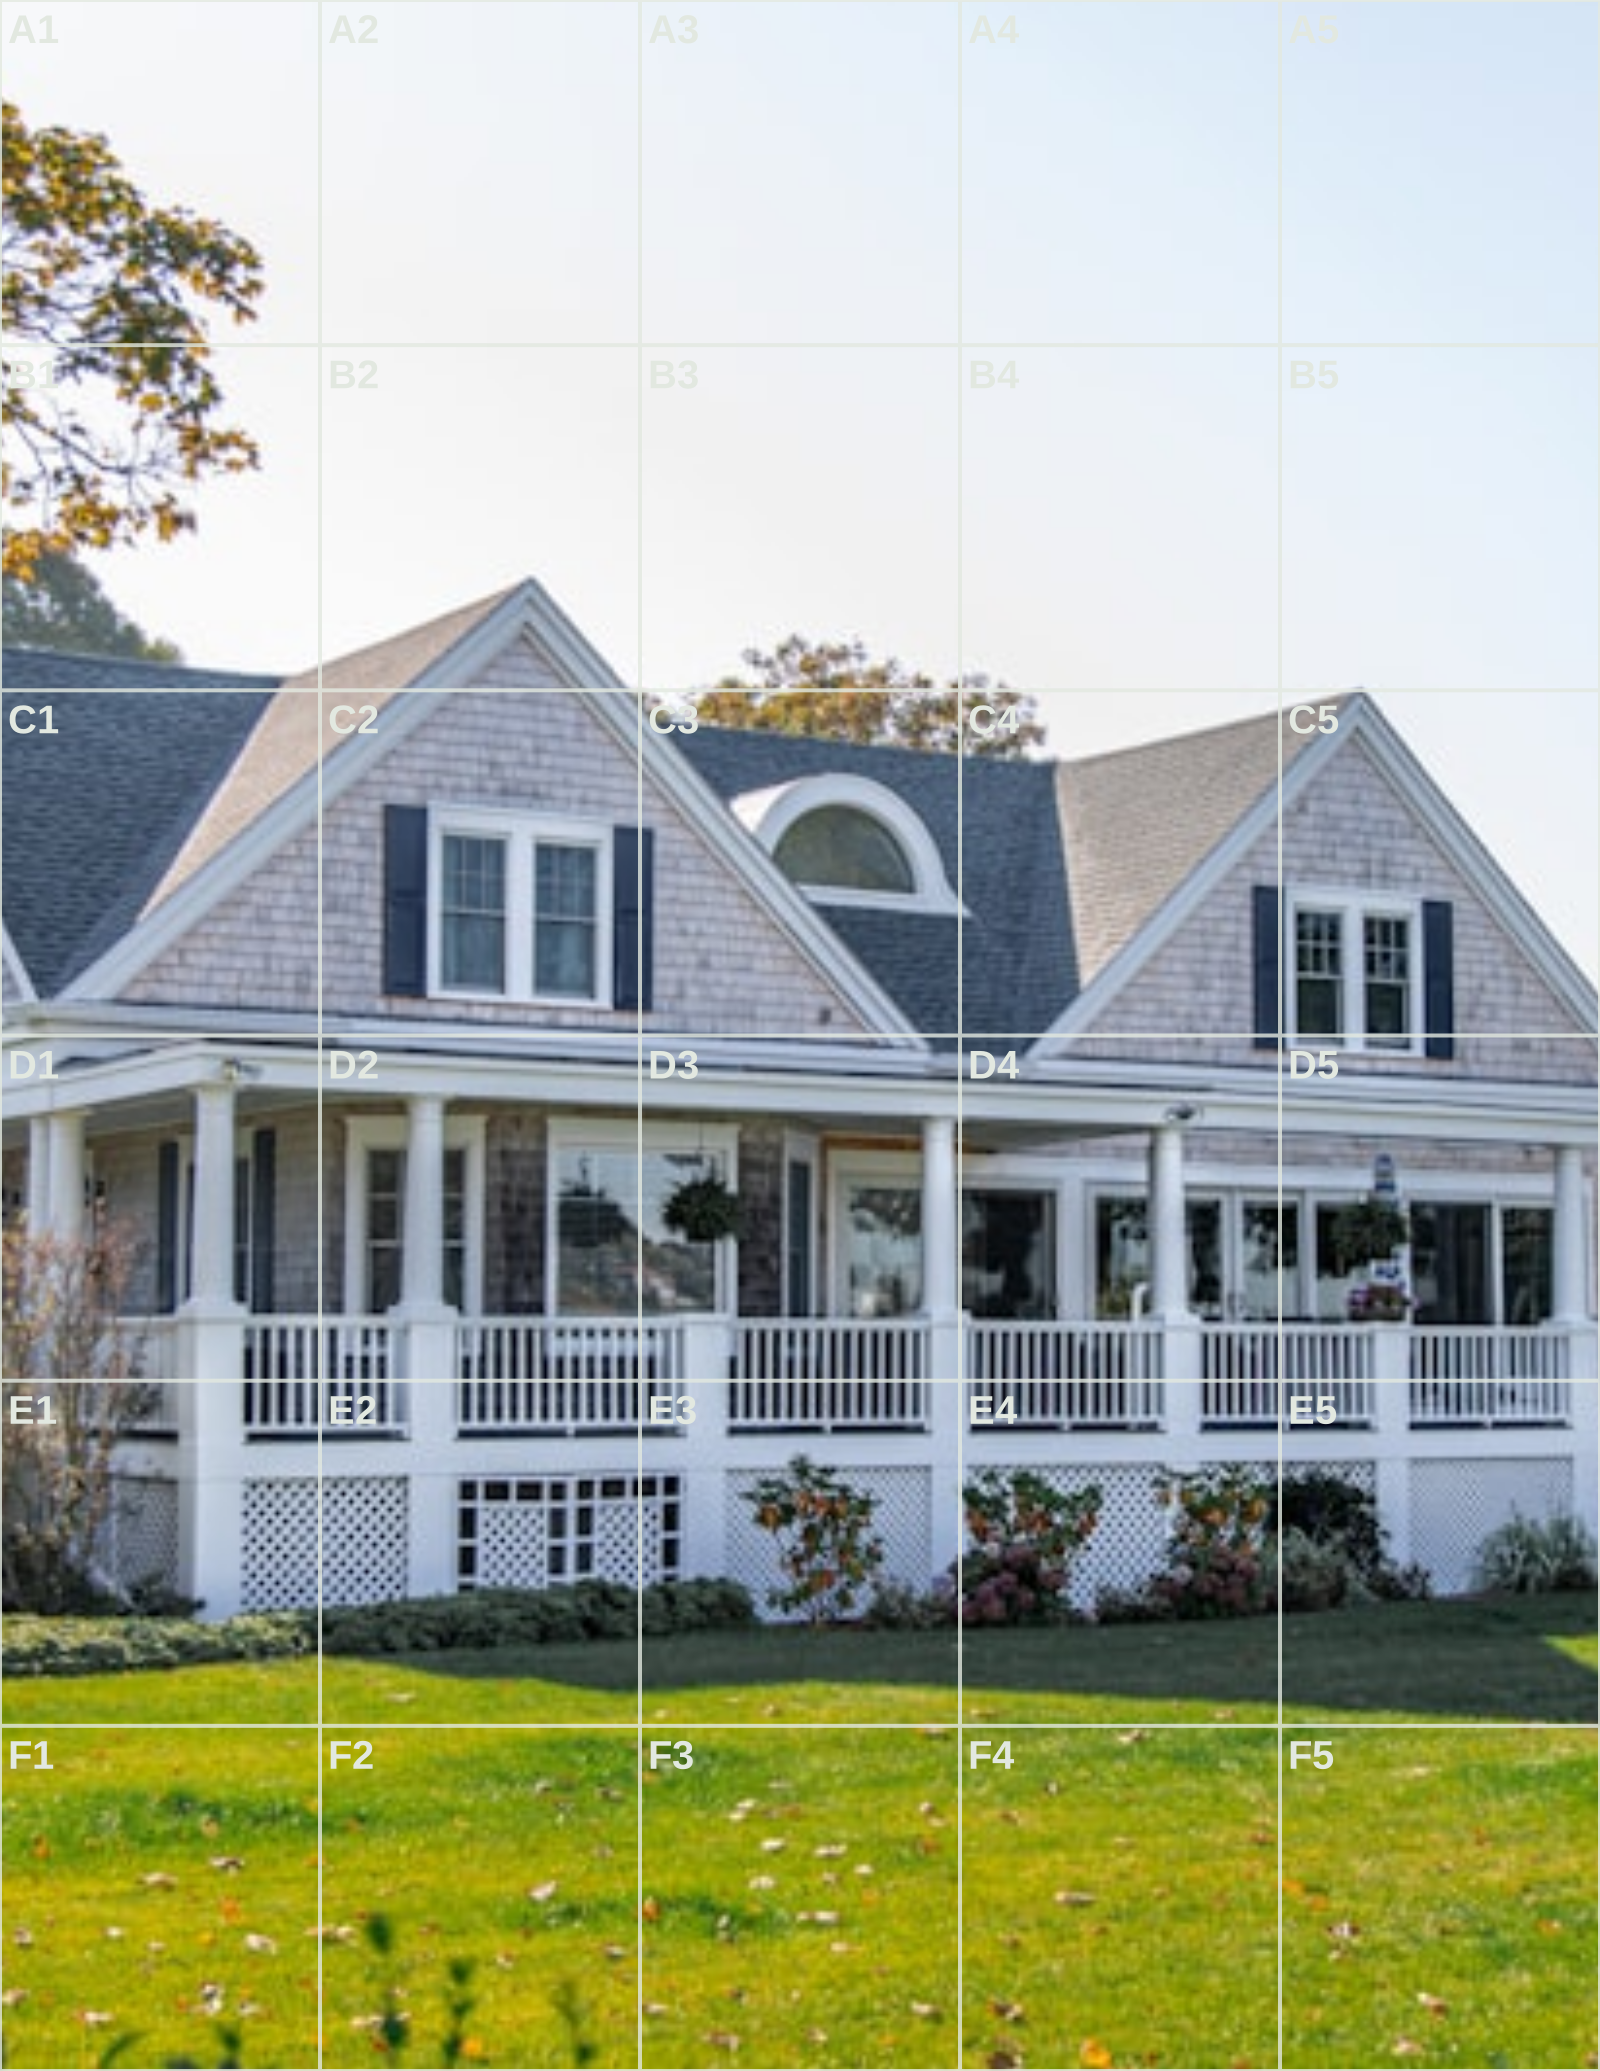
A reliable grid method pass starts with the outer frame. Mark the border, rule the divisions lightly, and identify a few large anchors such as the highest point, lowest point, centre line, and widest shape. Work across connected cells so an edge continues naturally rather than becoming a set of separate fragments. Check negative spaces as carefully as objects; the empty triangle beside an arm or the gap above a roof can reveal an error earlier than the subject itself. Erase the construction lines only after the main drawing is secure.
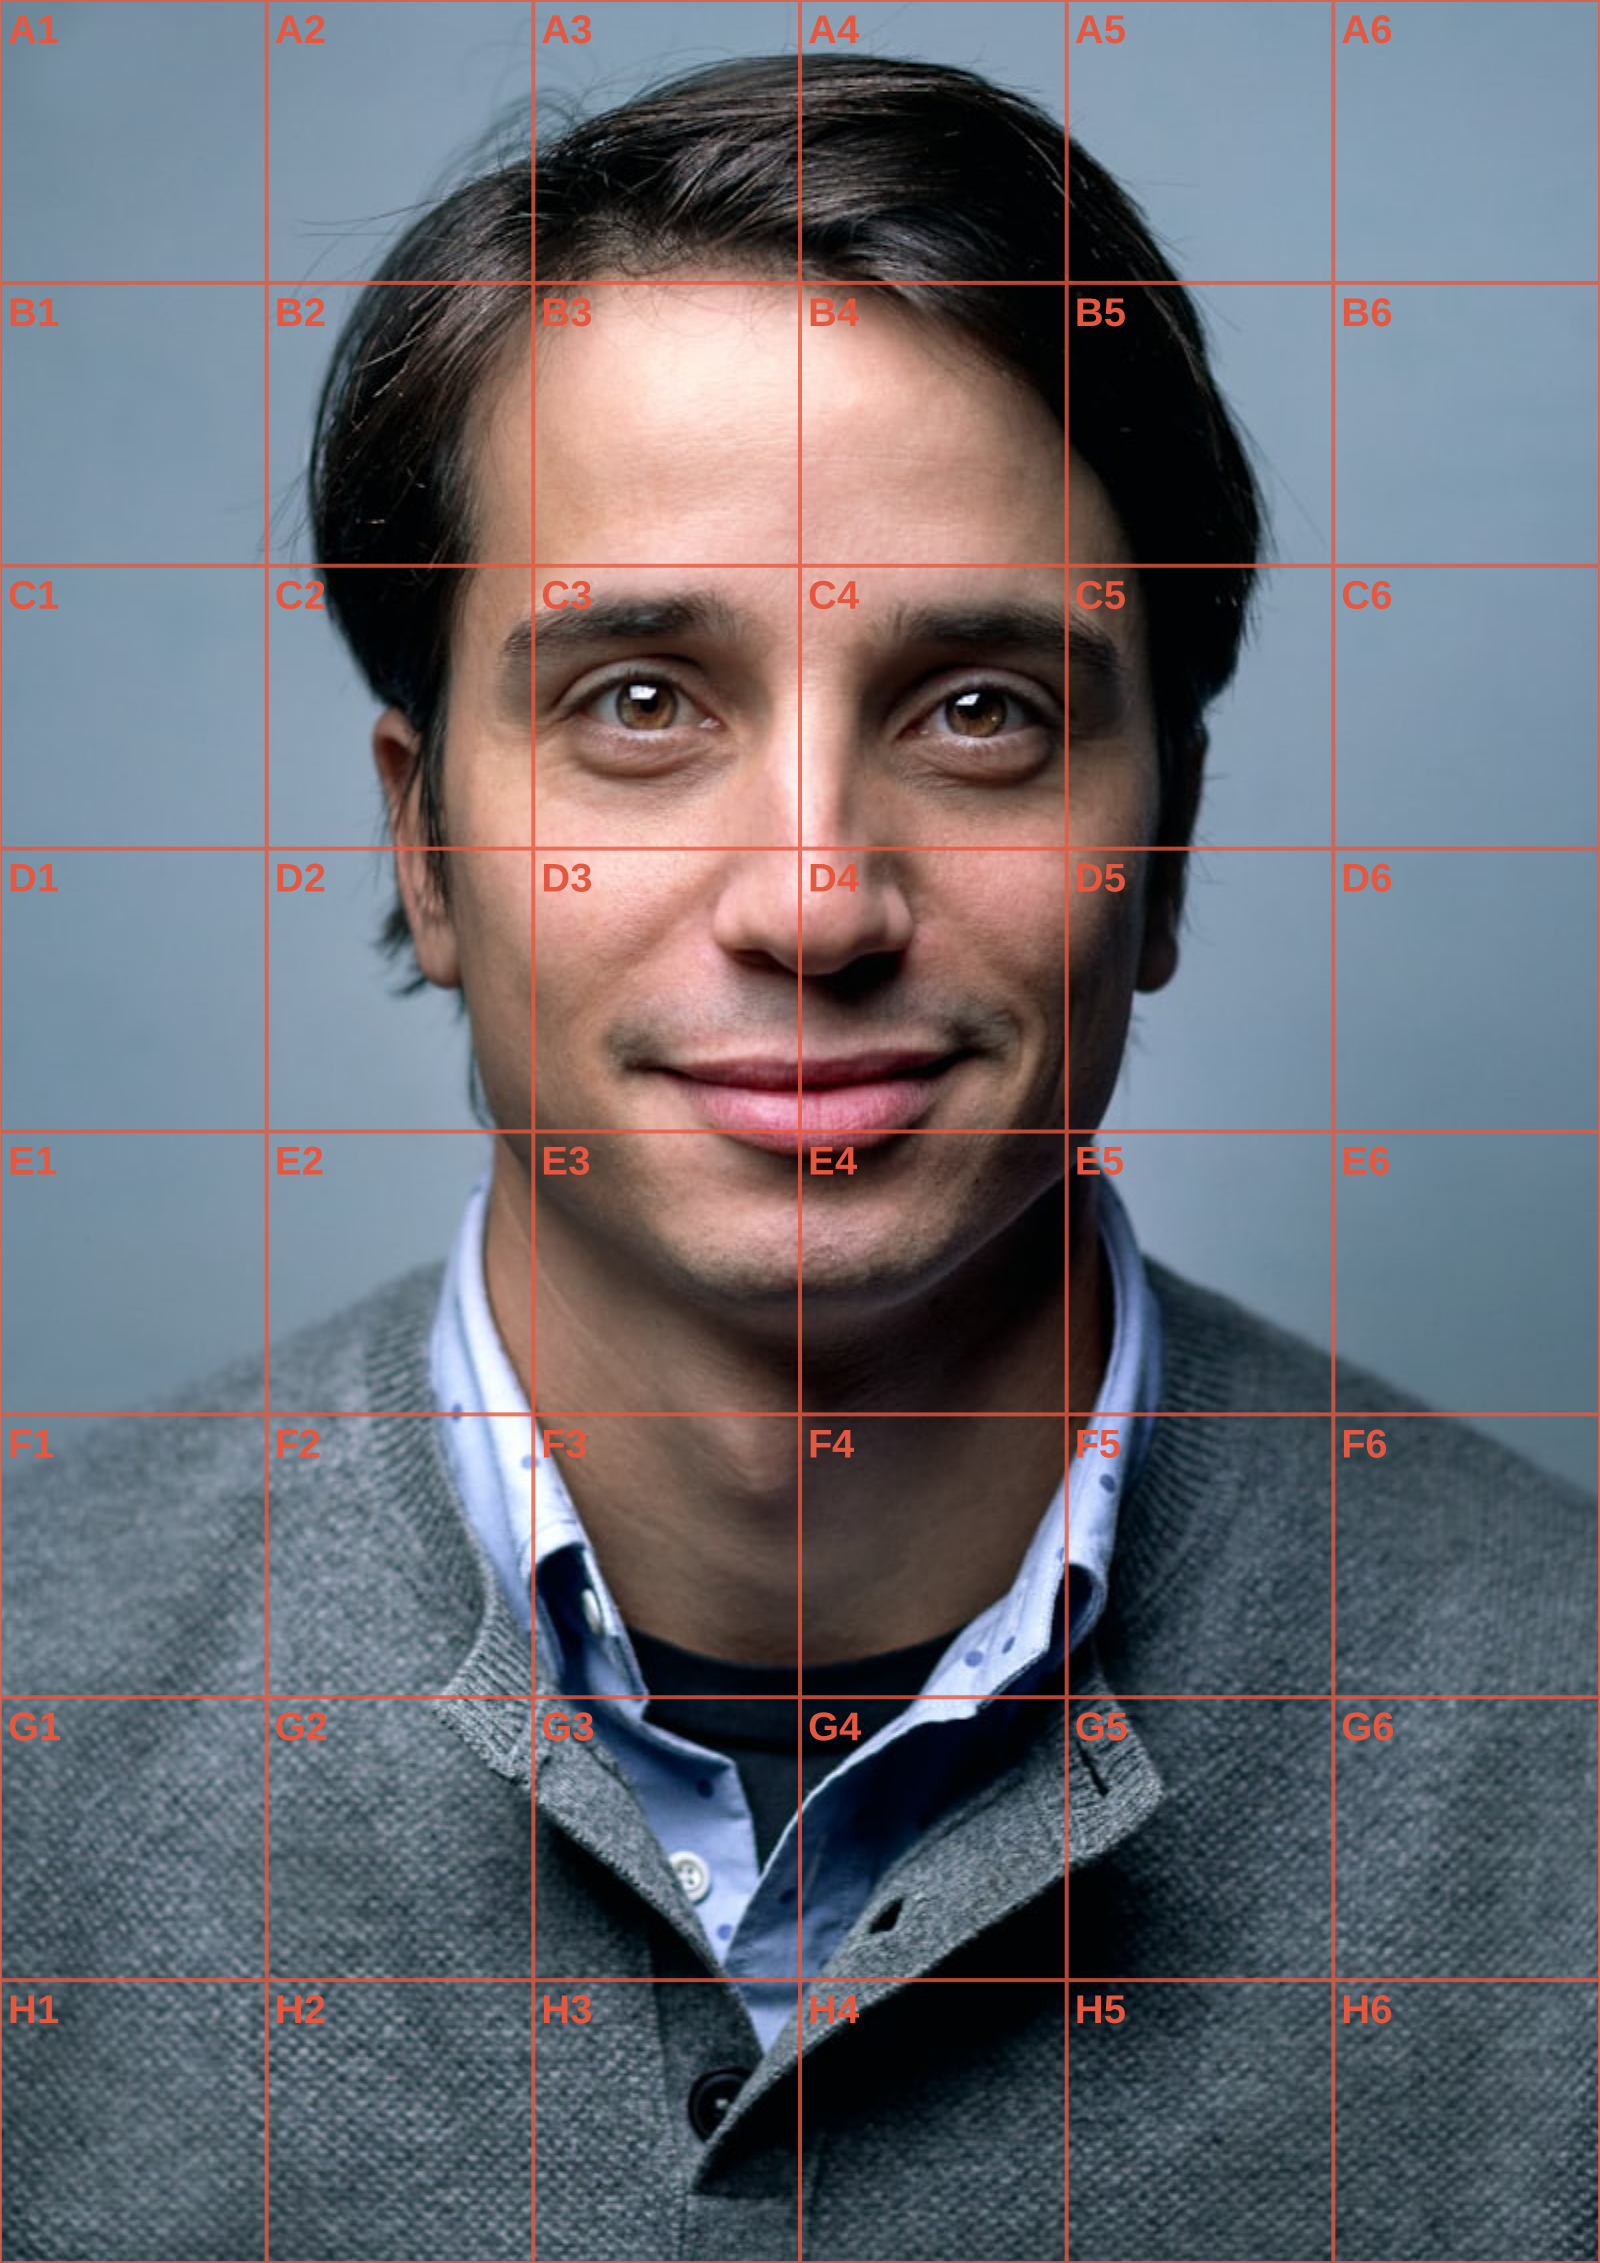
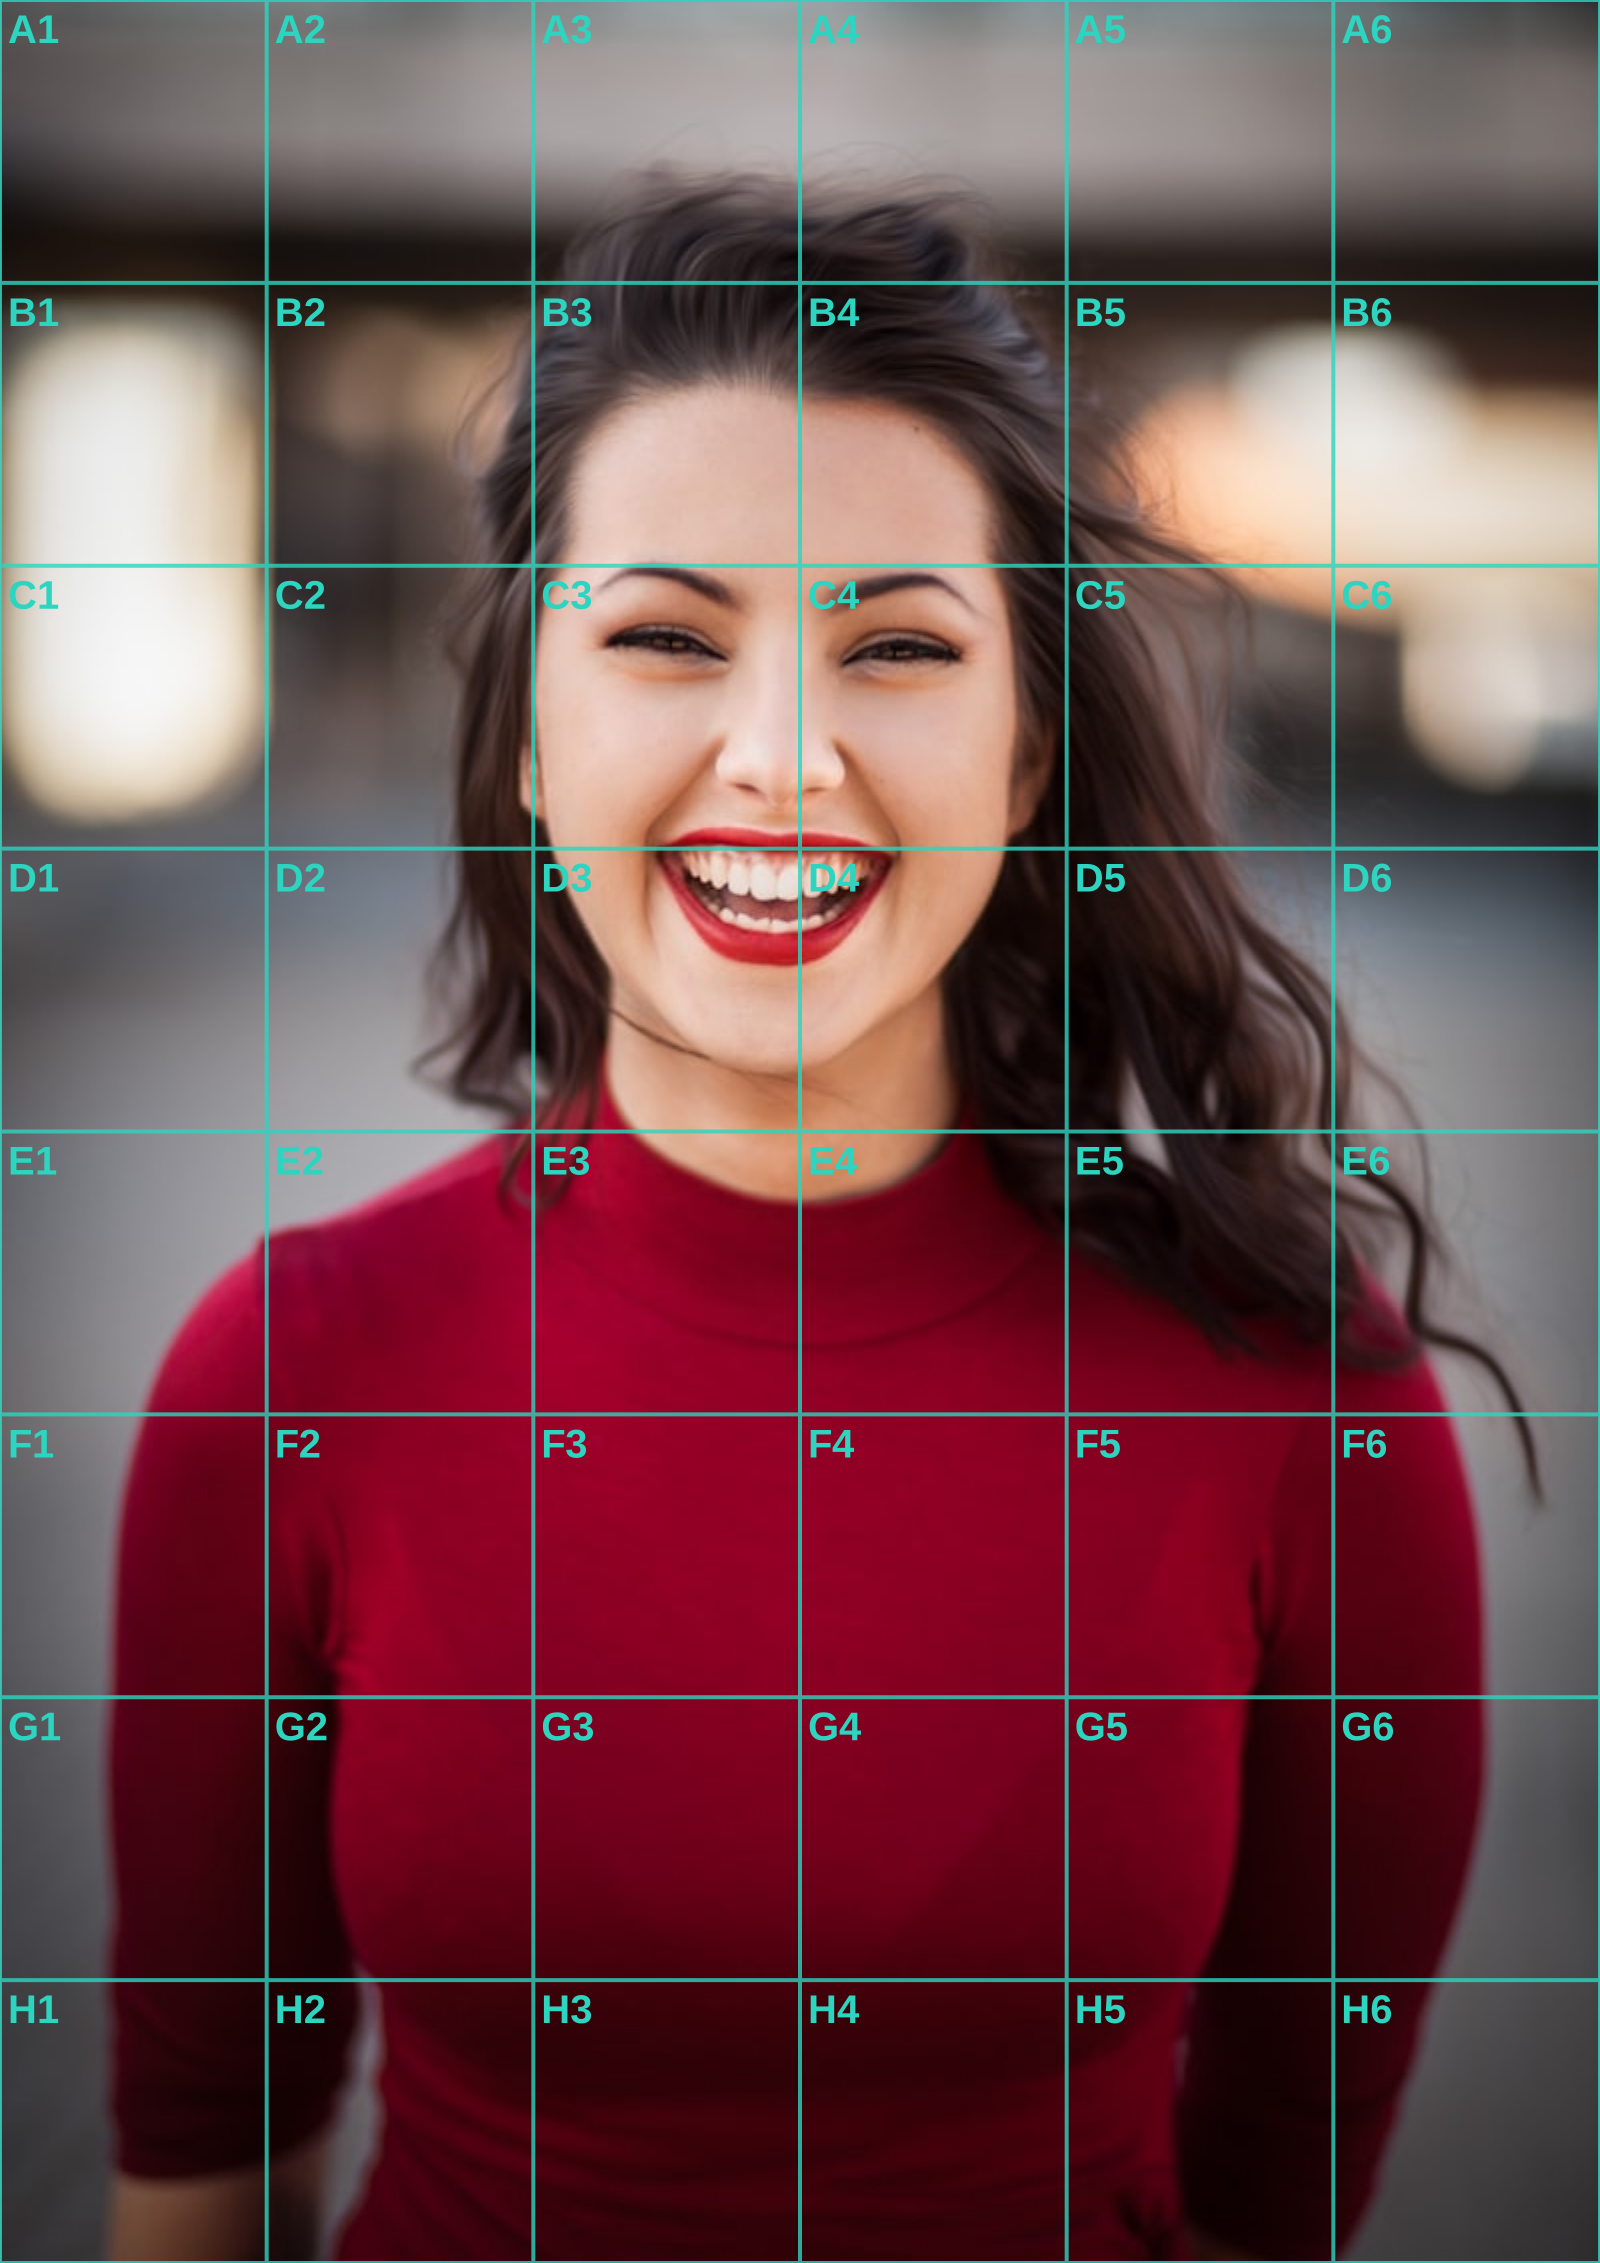
The tool above prepares the source side of the grid method. You can choose a grid that suits the complexity of the subject, show labels for a lesson plan, and switch to grayscale when value placement matters. Its paper selector reports the exact interval to use when ruling A4, A3, or US Letter. The PDF export repeats those instructions in a printing guide, so the file remains useful away from the screen. Image processing happens in local Canvas only, which keeps private references and student work on the device that opened them. To understand which decisions still depend on observation, compare grid drawing with tracing before beginning the transfer.
The grid method can also diagnose a finished drawing. Compare the largest intersections in the reference and the work, then identify the first cell where a relationship changes. Targeting that small divergence is usually less frustrating than redrawing the whole image and builds stronger measuring habits over time.
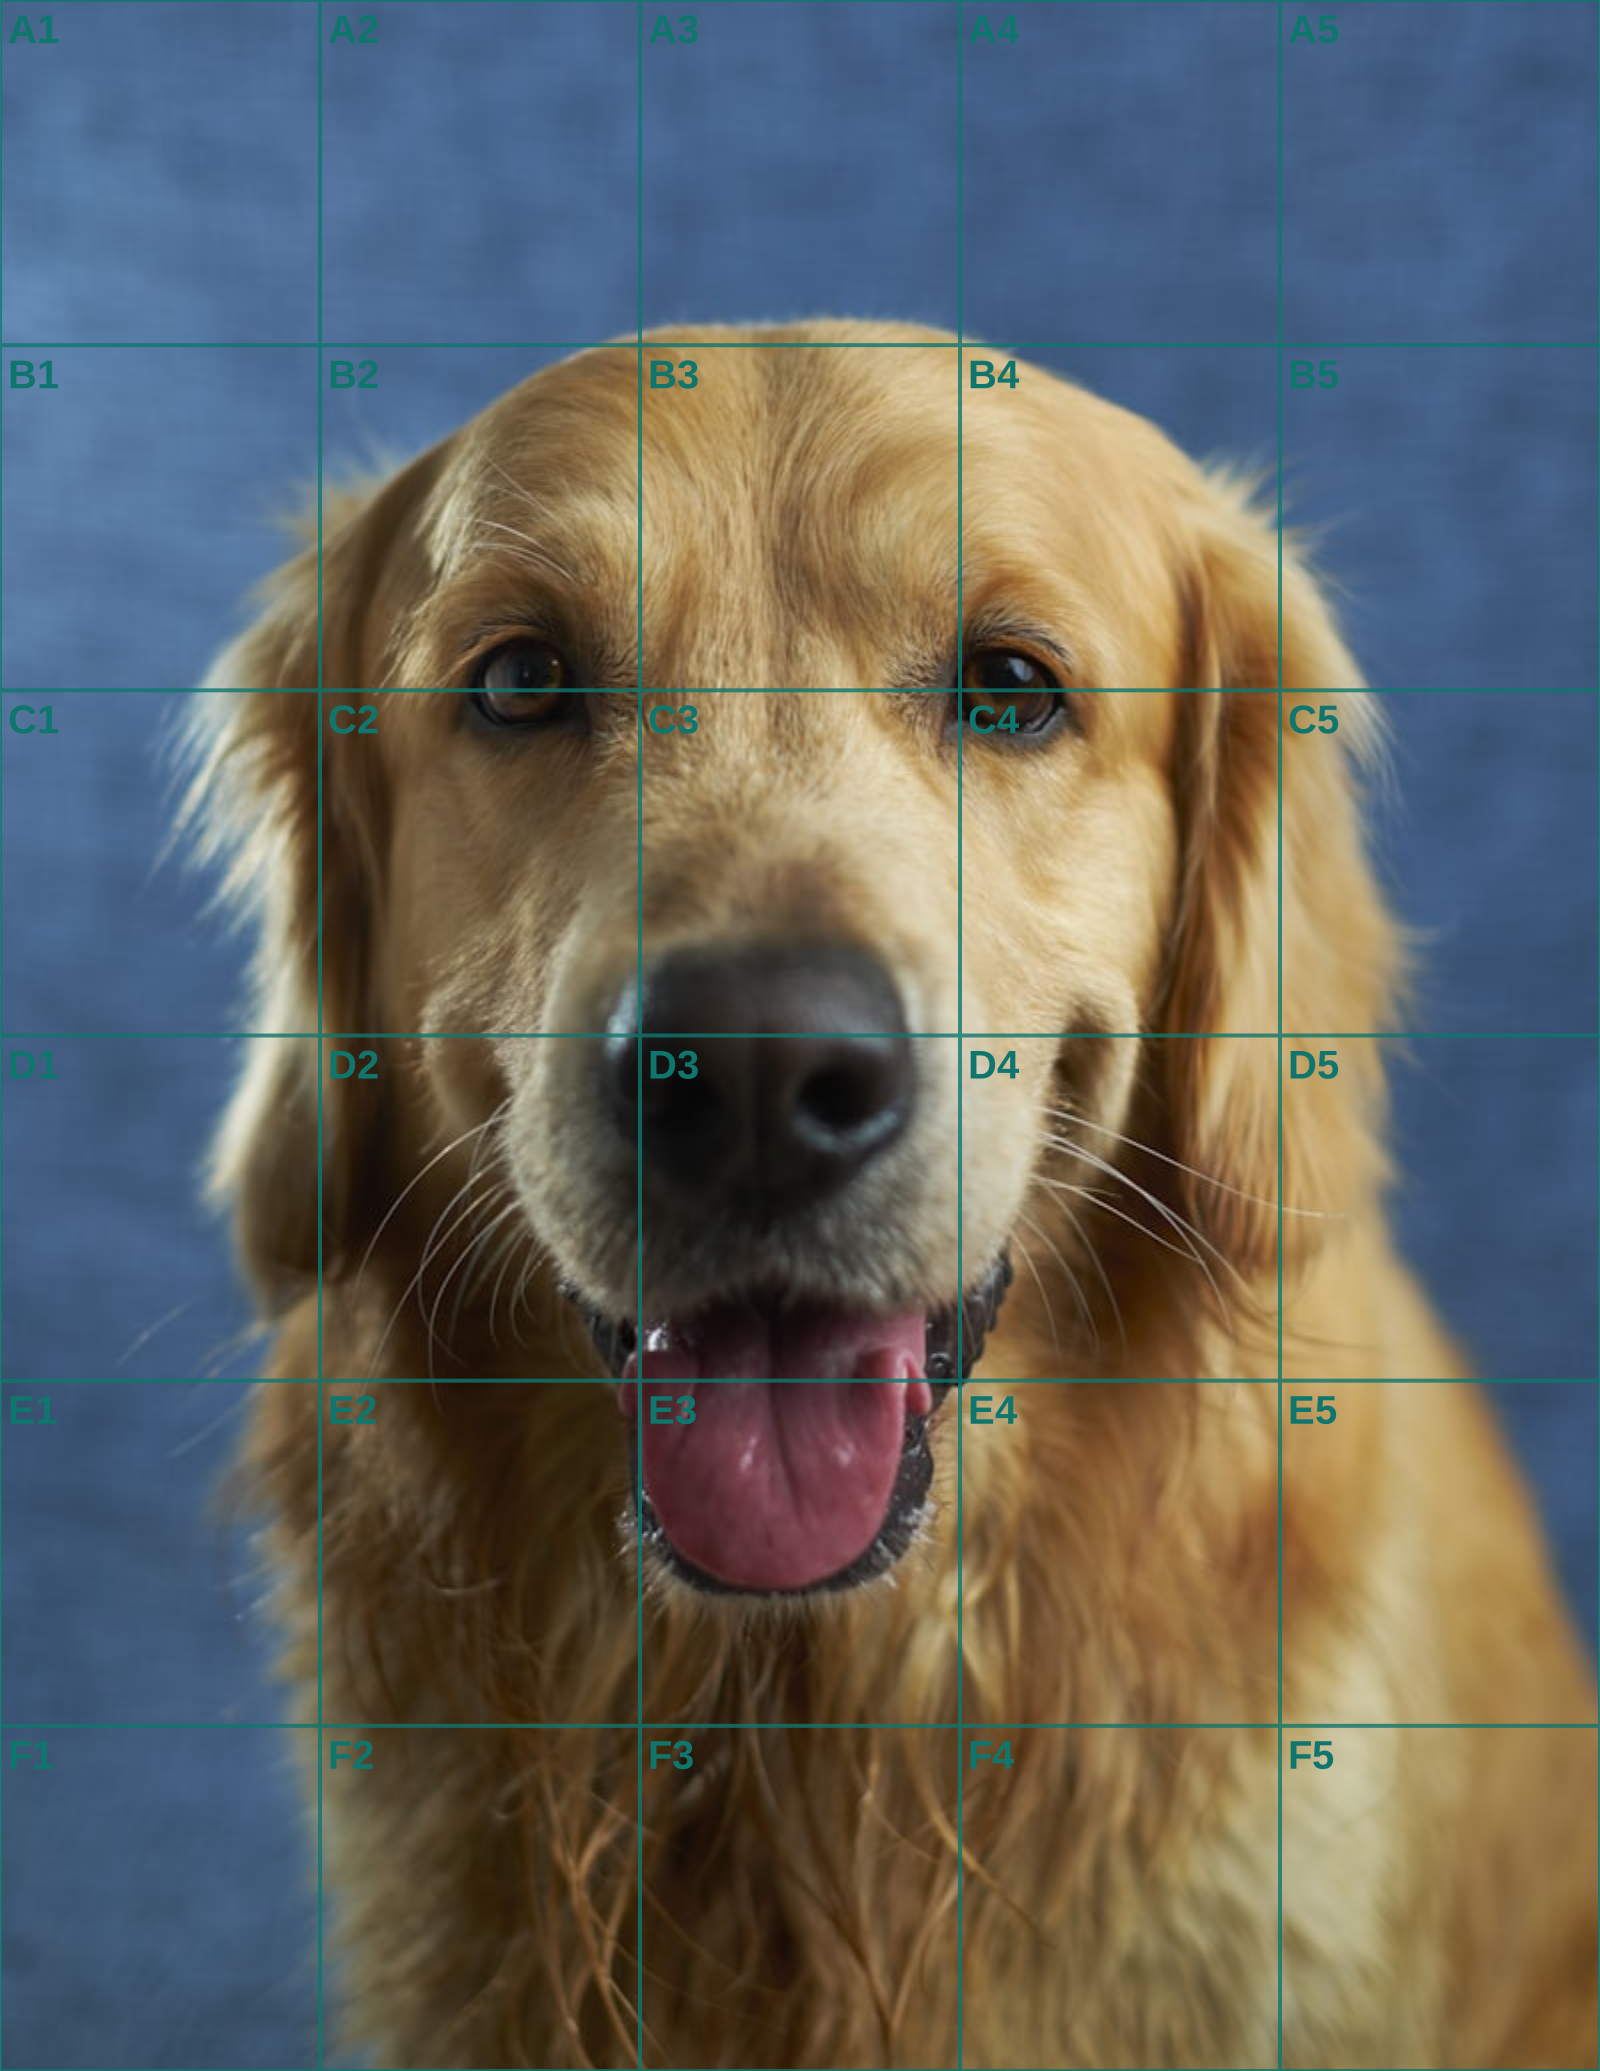
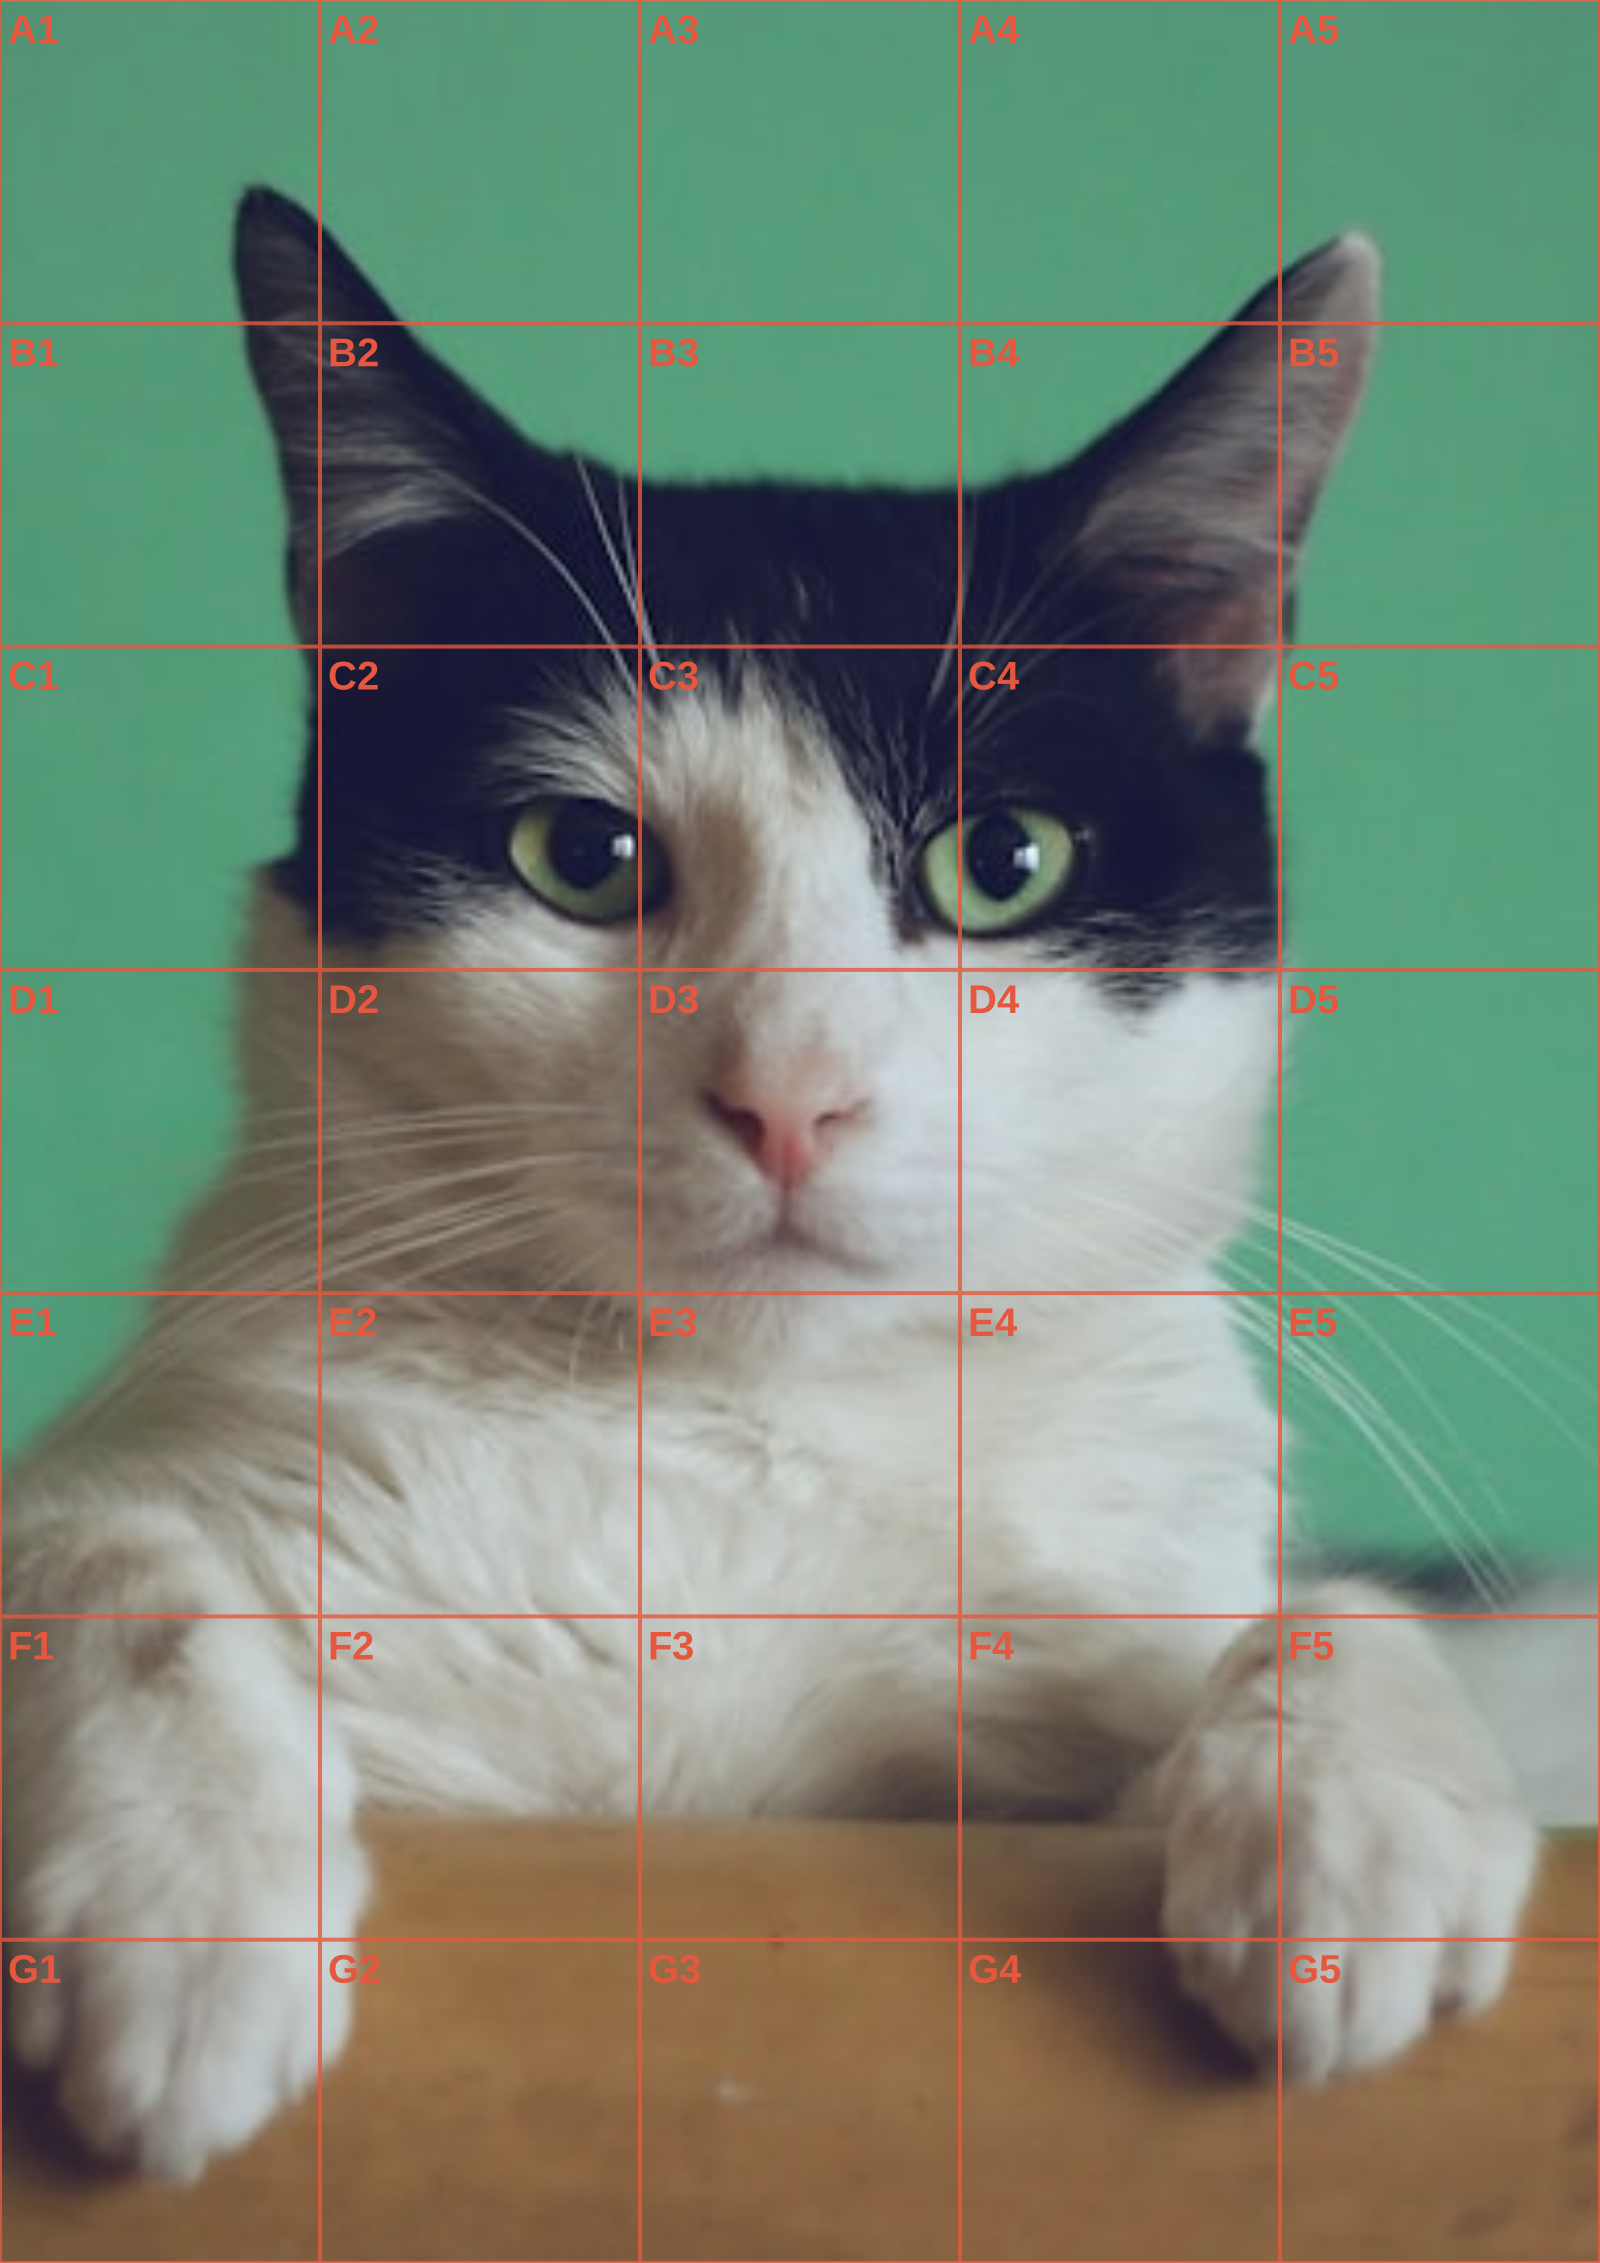
The grid method is a useful answer to a specific commission risk: the customer recognises their animal from relationships, not isolated details. A Labrador’s eye may be carefully rendered and still look wrong if the muzzle begins too high or the forehead is too short. Start with connected landmarks across adjacent cells: brow to eye, eye to nose bridge, nose to chin. Do not jump to the easy eye or shiny nose first. Easy cells feel productive, but they create a polished island that can lock an incorrect structure in place.
For a commissioned likeness, the grid method is as much about sequence as measurement. Start by finding the outer rectangle, central axis, and the few landmarks that connect the entire subject. On a dog head, place the skull width, eye line, muzzle base, and neck entry before rendering any eye. Those relationships tell the customer who the animal is; isolated detail cannot repair a head whose structure has drifted.
The most appealing feature is often the wrong place to begin. An eye or shiny nose rewards attention quickly, so artists can finish it before the brow, jaw, and muzzle have been checked. That polished island then becomes psychologically difficult to move. The grid method keeps the early work deliberately plain so the big corrections remain inexpensive and the drawing can grow as a connected system.
Use a teaching order that moves from frame to mass to landmark to contour. First establish the proportion of the approved crop on the support. Next block the largest silhouettes and value shapes. Then place shared points across cells, such as brow to nose bridge or shoulder to paw. Only after those checks agree should you divide the local shapes into smaller observations.
A physical demonstration works best when the class or studio rules identical intervals. The PDF records the selected A4, A3, or US Letter spacing in millimetres, allowing every participant to make the same boundary ticks with a ruler. Print at actual size and verify one horizontal and one vertical interval. If those differ, the lesson begins from different geometry even when the reference looks similar.
Choose a modest cell count for a first pass. The aim is to reveal decisive crossings, not to give every eyelash an address. A coarse grid encourages learners to ask where the head sits within the frame and how a silhouette changes direction. Add density only after the large proportions are coherent; otherwise, detail provides the illusion of progress while the drawing remains unstable.
The correction loop is part of the method, not evidence of failure. After a few connected cells, step back, compare negative spaces, and find the earliest point where source and drawing stop agreeing. Change that larger relationship, then continue forward. This is gentler and more teachable than erasing an entire finished section when a later comparison exposes the error.
For a client job, retain the clean approved crop and the exported grid separately. The overlay documents placement; the original supplies colour and character during finishing. Processing stays in the browser, and the chosen export can be a tablet-friendly image or a millimetre-guided PDF. The method supplies discipline without becoming a substitute for looking.
When teaching this sequence, ask learners to state the next structural question aloud before making another local mark.
That verbal pause reveals whether they are measuring a relationship or merely decorating the cell currently in front of them.
When the reference is a close likeness, the portrait drawing grid guide covers facial landmarks; for the measured transfer itself, use the grid method walkthrough.
Continue the workflow
See Also
- grid drawing
Continue with a related guide to practise the next measuring decision in sequence.
- portrait drawing grid
Continue with a related guide to practise the next measuring decision in sequence.
- photo into grid
Continue with a related guide to practise the next measuring decision in sequence.
Questions answered
grid method FAQ
Is the grid method the same as tracing?+
No. It uses matching divisions to help you measure and redraw relationships rather than following a line directly.
What should I draw first with the grid method?+
Begin with the outer boundary and large landmarks, then connect shapes before adding small details.
Can the grid method enlarge an image?+
Yes. In columns or rows mode, retain the derived counts while square cells scale uniformly; in cell-size mode, the target dimensions re-derive both counts.