For commissioned artists
A practical guide to grid art
Grid art begins with structure. Whether the planned result is a graphite study, a painted sign, or an abstract piece based on a photograph, a visible coordinate system gives the artist an anchor. The grid does not dictate style. It simply separates placement from interpretation, allowing you to establish the big shapes accurately before deciding how loose, textured, or simplified the finished marks should become. That distinction is why grids remain useful across traditional and digital practices.
When making grid art from a photo, first decide what needs to survive the transfer. A simplified poster may need only the main silhouette and two shadow blocks, so a coarse grid is enough. A realistic eye study needs more precise relationships, so more cells may be worthwhile. Keep lines narrow and partially transparent for a reference that still feels like an image, not graph paper. If you use labels, regard them as coordinates for planning rather than decoration; they are most useful when revisiting a difficult section after a break.
The ArtGrid editor gives you these choices without adding an online workspace around them. Load a JPG, PNG, GIF, or WEBP and the preview is constructed locally. Tune rows, columns, line width, colour, opacity, labels, and grayscale until the reference supports your intended grid art. The paper panel translates the selected layout into millimetres for A4, A3, and US Letter. Export a high-quality image for a tablet or a PDF whose footer tells you how far apart to draw each line. Your original file never leaves the browser.
Step back often while you work. A line may be correct in one cell but still feel disconnected when seen across the full picture. Alternating between close comparisons and a distant view helps grid art retain cohesion, so the finished result reads as one image rather than a collection of boxes.
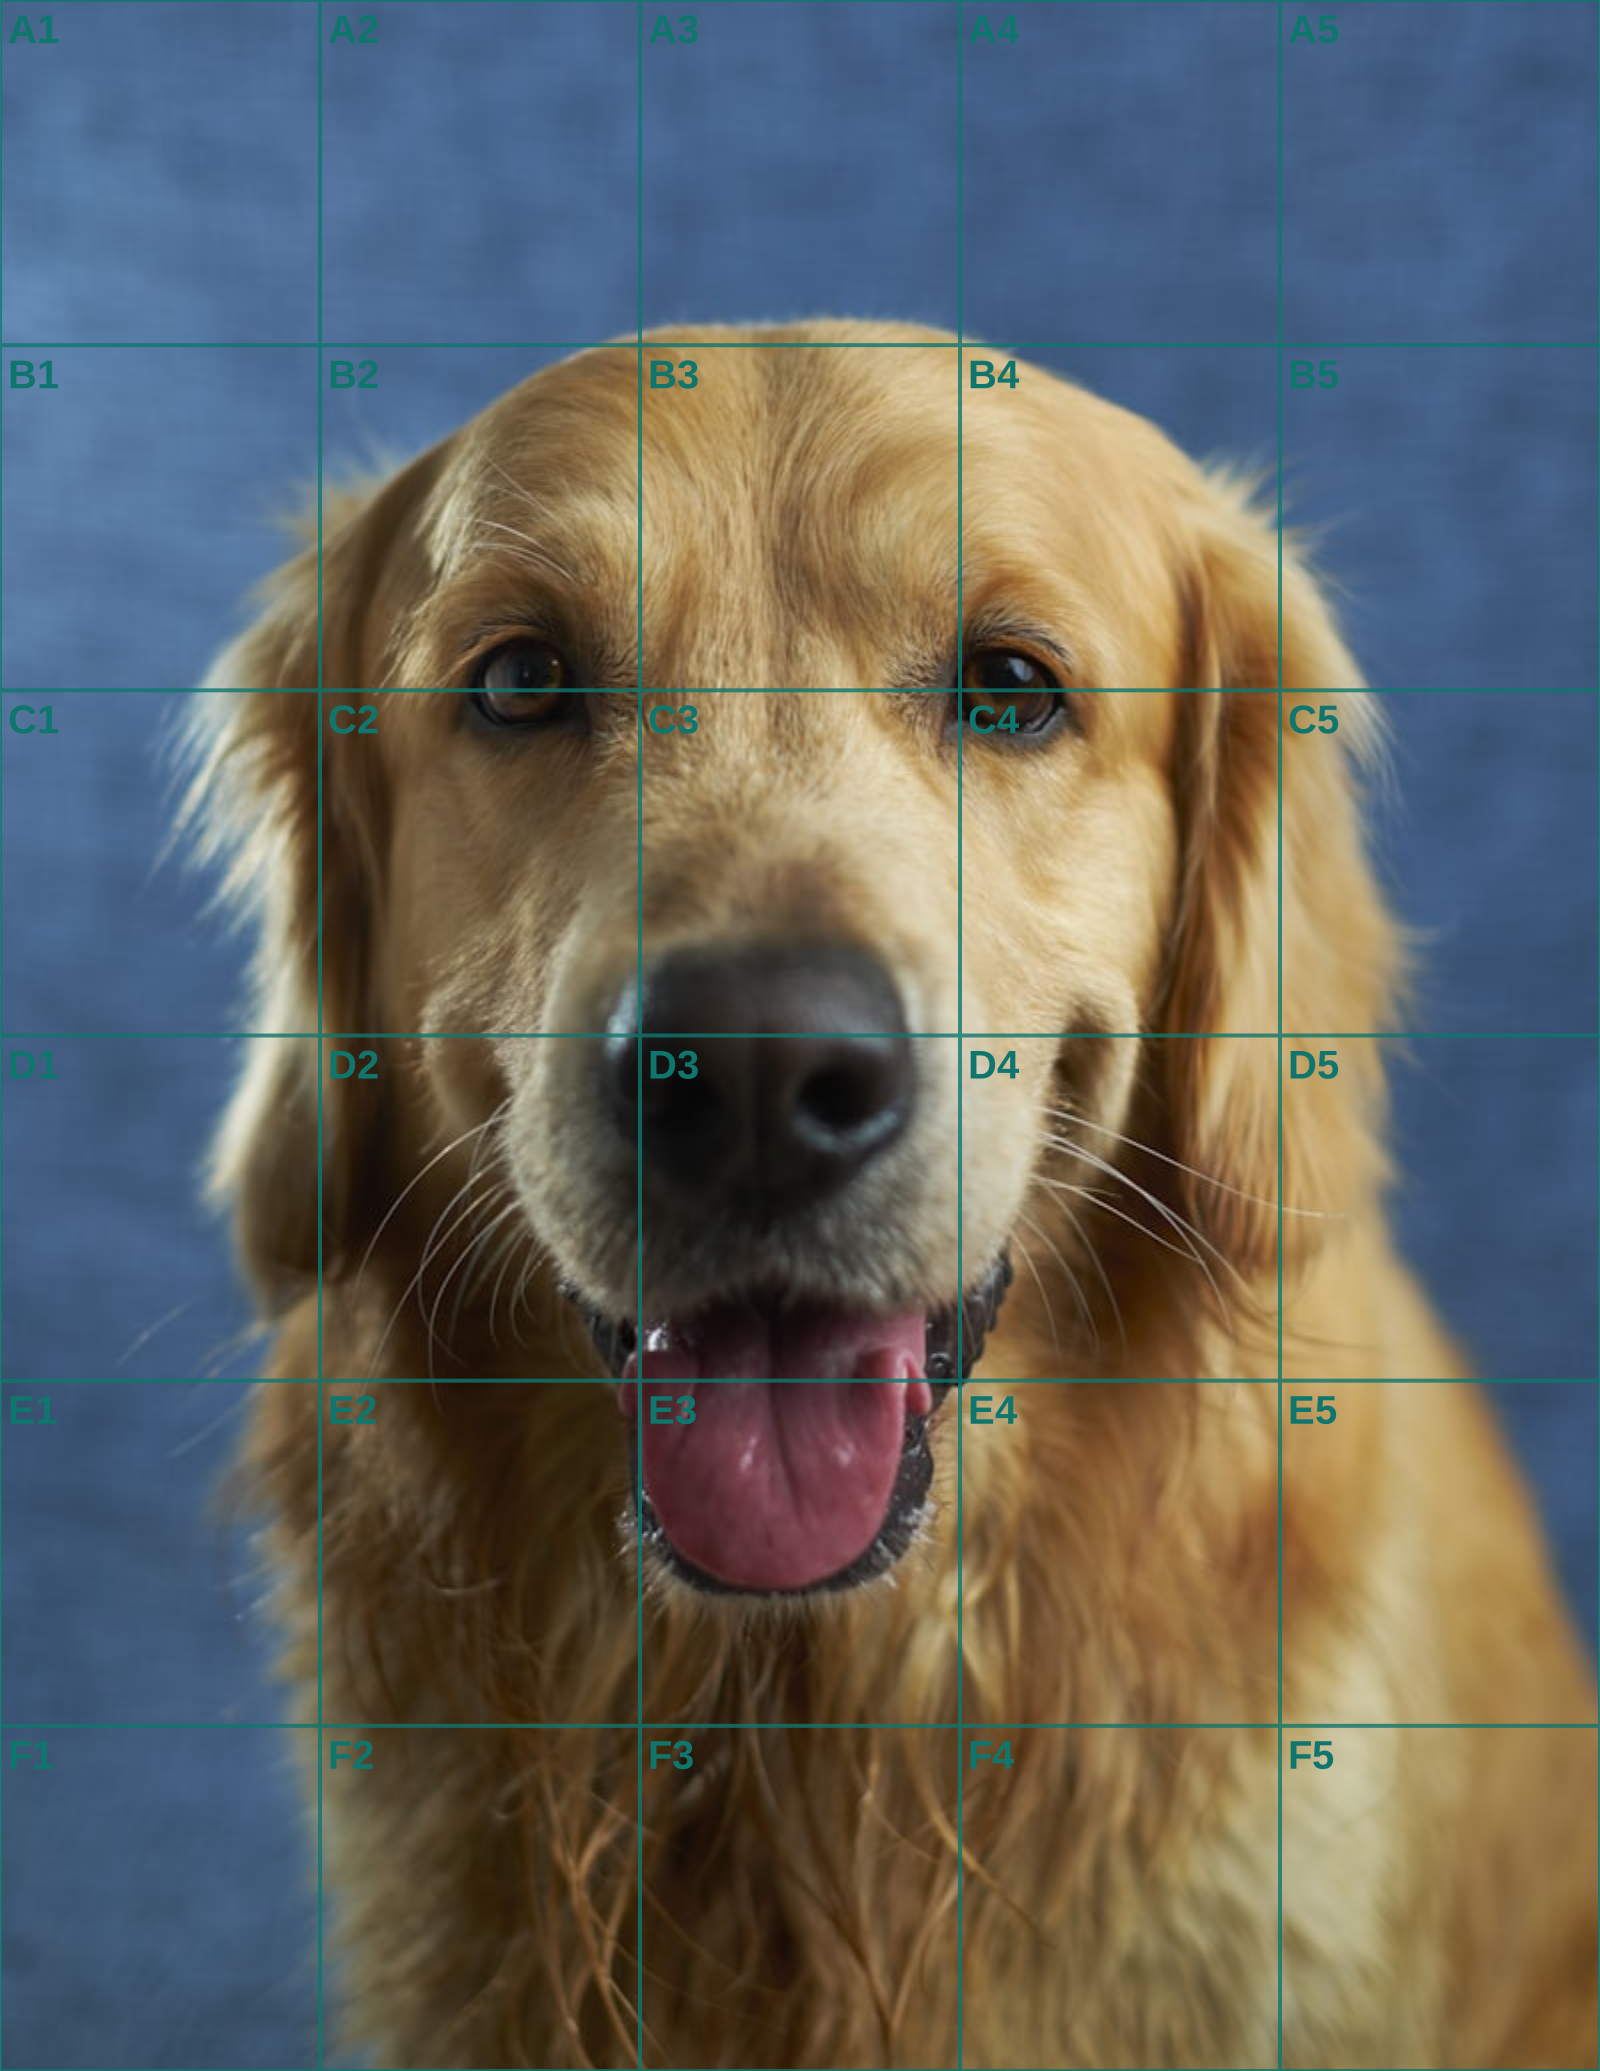
For grid art sold as a finished commission, decide what the grid is for before you make the first mark. A coloured-pencilled pet portrait may need the grid only through the graphite block-in; a graphic pet illustration may deliberately retain a few construction divisions as part of the design. Those are different jobs. Make the transfer grid faint and erasable unless the client has approved a visibly geometric finish. Heavy graphite rules contaminate pale fur and are difficult to lift without bruising paper.
For commissioned grid art, decide whether the grid is construction or part of the finished language of the piece. A coloured-pencil memorial portrait usually needs faint, erasable divisions that disappear before the final layers. A graphic illustration may deliberately retain a few measured lines as a visual motif. These are different promises to the client, so make the choice before choosing opacity, line colour, or paper.
Build a crop proof around the finished presentation. A frame opening, a greeting-card format, or a square social preview can change how much space a subject needs. Place the main silhouette inside that final rectangle and get approval before transfer begins. Keeping an unmarked original alongside the gridded file lets you show the client composition without implying that the overlay itself is their finished artwork.
Grid art can use a coarse layout when the final treatment is simplified. If the commission depends on bold flat shadows and a recognisable outline, locate the silhouette, main value blocks, and a few decisive diagonals. A realistic rendering of a small face needs more landmarks, but the count should still leave room to see the image. Dense cells are a poor substitute for deciding what information the style actually needs.
For paper work, rule the destination in the format that will be displayed, not necessarily the largest sheet available. The PDF gives millimetre spacing for the selected format, so a ruler can establish equal divisions before paint or pencil arrives. Verify the printed reference at 100 percent, particularly if a printer dialog offers to enlarge small margins. The eye cannot reliably spot a small scaling change once the grid is printed.
Work from the composition inward. First identify the outer boundary and the largest light-dark pattern, then let individual graphic shapes occupy their cells. A highly appealing eye, collar tag, or highlight should wait until the head and body relationship is secure. In stylised work, a misplaced large shape is more damaging than a missing tiny accent because it controls the image from a distance.
At the cleanup stage, lift construction marks according to the chosen medium. Heavy graphite under pale colour can contaminate a passage, while a visible line in ink may be exactly what the design calls for. Compare the clean reference for colour and edge decisions; use the overlay only if a shape needs relocation. This separation keeps the grid useful without letting it dictate the final surface.
A local export is helpful when the source is a client's personal photograph. Save a version for tablet work or a PDF for a physical board, then keep the original where your studio records belong. The tool's job ends at measured preparation; authorship and finish remain with the artist.
For graphic commissions, compare the planned line treatment at thumbnail size before deciding that visible construction divisions strengthen the design.
That distance check distinguishes intentional geometry from a transfer aid that accidentally competes with the finished image.
When the reference is a close likeness, the portrait drawing grid guide covers facial landmarks; for the measured transfer itself, use the grid method walkthrough.
Continue the workflow
See Also
- art grid
Explore a related guide when the chosen finish needs a different kind of planning.
- art grid maker
Explore a related guide when the chosen finish needs a different kind of planning.
- artists grid
Explore a related guide when the chosen finish needs a different kind of planning.
- grid image generator
Explore a related guide when the chosen finish needs a different kind of planning.
- grid drawing
Explore a related guide when the chosen finish needs a different kind of planning.
Questions answered
grid art FAQ
Can grid art still look expressive?+
Absolutely. The grid is a temporary planning aid; your material choices and mark-making remain entirely your own.
Which line colour is best?+
Use a colour that contrasts with the reference without obscuring it. A warm red or muted blue often works well.
Can I remove the grid later?+
The export contains the grid, but your original file is unchanged. Keep the original if you want an unmarked version.
Real output
See the grid before you make one
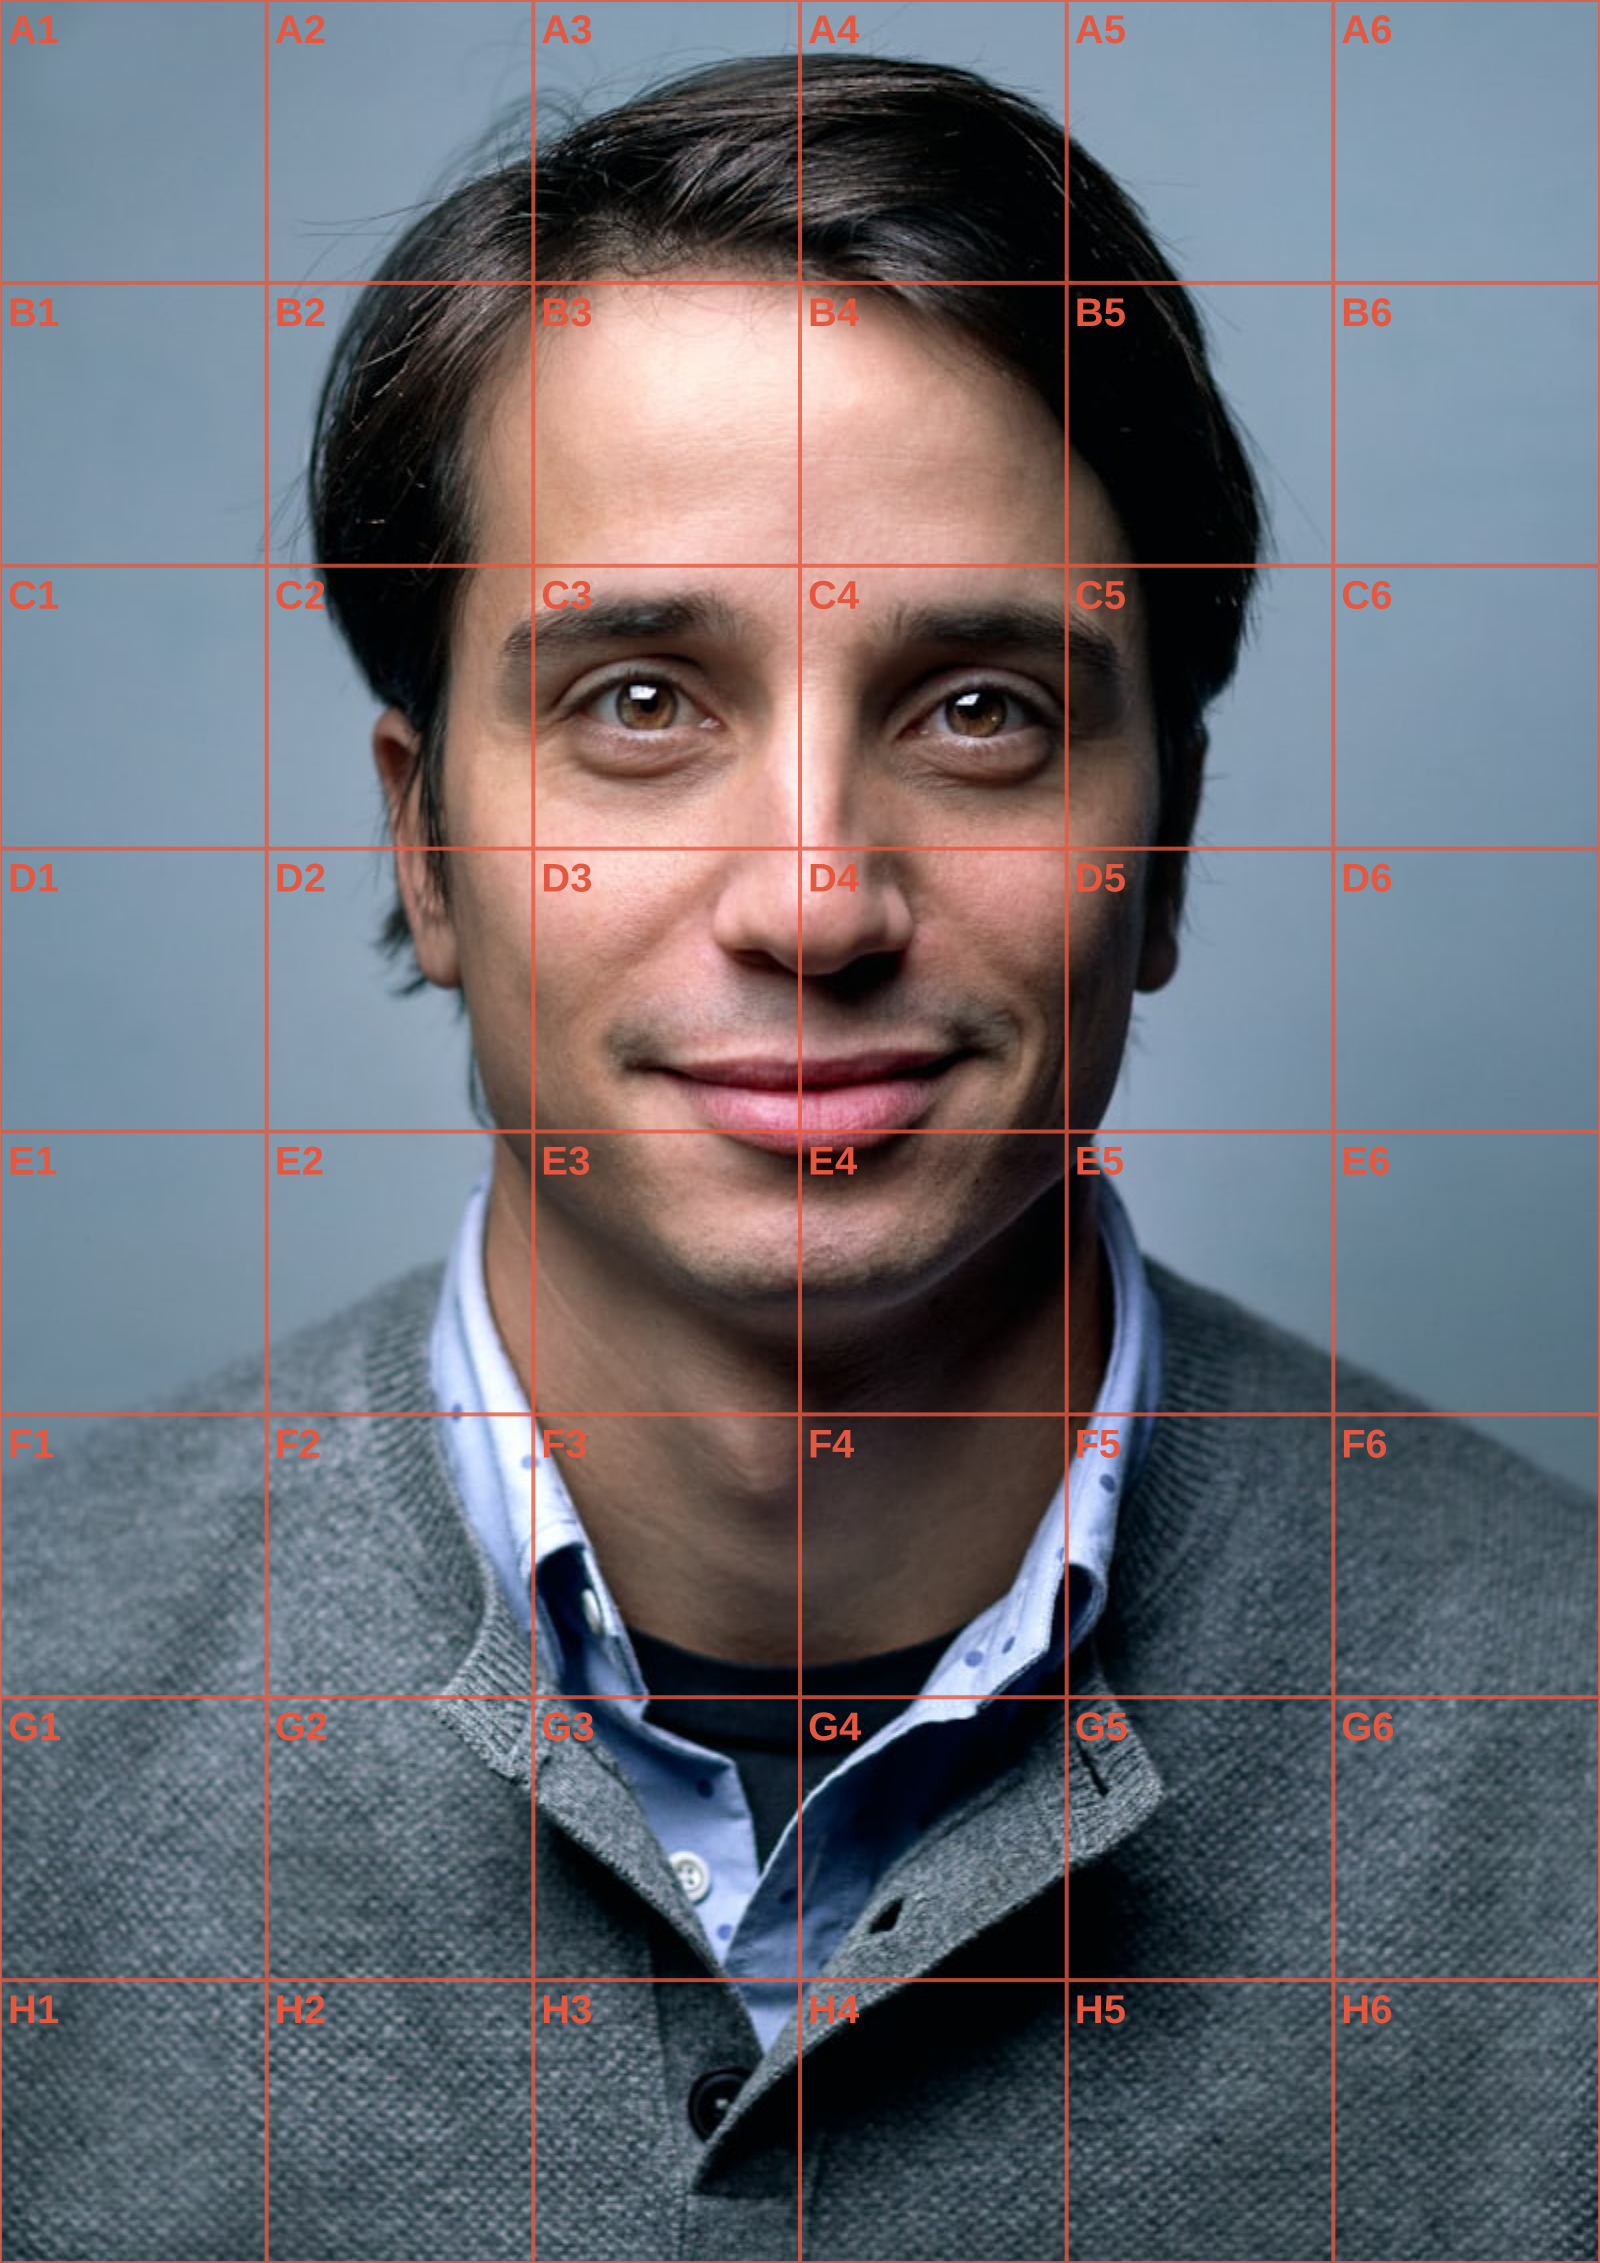
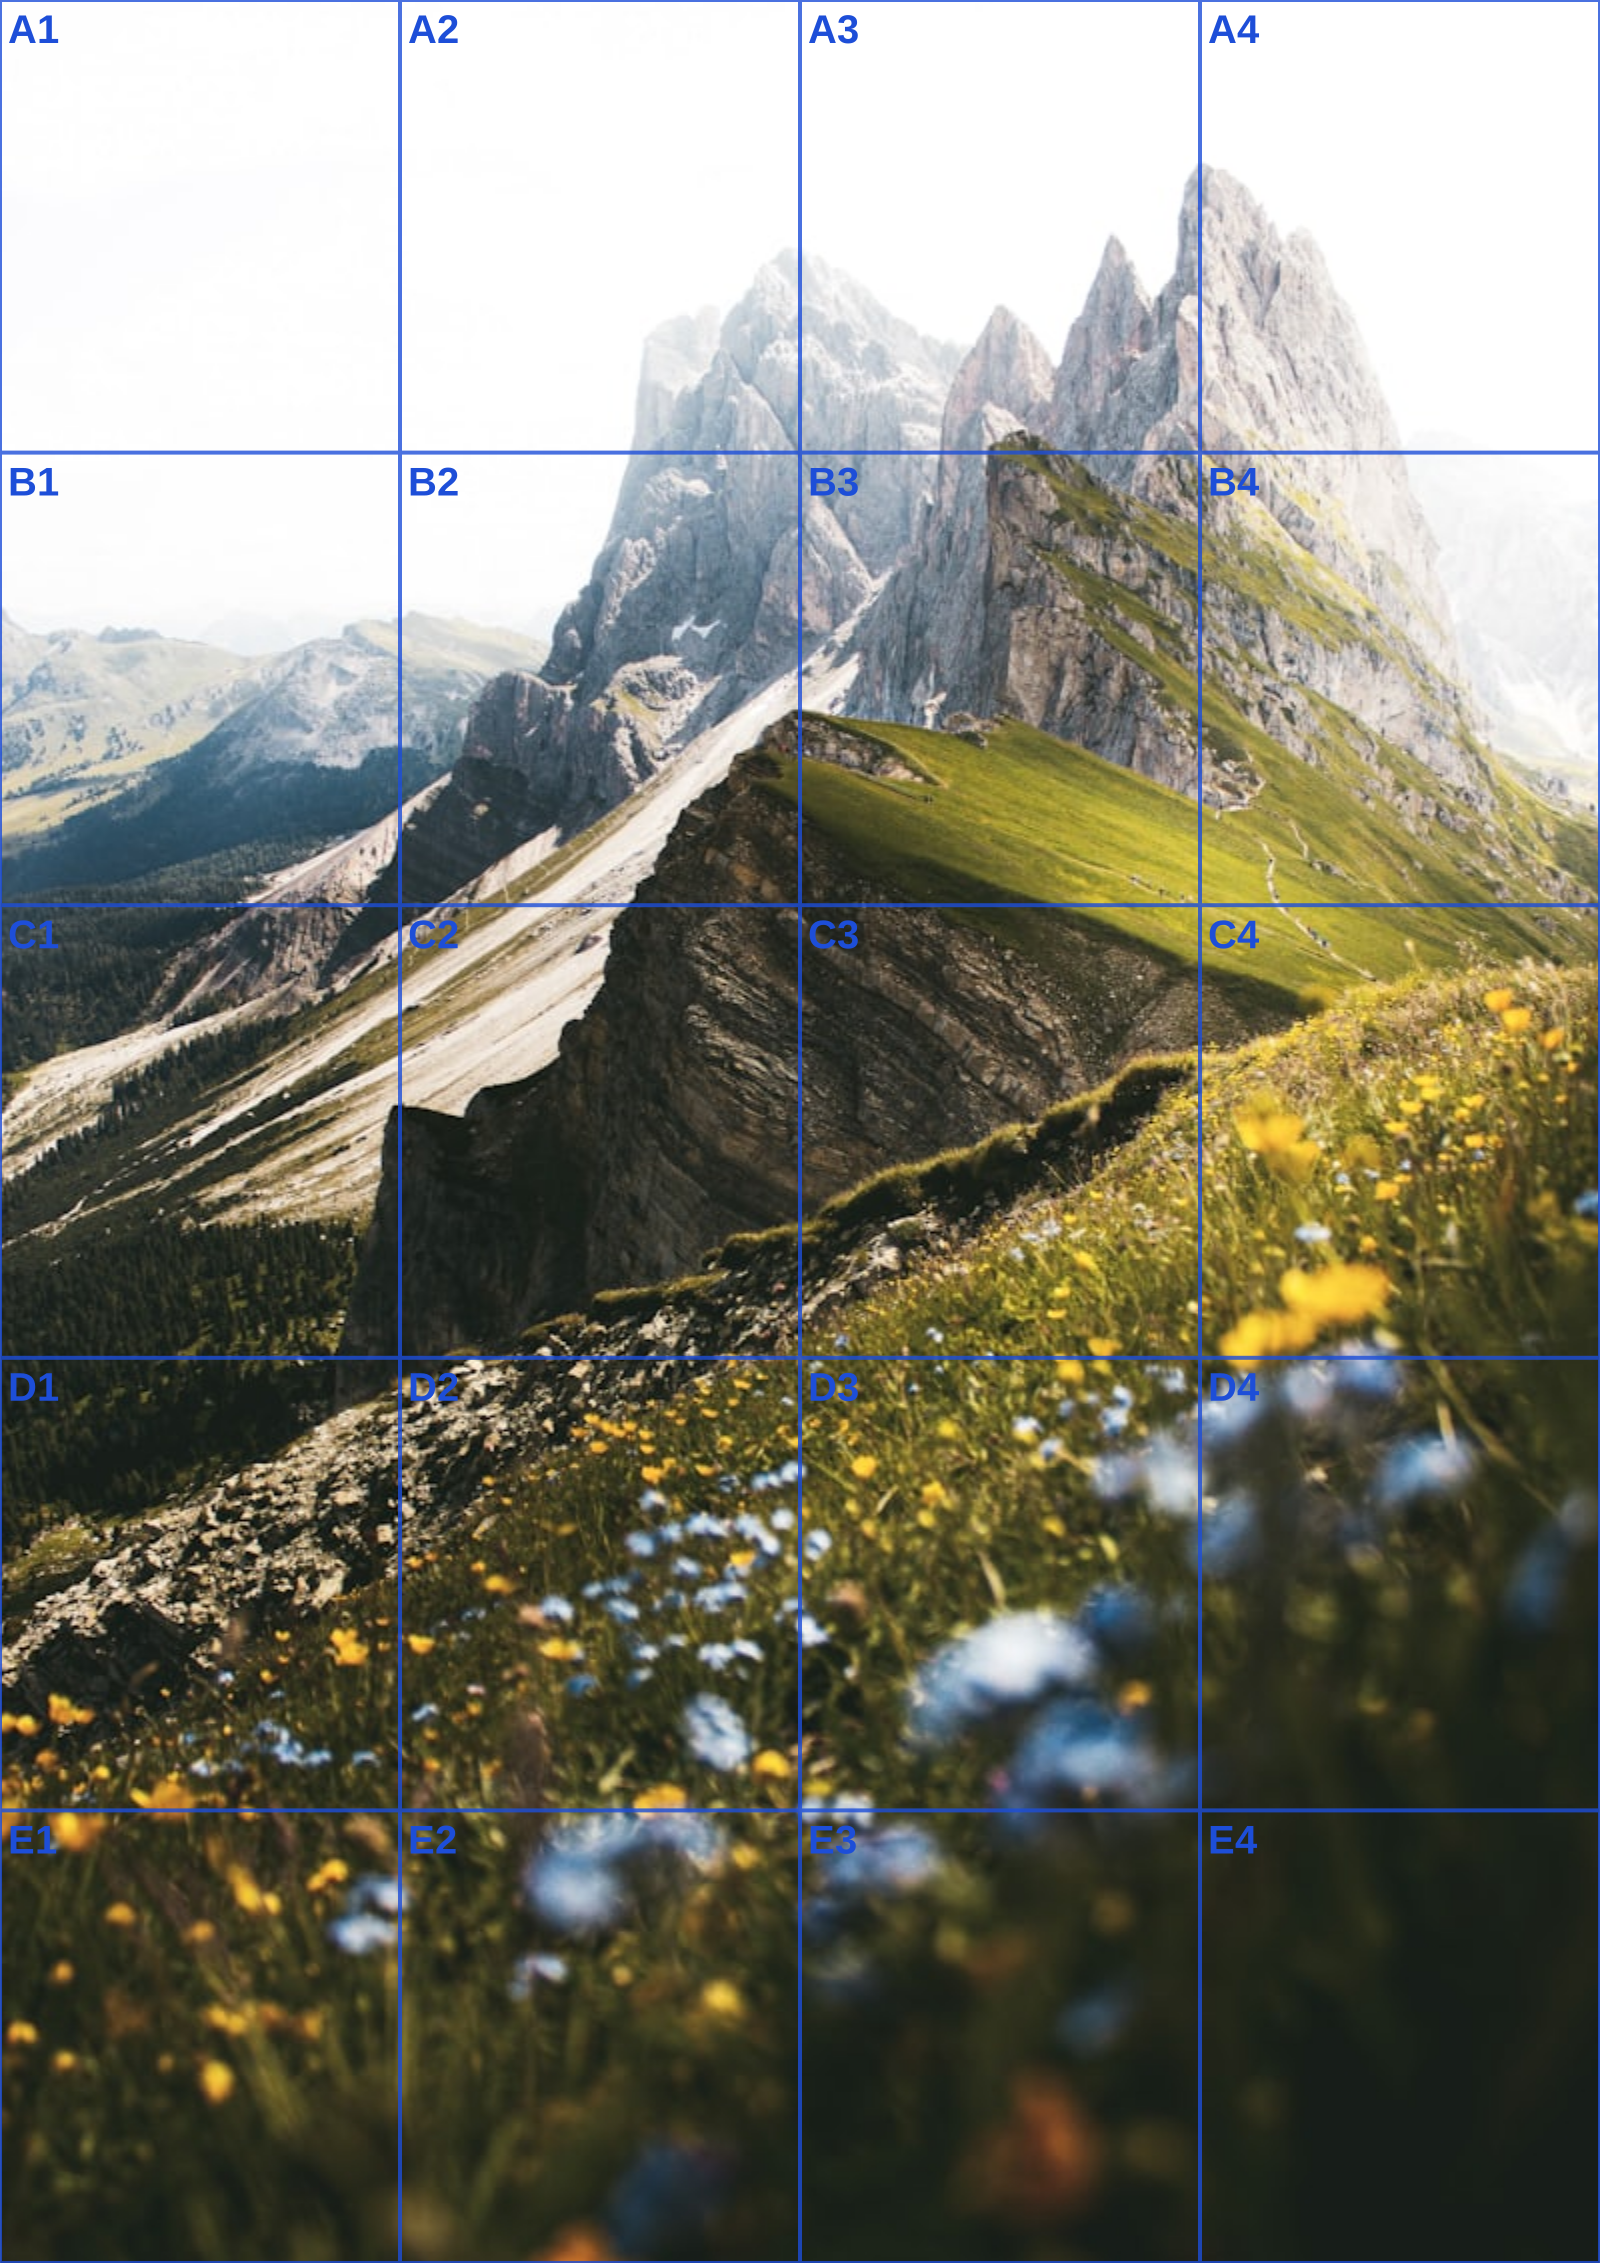
Three references run through this tool at different settings. The measurements are the spacing you would rule on paper at that size, so you can check them against a ruler after printing.