For commissioned artists
A practical guide to art grid tool
An art grid tool earns its place when it shortens setup time without getting between the artist and the reference. Ruling a grid manually is possible, but a digital overlay lets you test different counts, contrast levels, and labels in seconds. That is helpful before beginning a serious drawing, when choosing a grid that is too dense can make the whole session feel cluttered. The aim is not to make the artwork automatic; it is to create a measured guide that supports intentional looking.
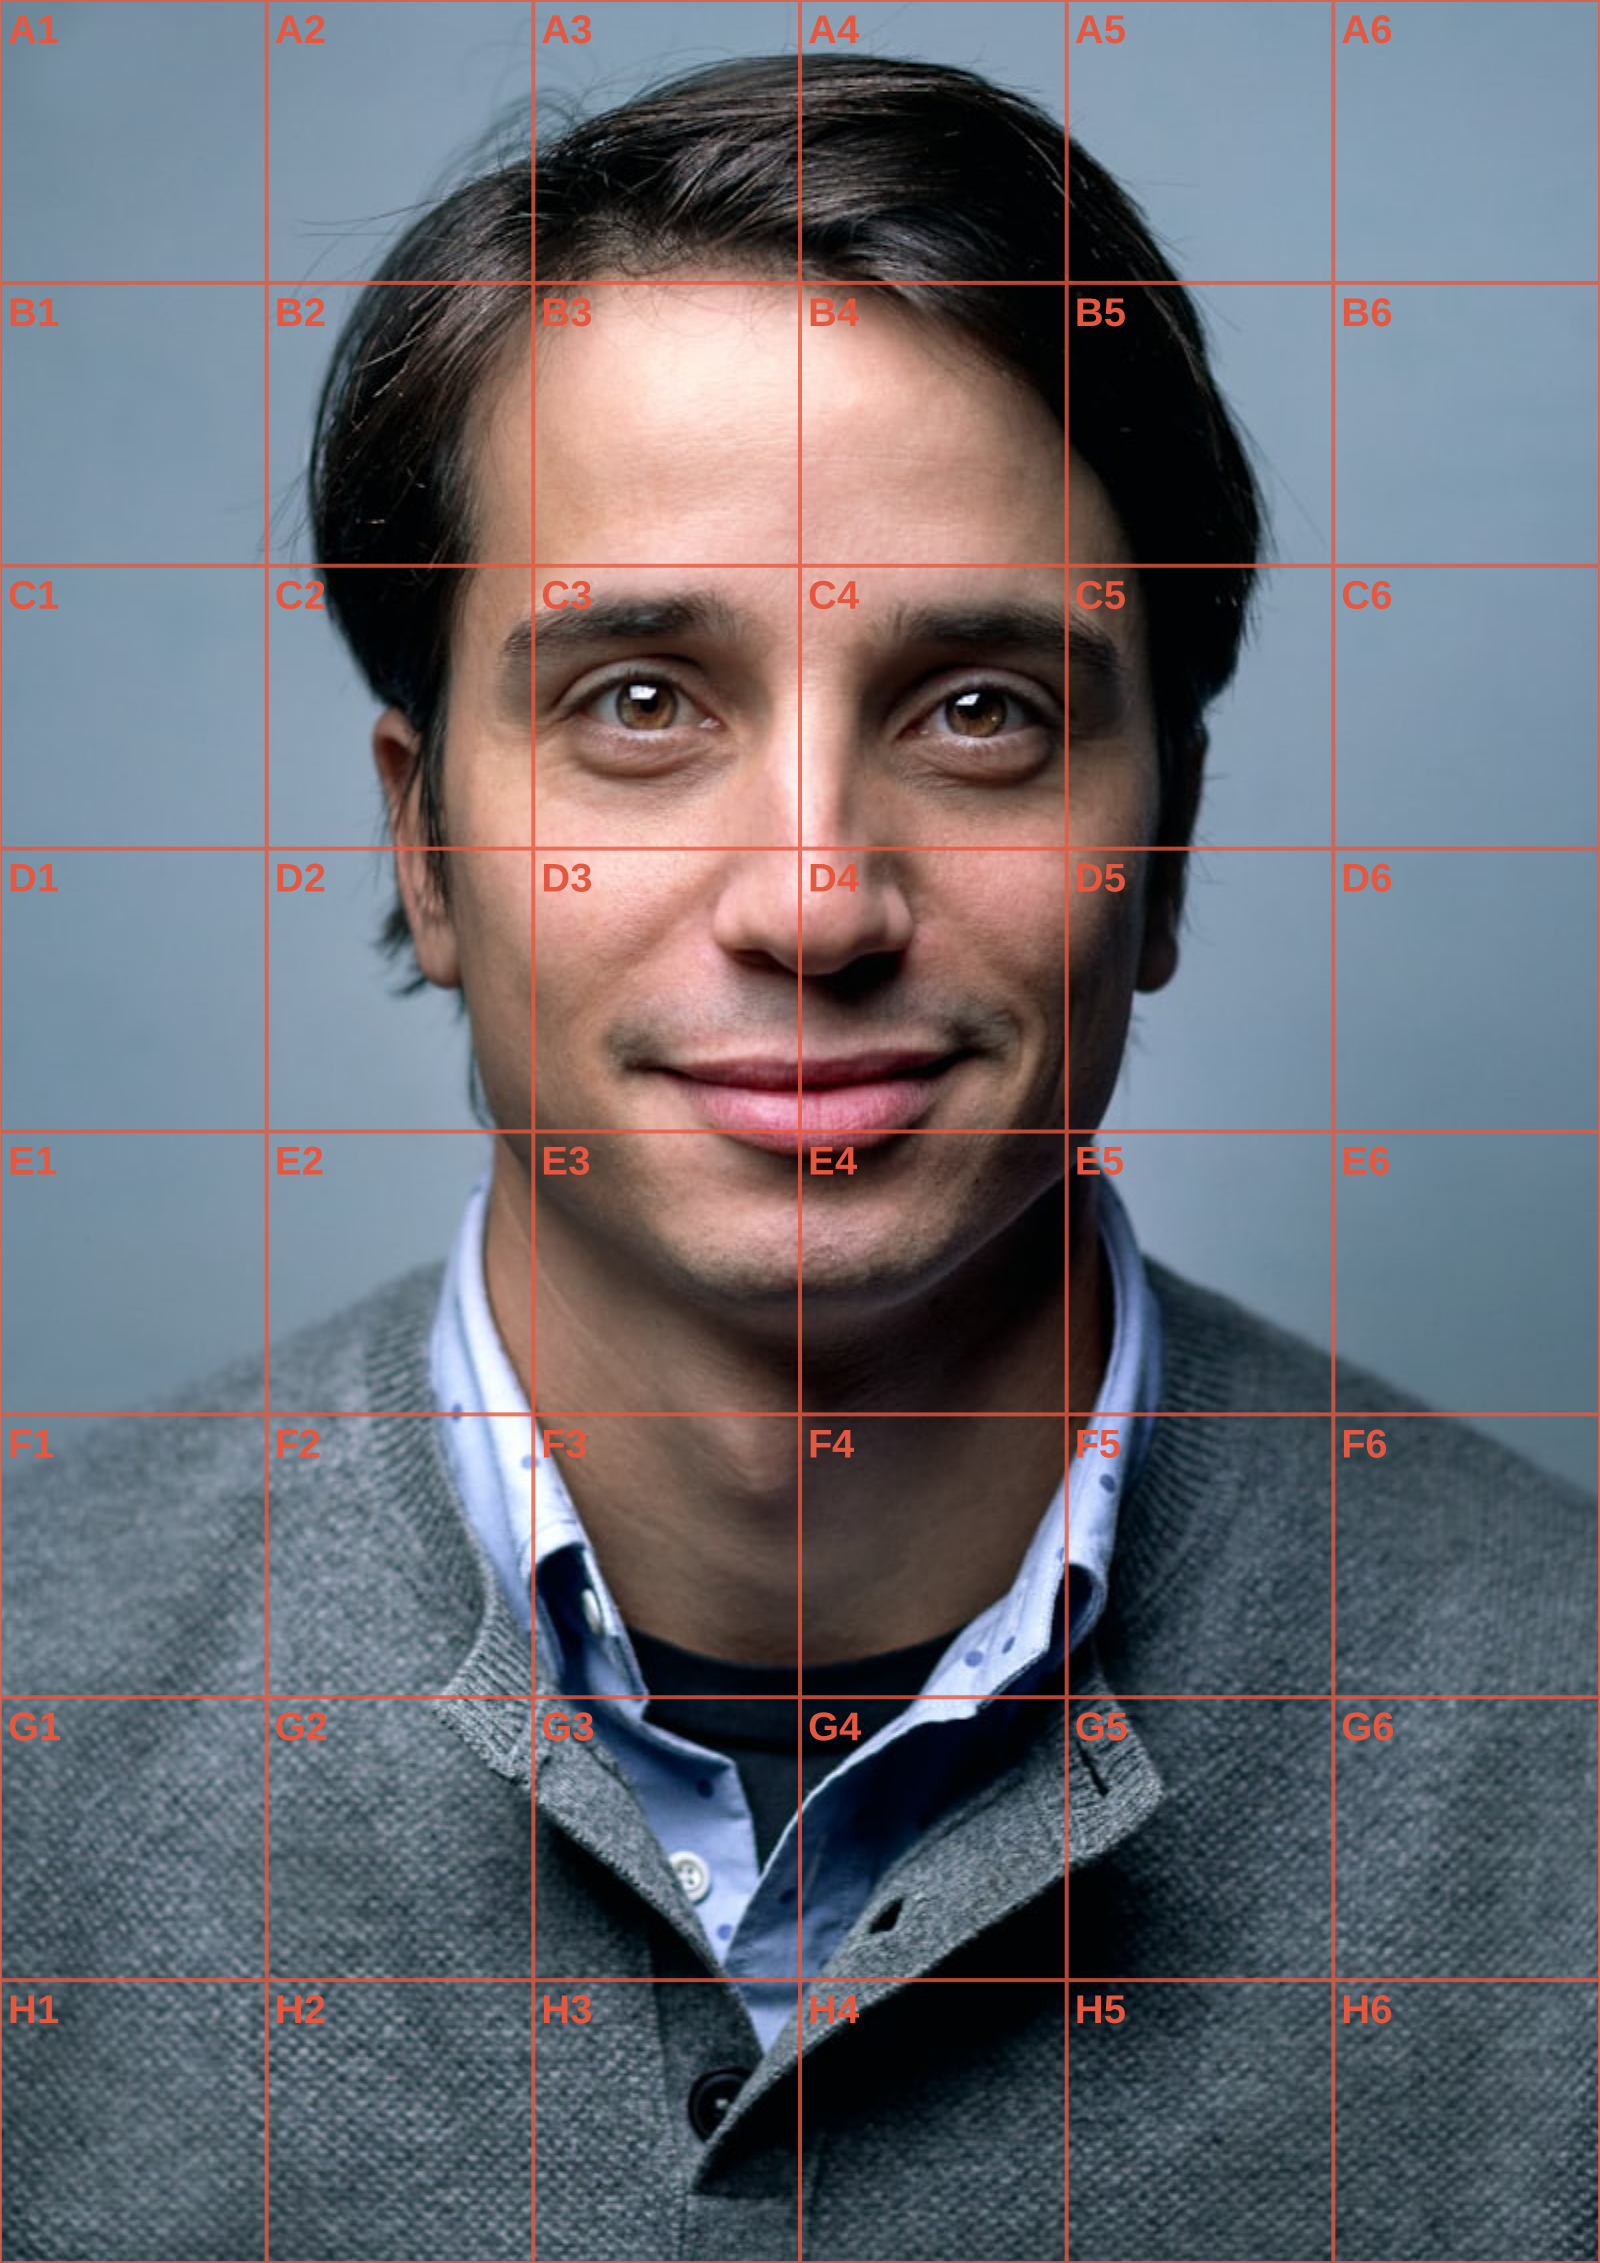
Start with the whole composition. Choose whether the image should fit the grid, set a row and column count, and look for cells that contain the most important changes in direction. For a portrait, establish the central axis and major facial landmarks before small details. For a building, check verticals and the spaces between windows. Adjusting line opacity is often more useful than adding more lines: a clear but gentle guide leaves enough room to read the photo. Optional labels make an art grid tool especially handy for tutorials and collaborative feedback.
This tool is intentionally private and direct. The upload is decoded in the browser, the overlay is rendered using Canvas, and each download is produced on the same device. A4, A3, and US Letter settings show the millimetre interval that corresponds to your current grid. The PDF adds the image and a concise printing guide, including how many vertical and horizontal lines to draw. Use image exports for a drawing app, or use the PDF as a studio reference. There is no account, cloud project, or server-side image handling involved.
Spend a few minutes reading the largest crossings before beginning the actual transfer. Choosing a sensible density and seeing the main axes early can save hours of uncertain correction. The art grid tool is there to clarify decisions, including the decision that a simpler, freer approach suits the image better.
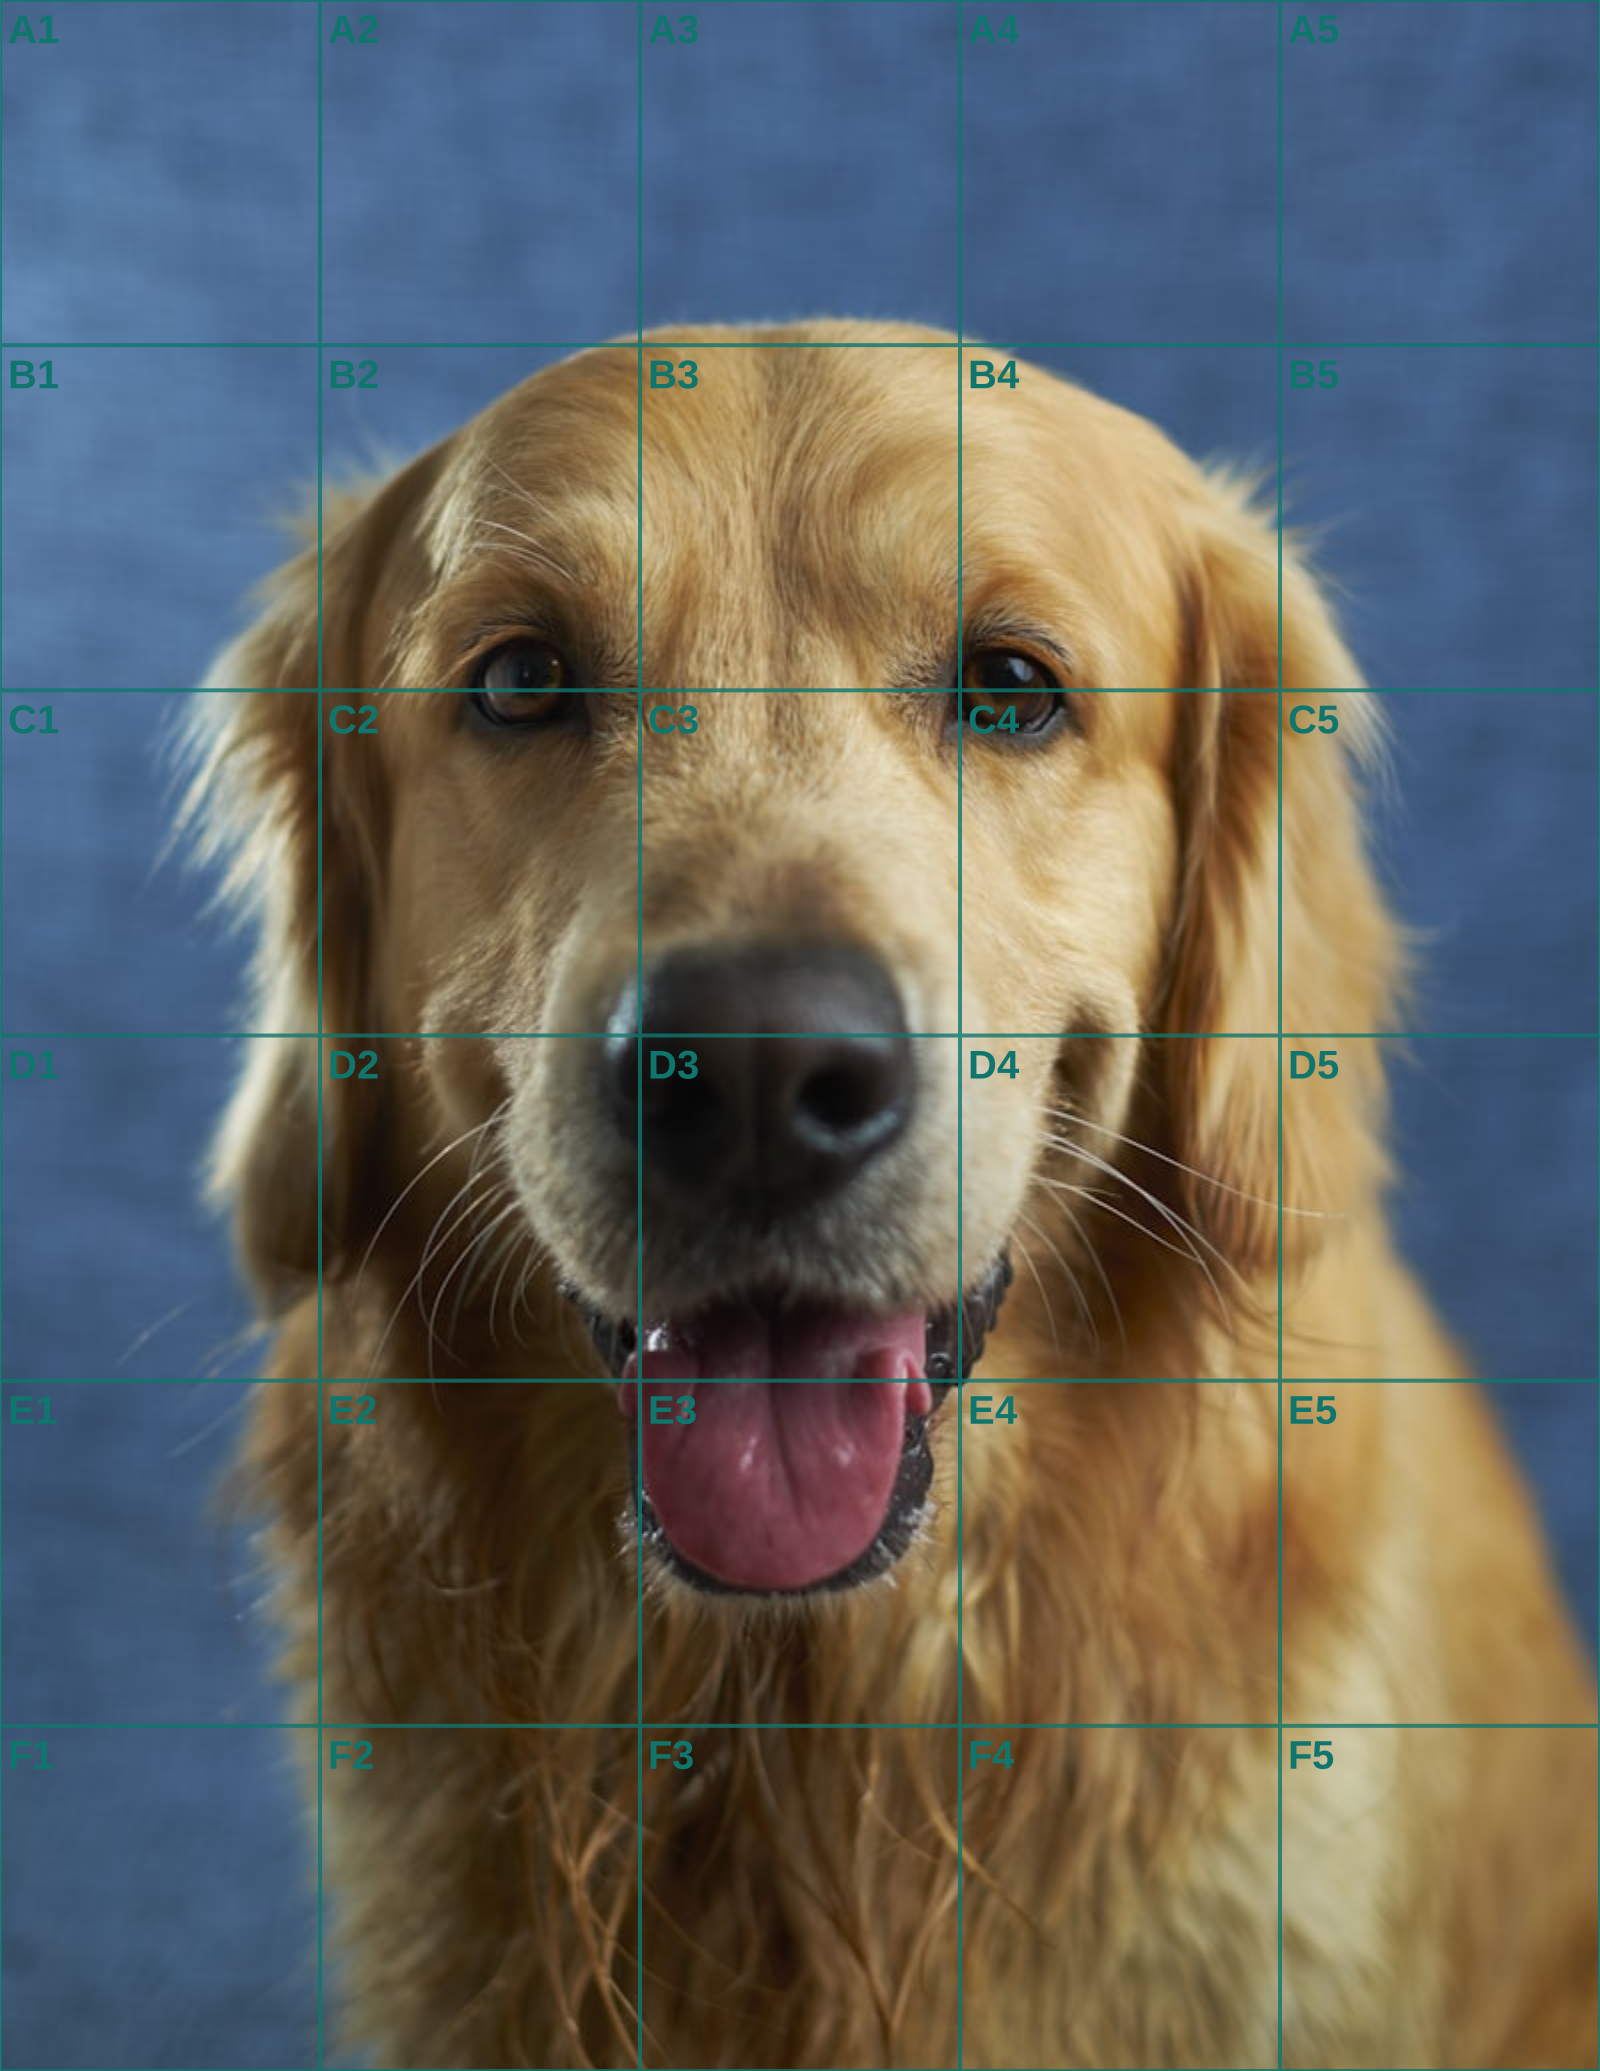
Use an art grid tool to make a calm proof for the client when the commission depends on cropping. Send the unmarked reference and, if useful, a low-key gridded preview that shows where the head and paws will sit inside the final rectangle. Do not present the grid as finished art; present it as a proportion check. Once the crop is approved, lock that file and make the print-ready PDF. A late crop change is normal before drawing starts and expensive after the central features have been placed.
An art grid tool is valuable at the client-proof stage, before a commission has acquired any expensive detail. Prepare an unmarked preview that shows the intended crop, final rectangle, and breathing room around the subject. If useful, make a subdued gridded copy for your own discussion of placement. The client should be approving composition, not being asked to admire construction marks as though they were finished art.
Ask the practical questions while a crop is still easy to change. Does the customer want both paws visible? Is the collar meaningful? Will a frame cover the lower edge? A clean proof makes these choices explicit. Once the crop is confirmed, lock the original and make a separate working export so the geometry will not drift because someone later saves over the approved image.
Set the grid according to the level of risk in the drawing. A close head-and-shoulders portrait deserves landmarks for eye line, muzzle, and ear bases. A simple side profile may need only enough divisions to place the forehead, chest, and back. The preview lets you test opacity and line width until the guide clarifies the image without obscuring the information you must judge.
For a physical transfer, use the selected paper format as a specification. The PDF lists the millimetre spacing for its rows and columns; mark those intervals along the planned drawing rectangle with a ruler, then connect the marks. Print at actual size and verify an interval before relying on it. A printer setting that quietly scales to margins changes the measurement even though it leaves a plausible looking page.
Use an order that remains open to correction. Place the border, centre axis, and largest silhouette crossings, then connect masses across adjacent cells. Avoid finishing a charming eye or a bright tag while the skull and body position are unsettled. The client notices the whole pose first, and the art grid tool is there to protect that whole-image agreement.
During finishing, work from the unmarked source for colour, edge softness, and personality. Reopen the grid only when a contour needs a factual check. A PNG or JPG may suit a tablet workflow; the PDF provides a stable paper handoff. Both are produced locally, so the tool does not require an account or a remote copy of the client photograph.
Document the approved proof with the commission record. A short trail of crop, size, and grid choice prevents misunderstandings when the work resumes after a pause. The result is not more administration for its own sake; it is fewer avoidable redraws and a calmer conversation with the customer.
If the proof changes, record exactly which compositional choice changed before replacing the working reference for everyone involved.
When the reference is a close likeness, the portrait drawing grid guide covers facial landmarks; for the measured transfer itself, use the grid method walkthrough.
Continue the workflow
See Also
- art grid
Open a related guide when crop approval gives way to drawing or print preparation.
- art grid maker
Open a related guide when crop approval gives way to drawing or print preparation.
- grid maker for drawing
Open a related guide when crop approval gives way to drawing or print preparation.
- grid image generator
Open a related guide when crop approval gives way to drawing or print preparation.
- grid method
Open a related guide when crop approval gives way to drawing or print preparation.
Questions answered
art grid tool FAQ
What makes this an art grid tool rather than an image editor?+
It is focused on reference measurement: grid controls, labels, paper spacing, and export rather than retouching.
Can I change grid colours?+
Yes. Pick any line colour and adjust its opacity to suit the reference.
Does the PDF contain the original resolution?+
It embeds the generated Canvas preview sized for the chosen paper format and printing guide.
Real output
See the grid before you make one
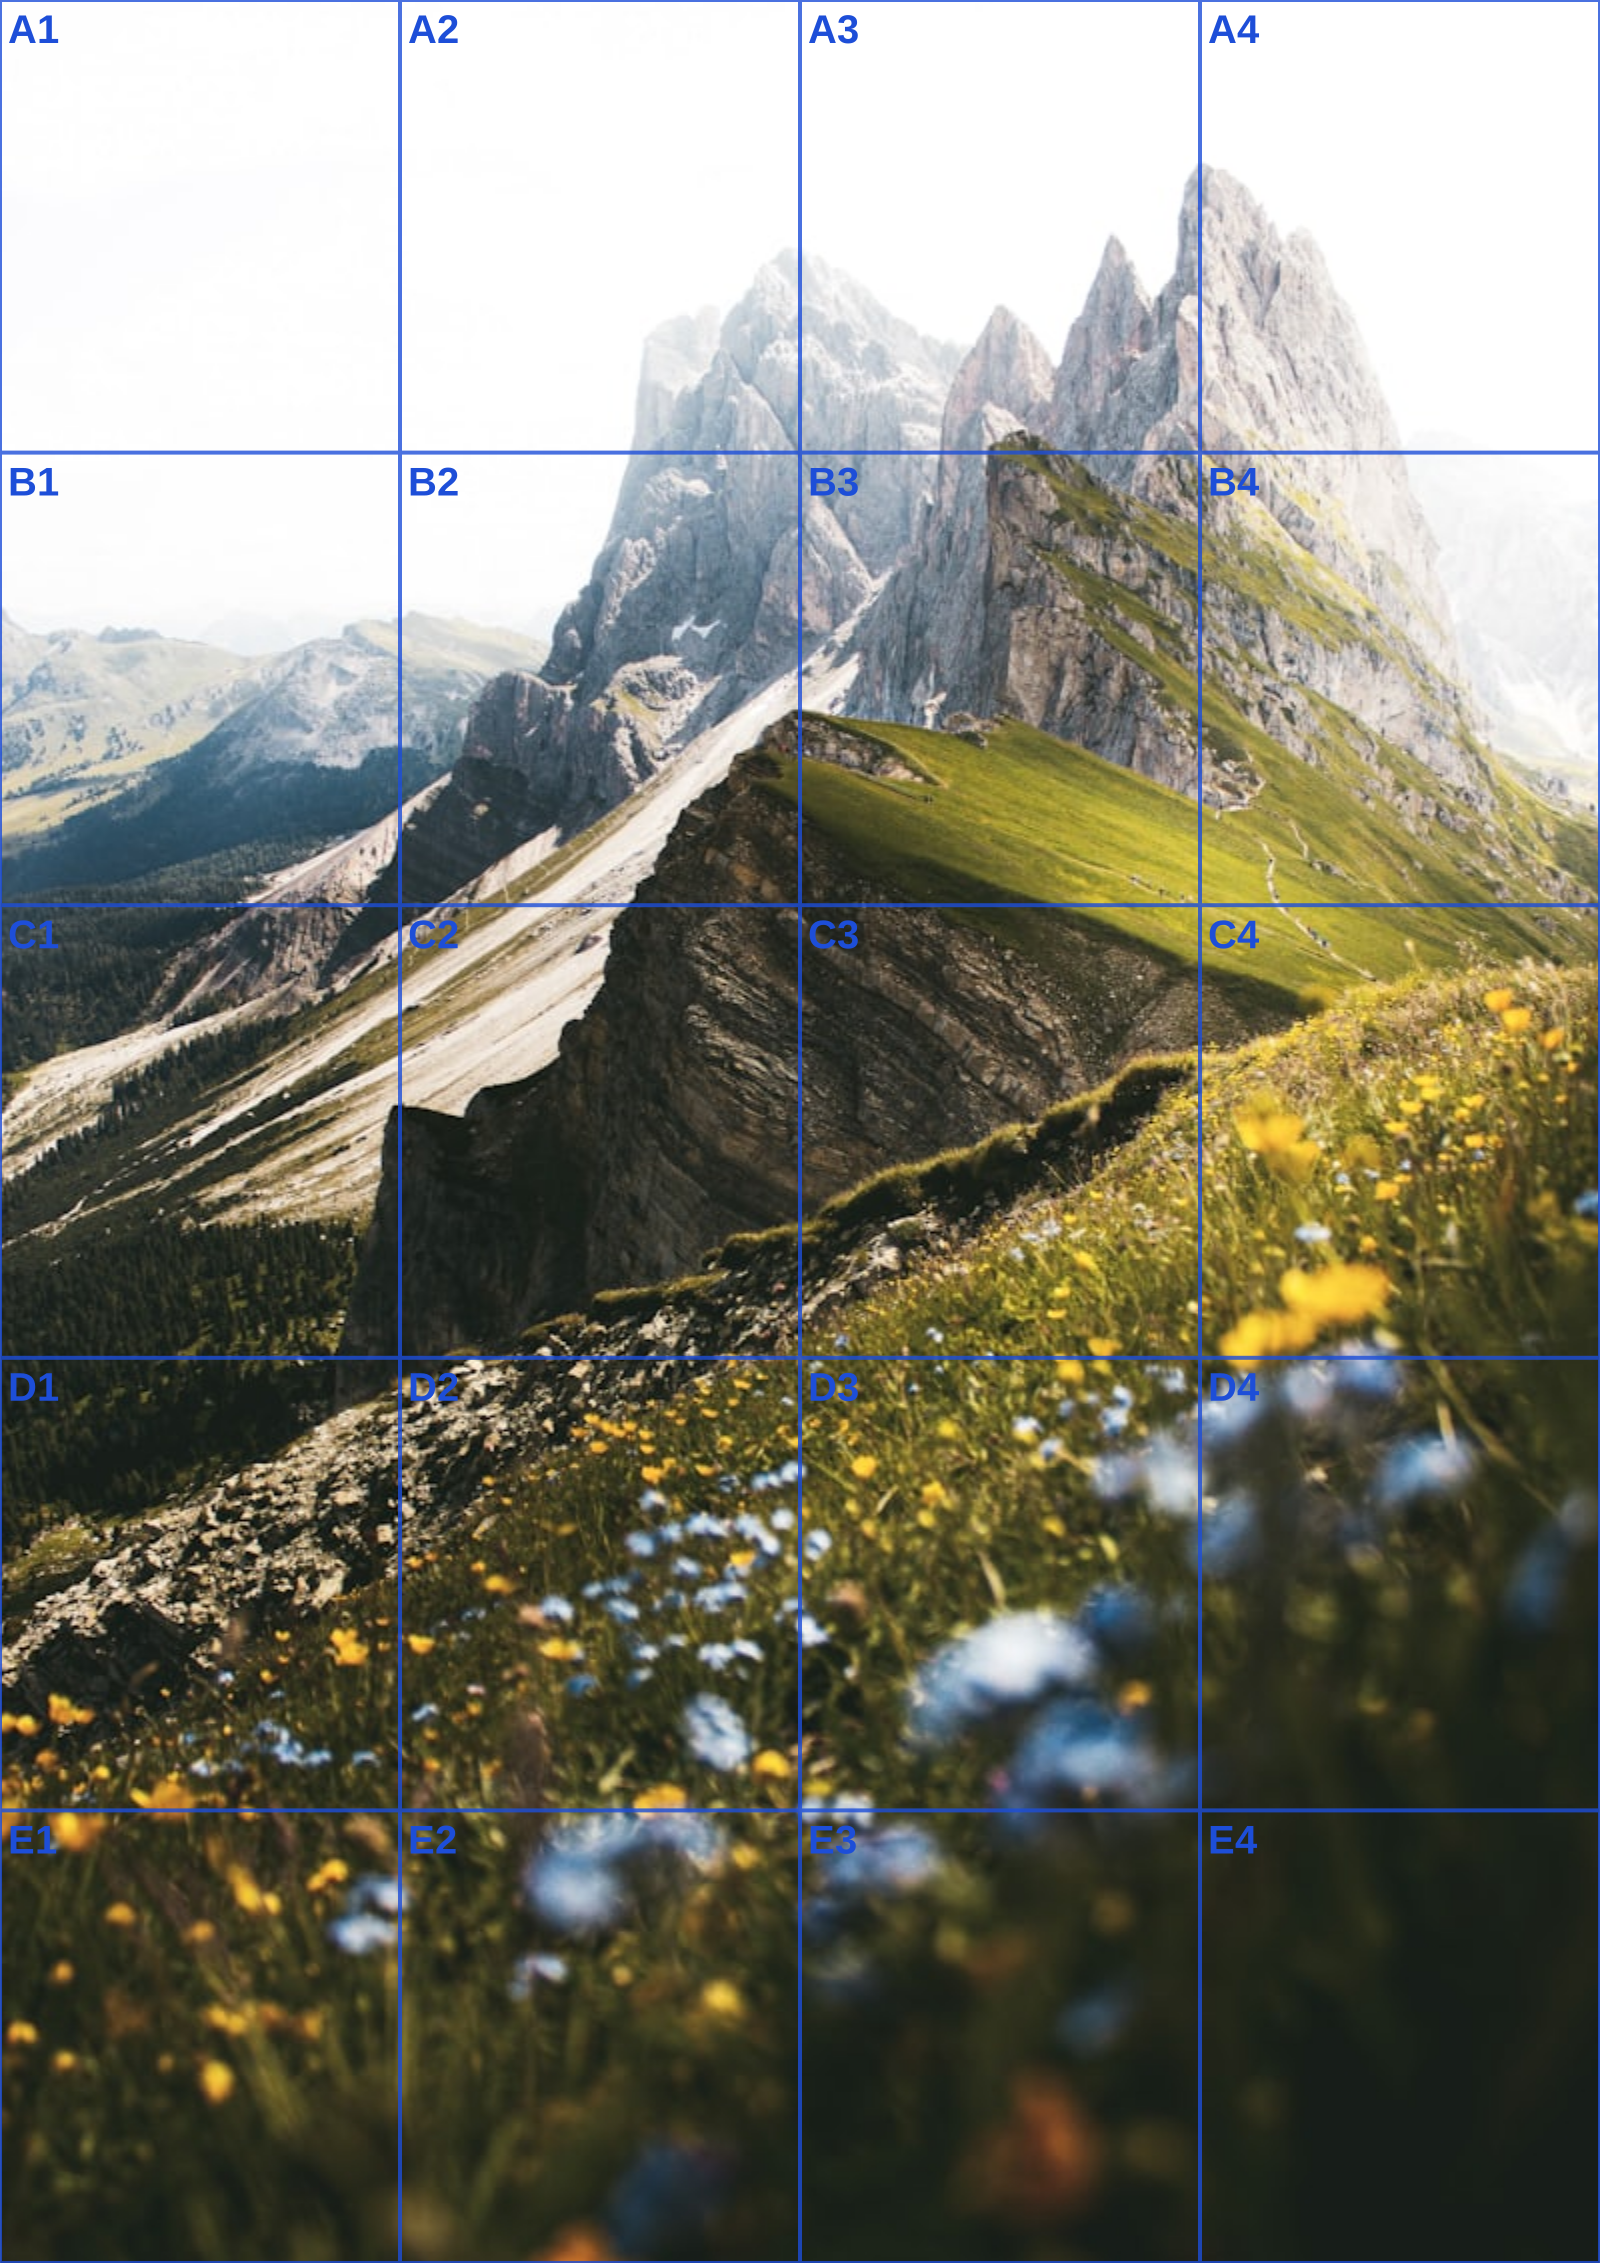
Three references run through this tool at different settings. The measurements are the spacing you would rule on paper at that size, so you can check them against a ruler after printing.