
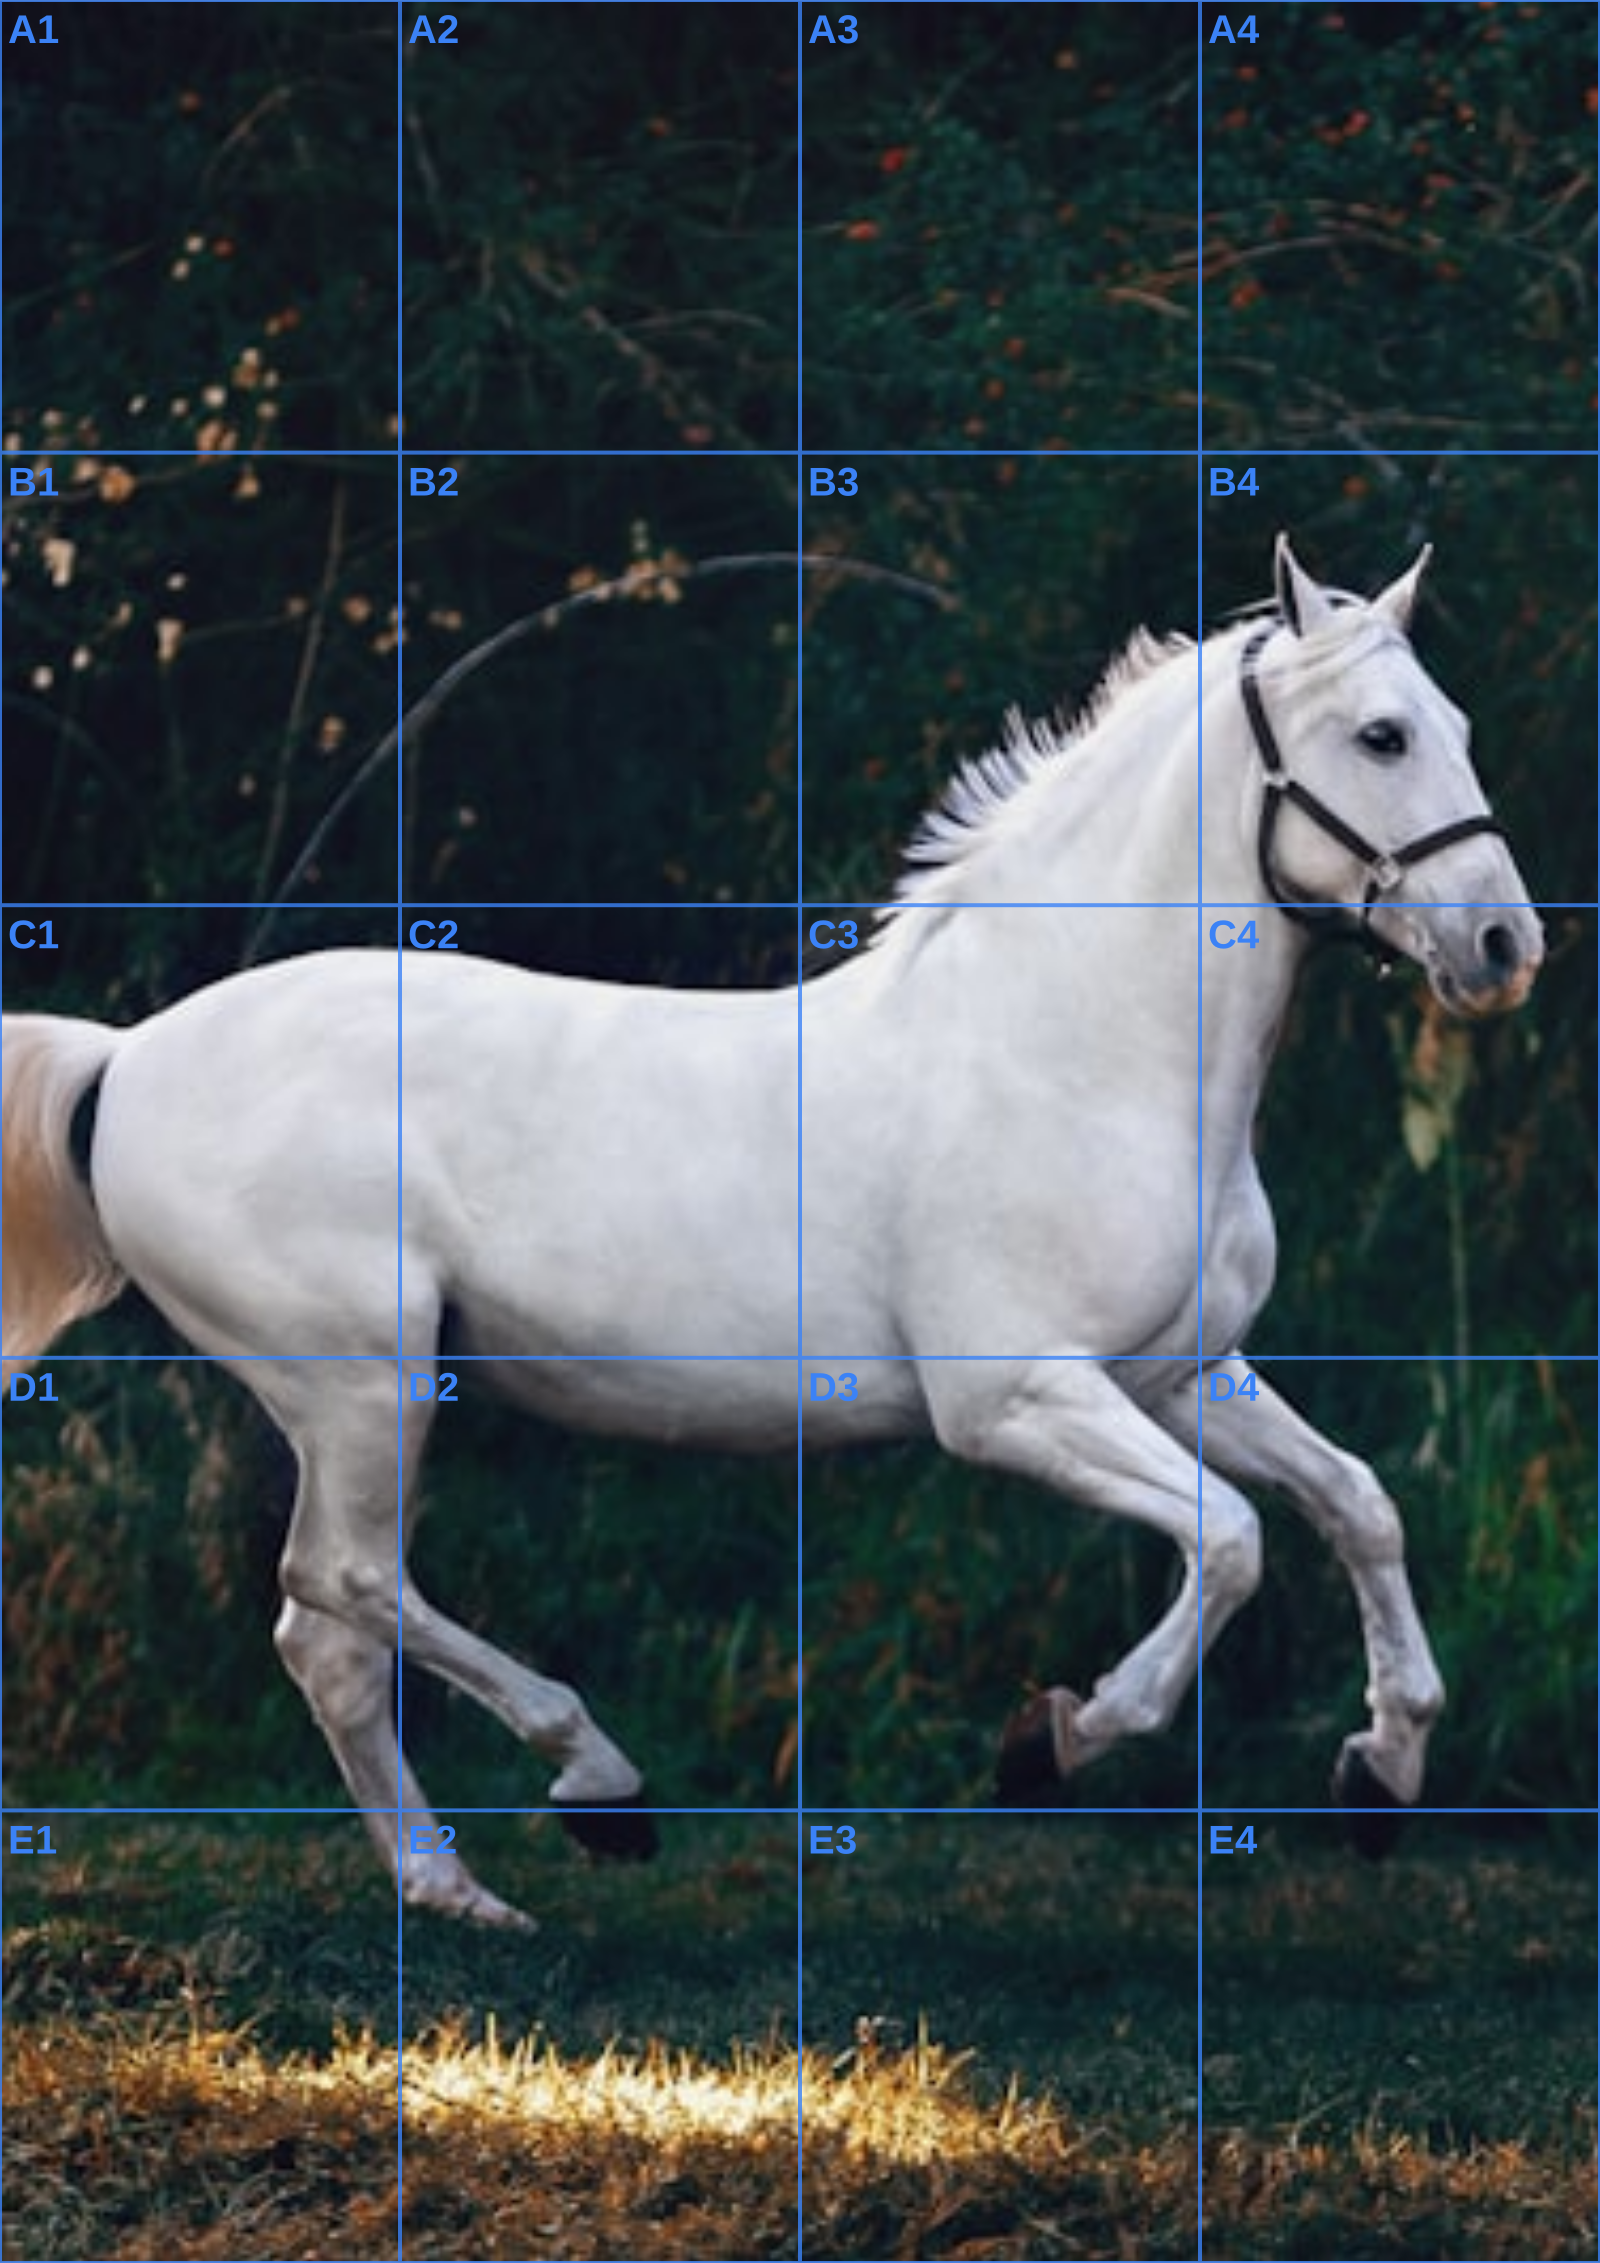
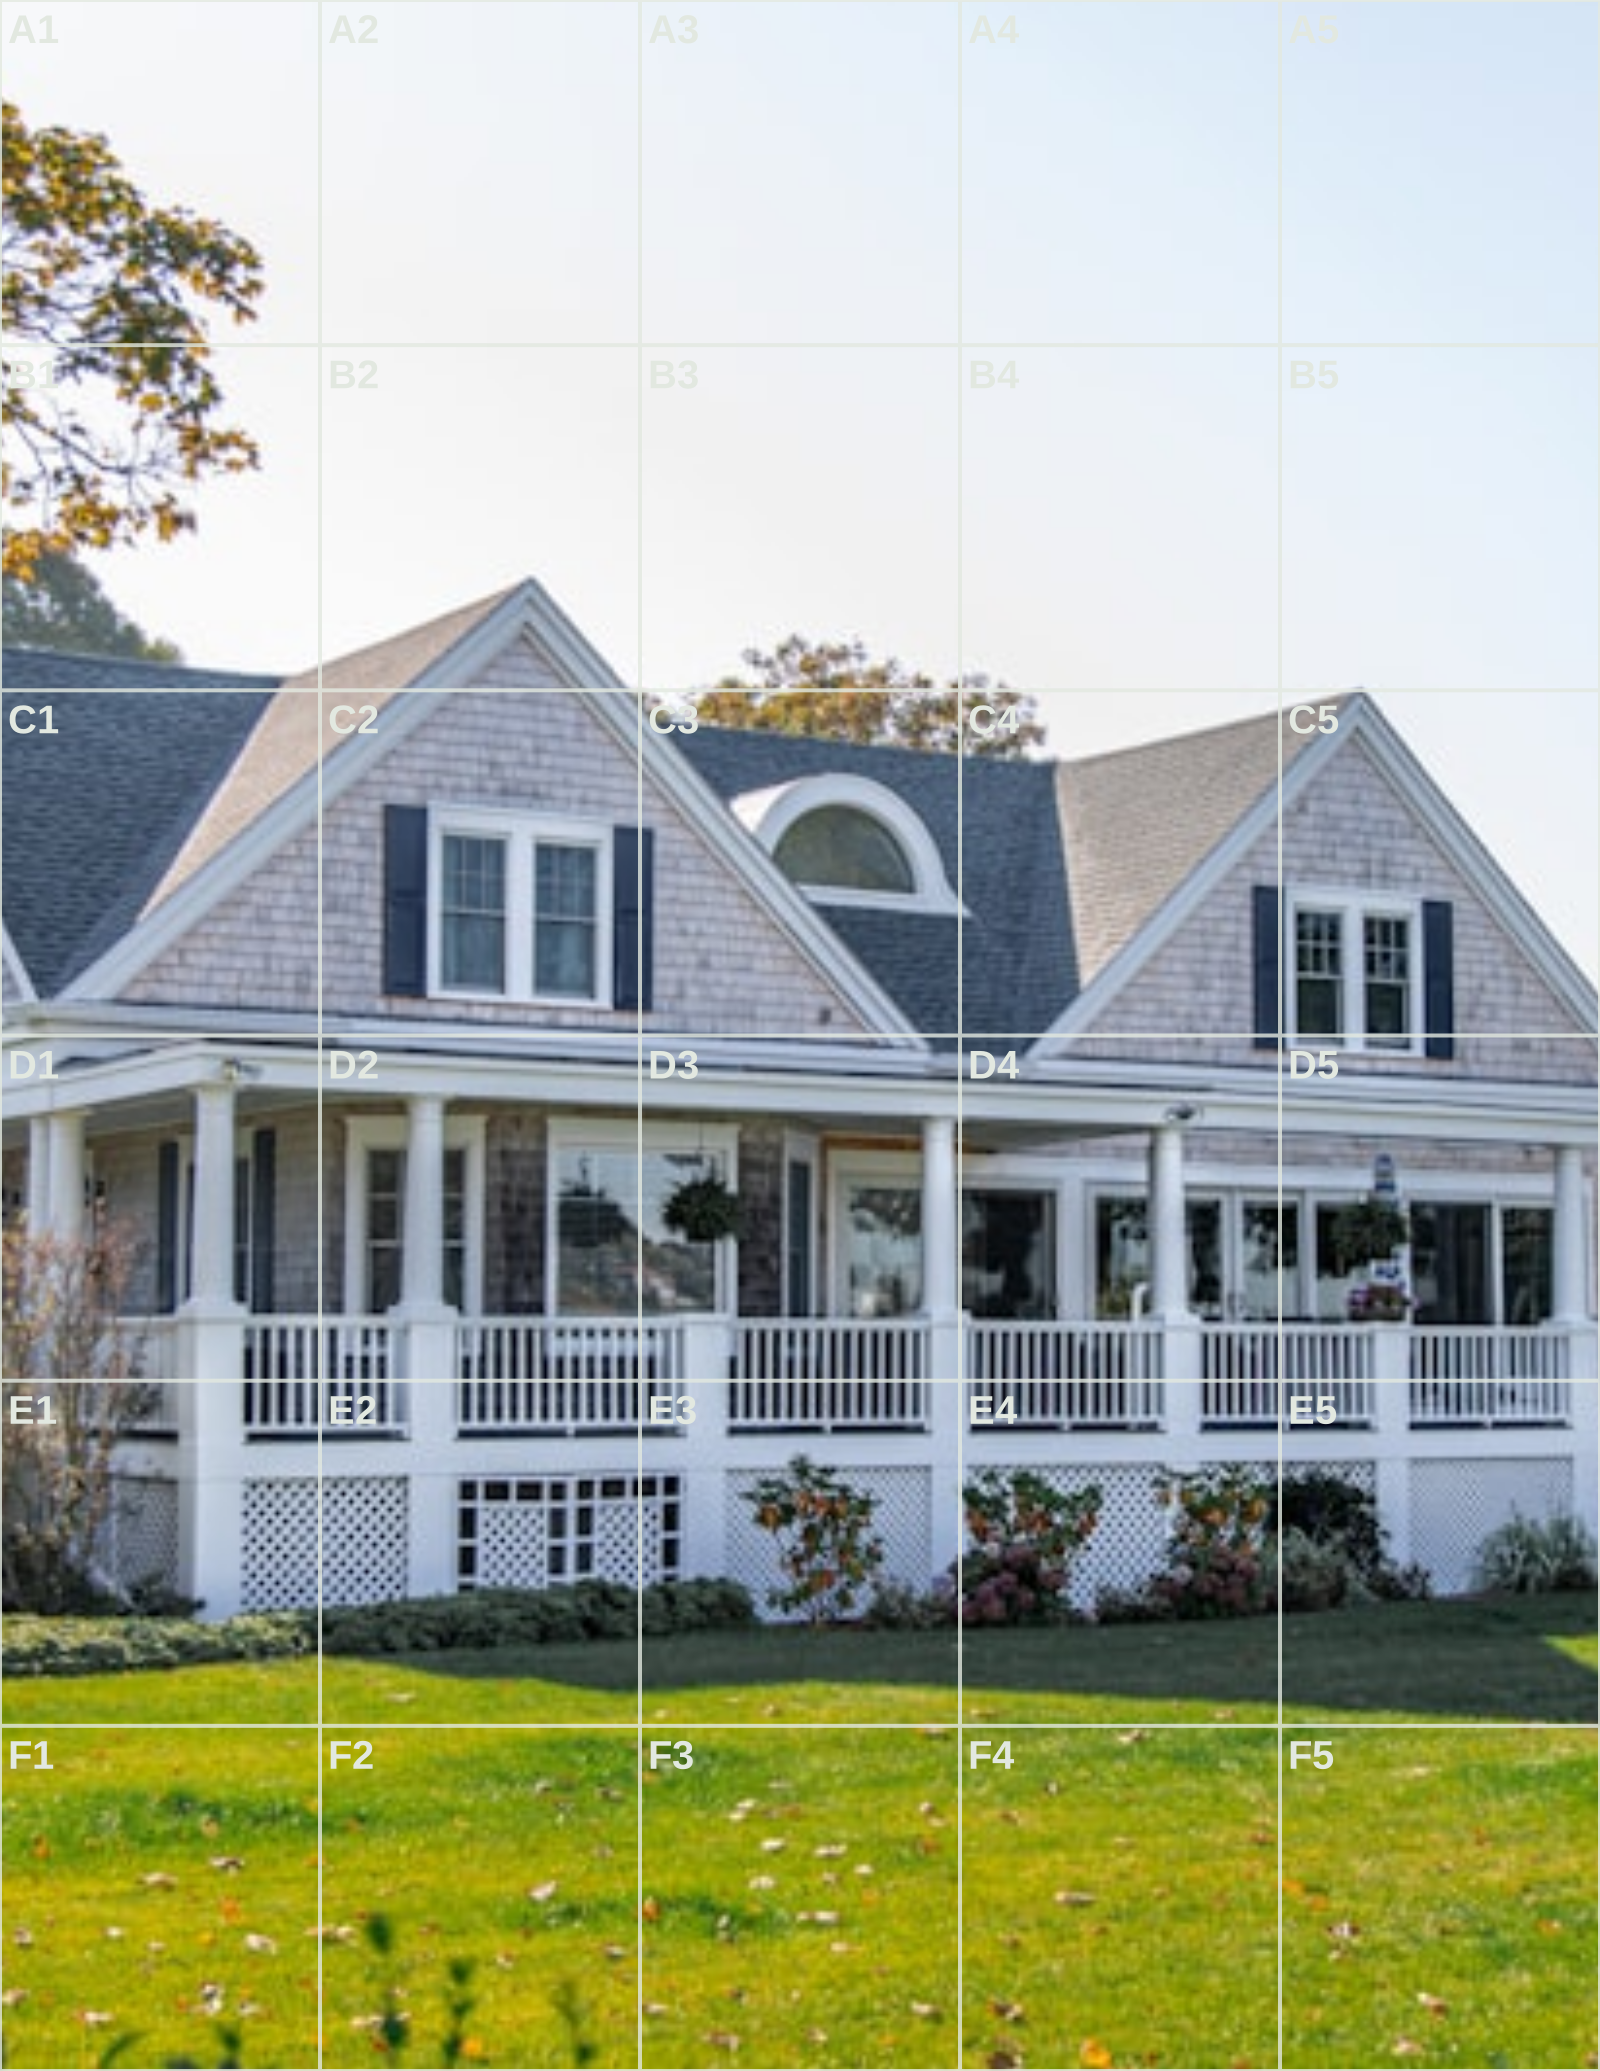
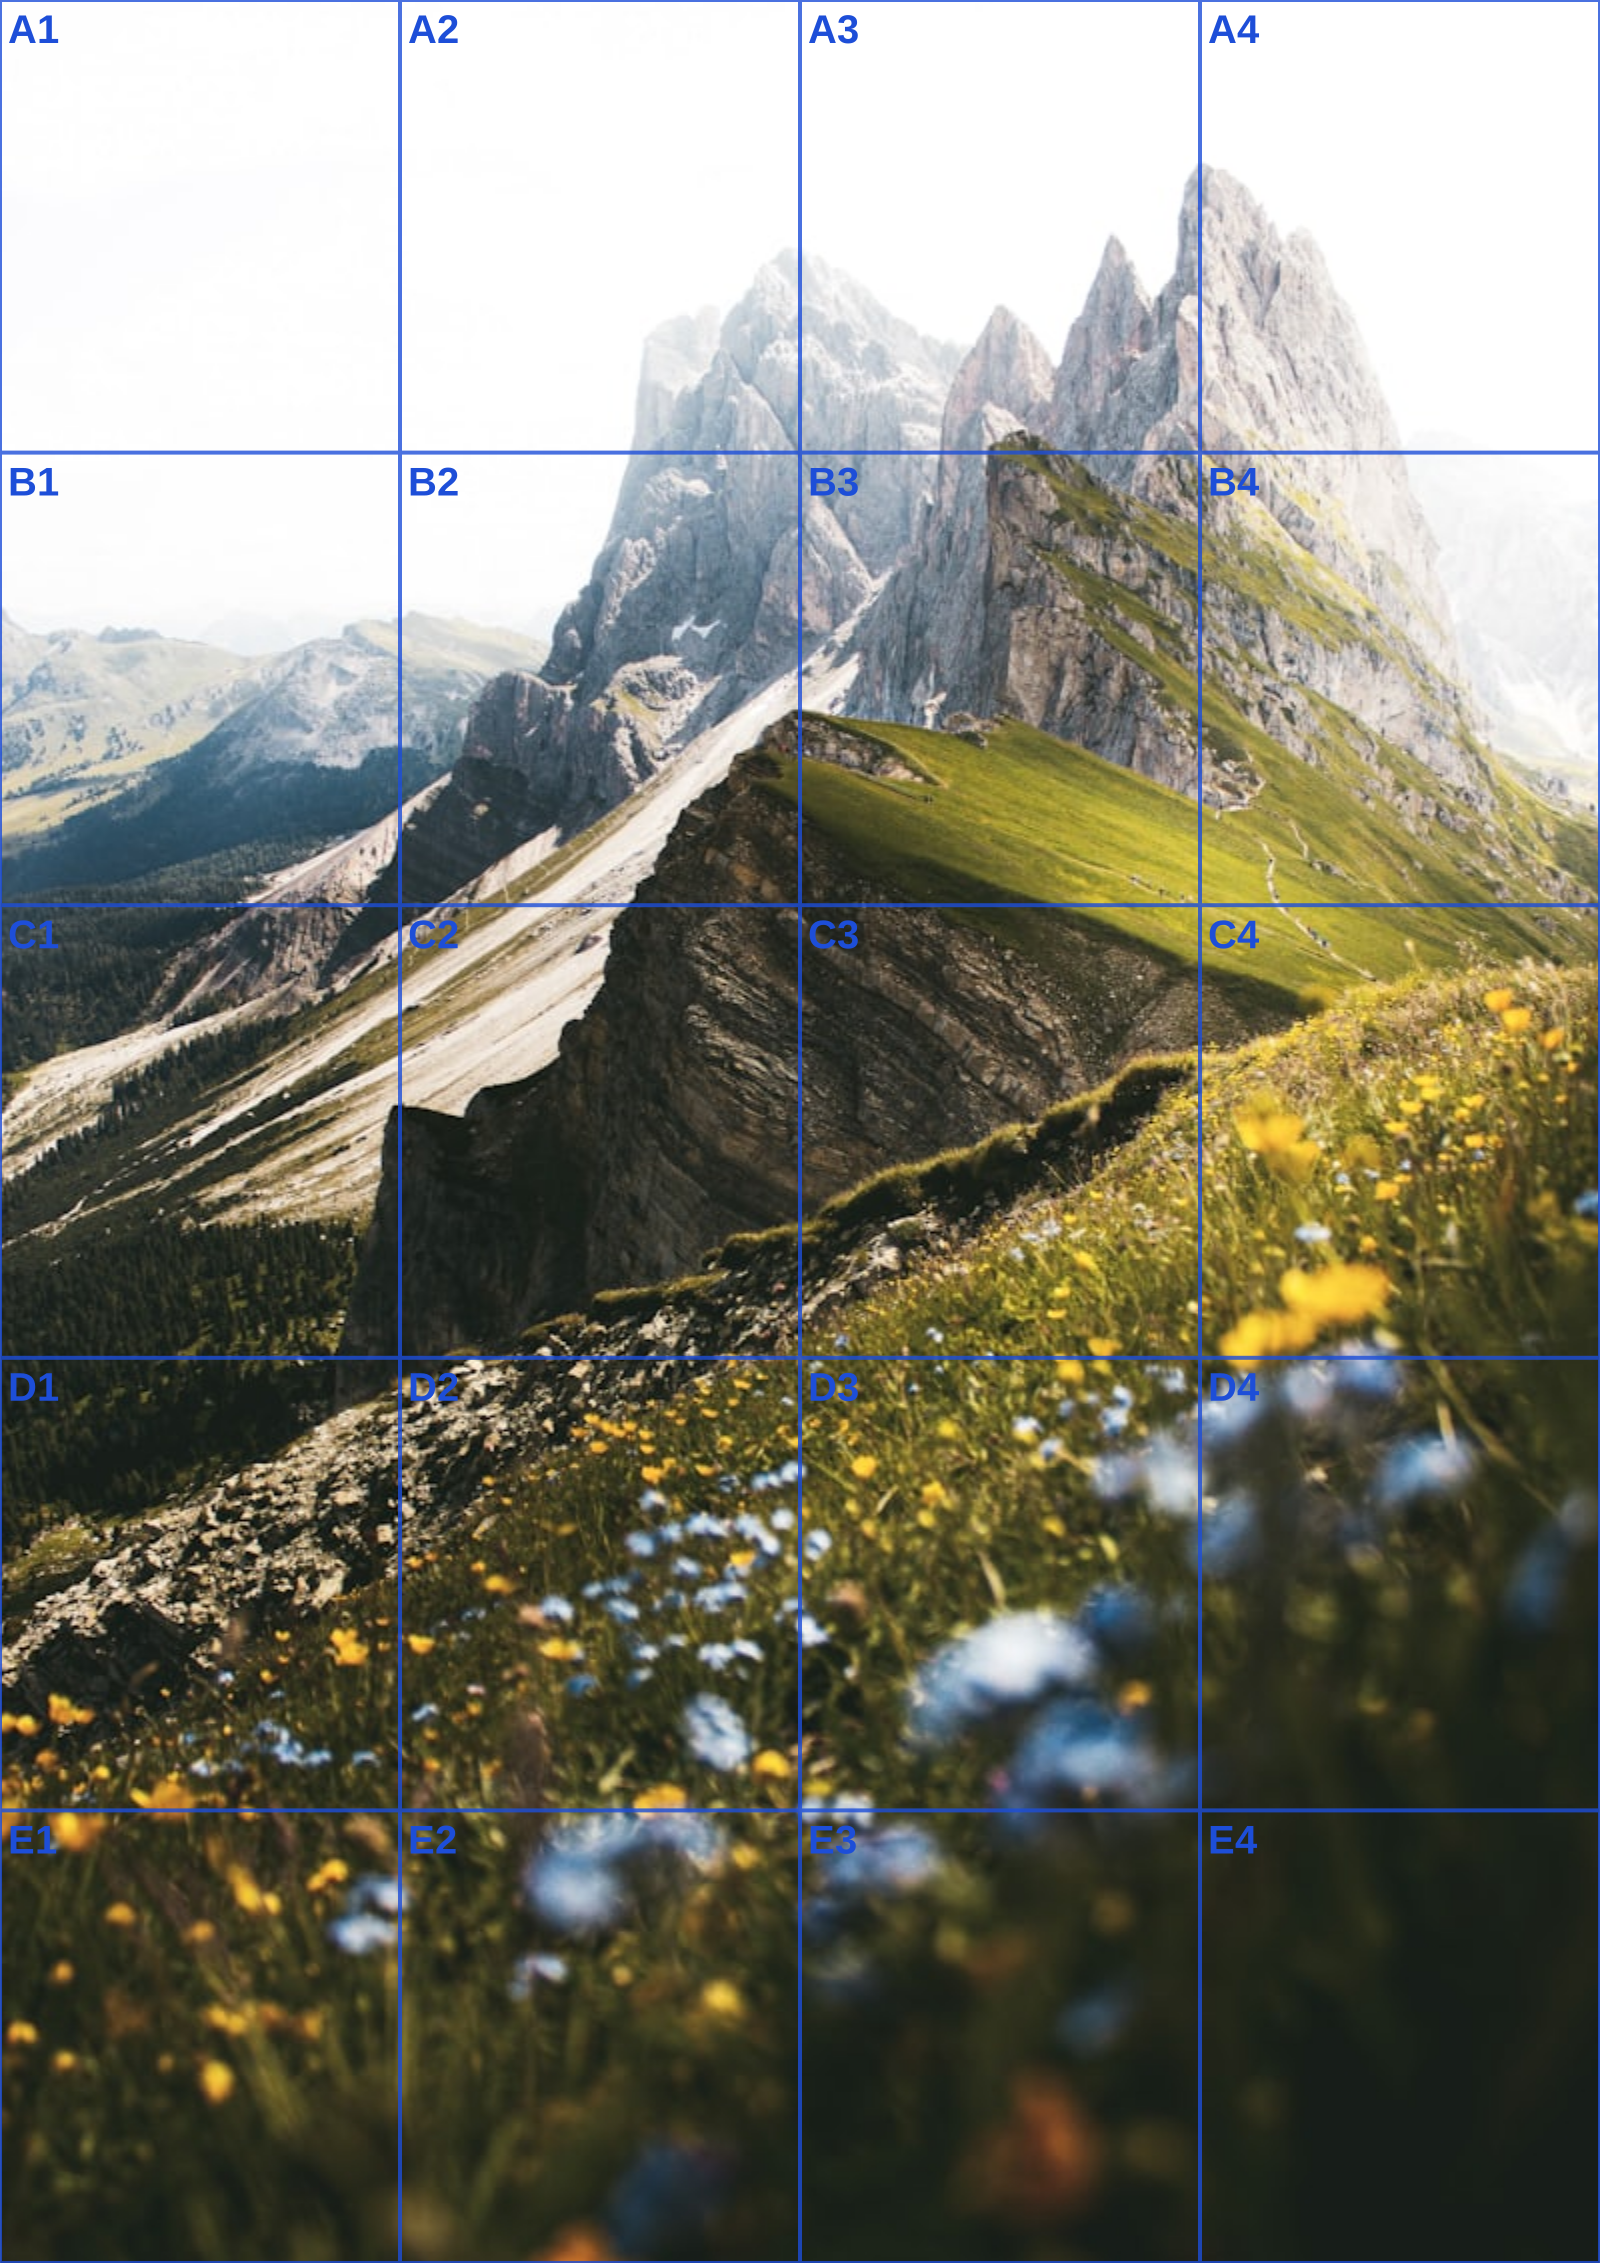
How to use it
A practical guide to photo into grid
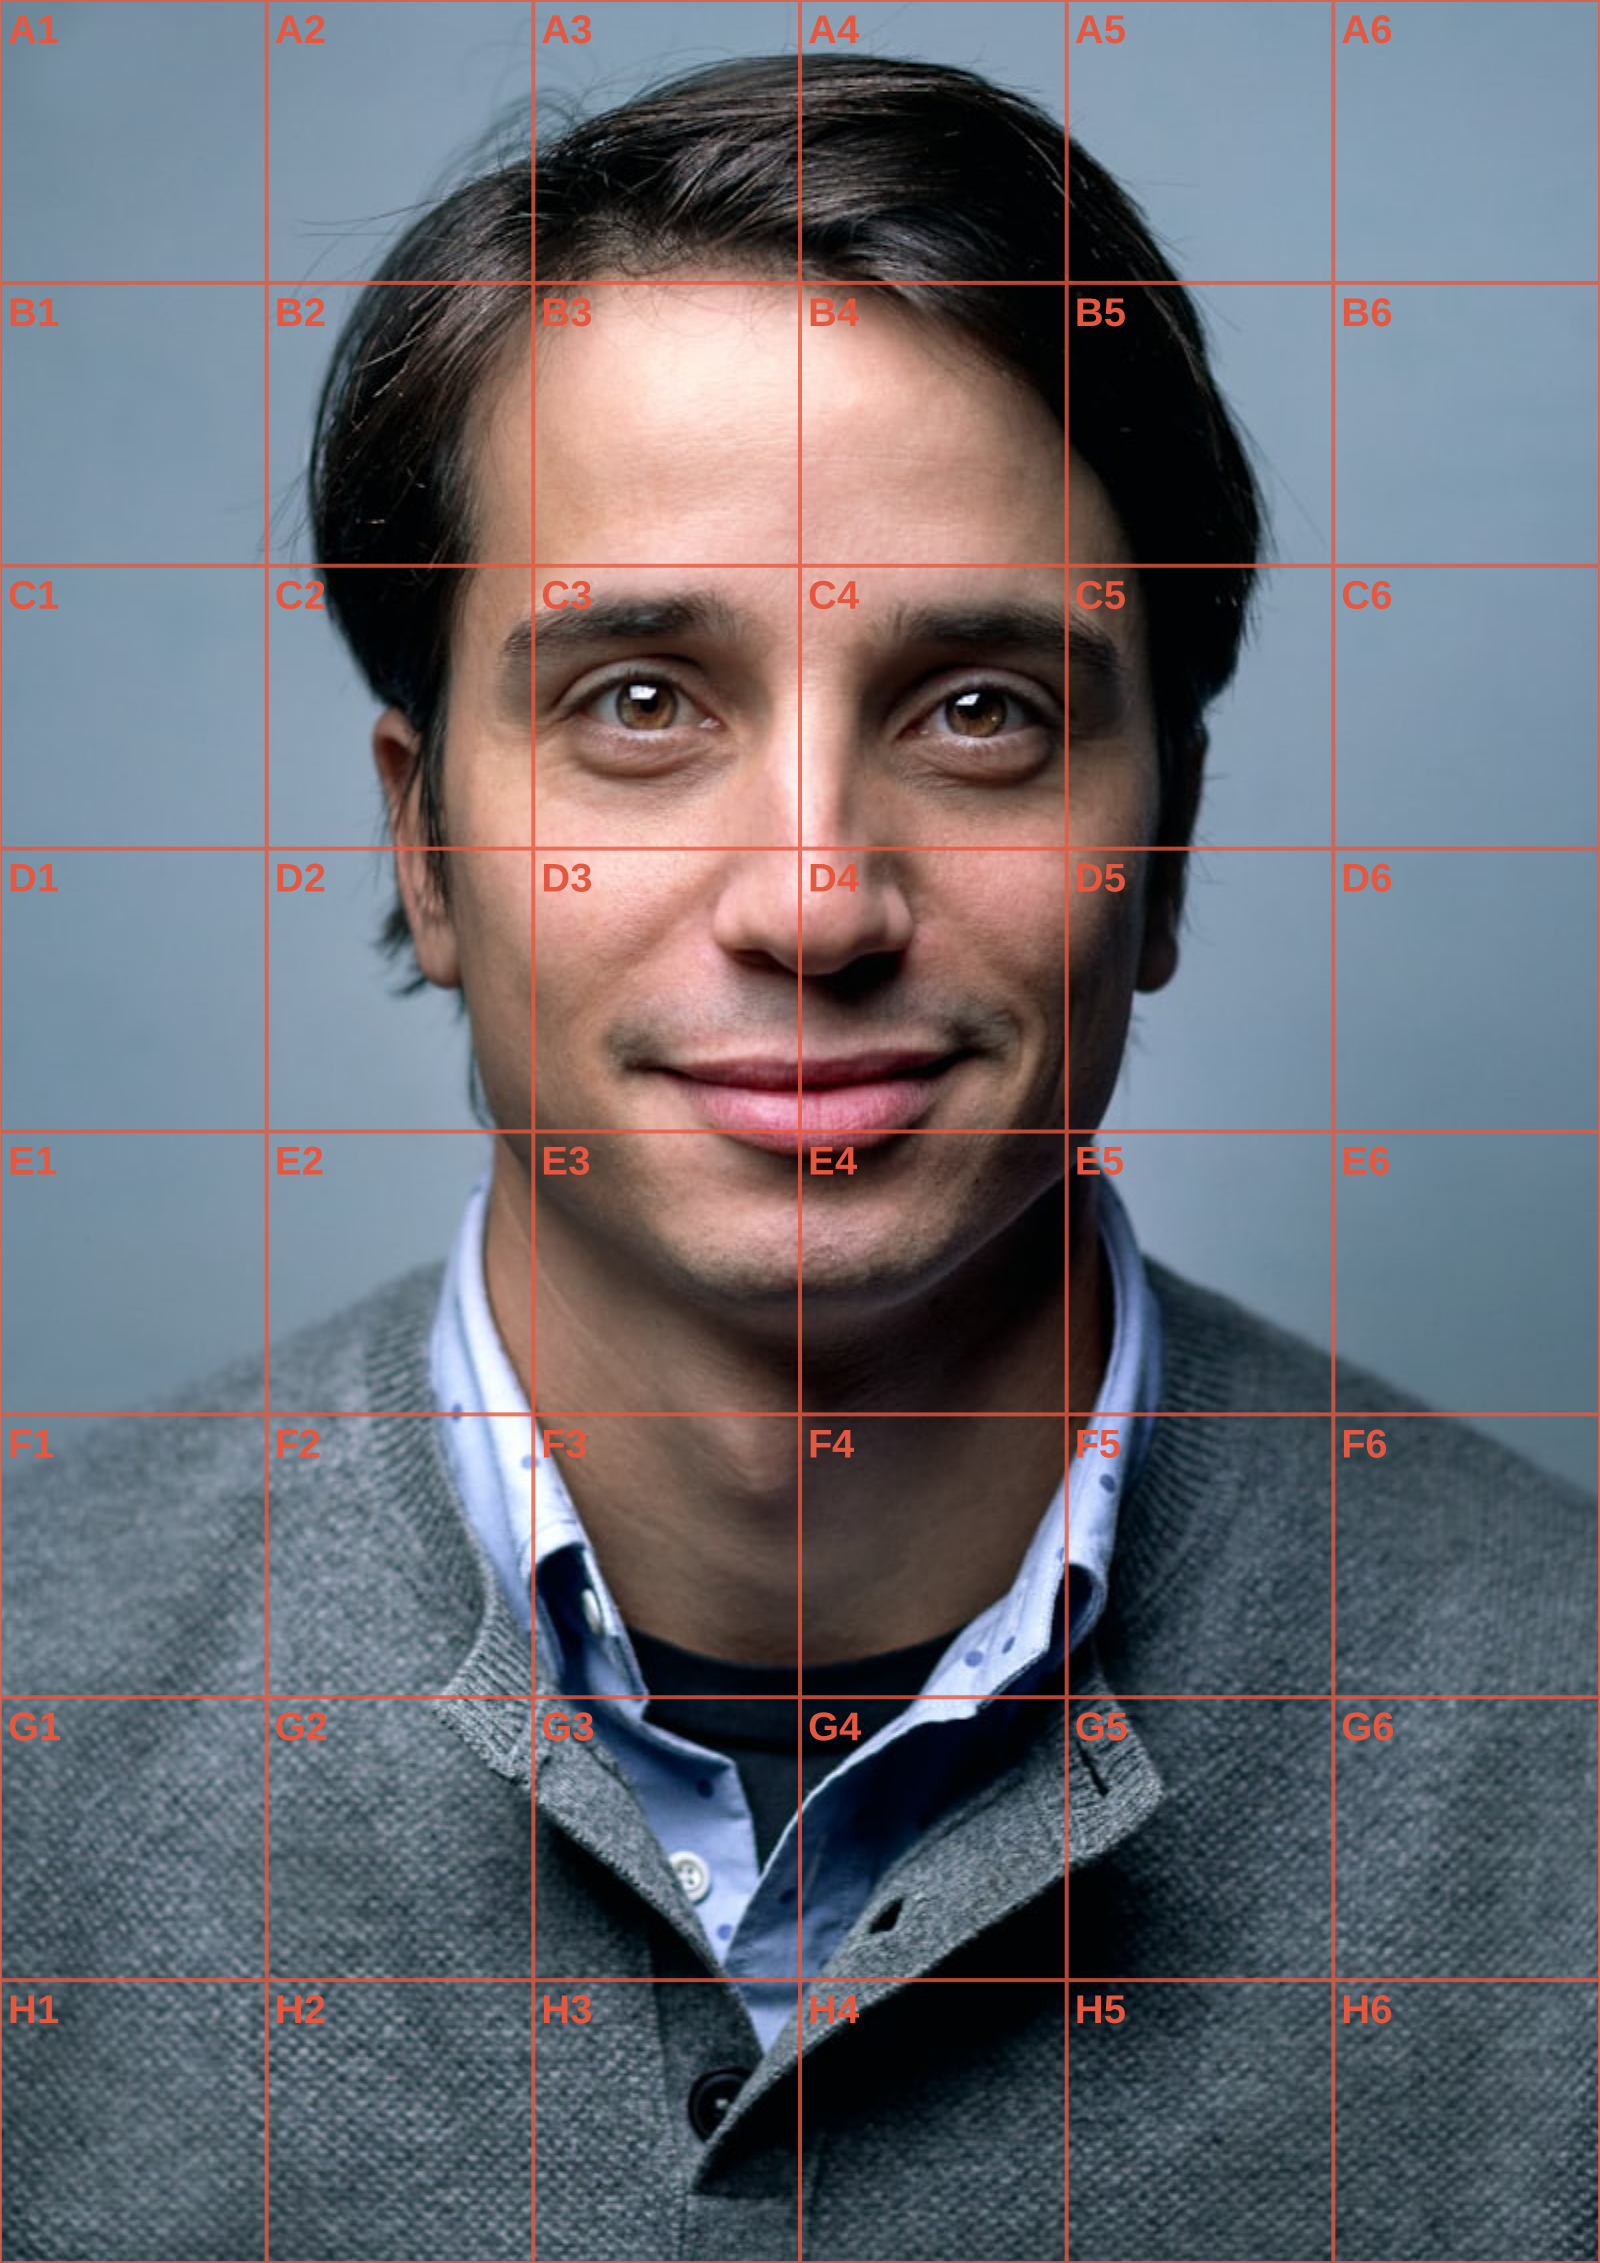
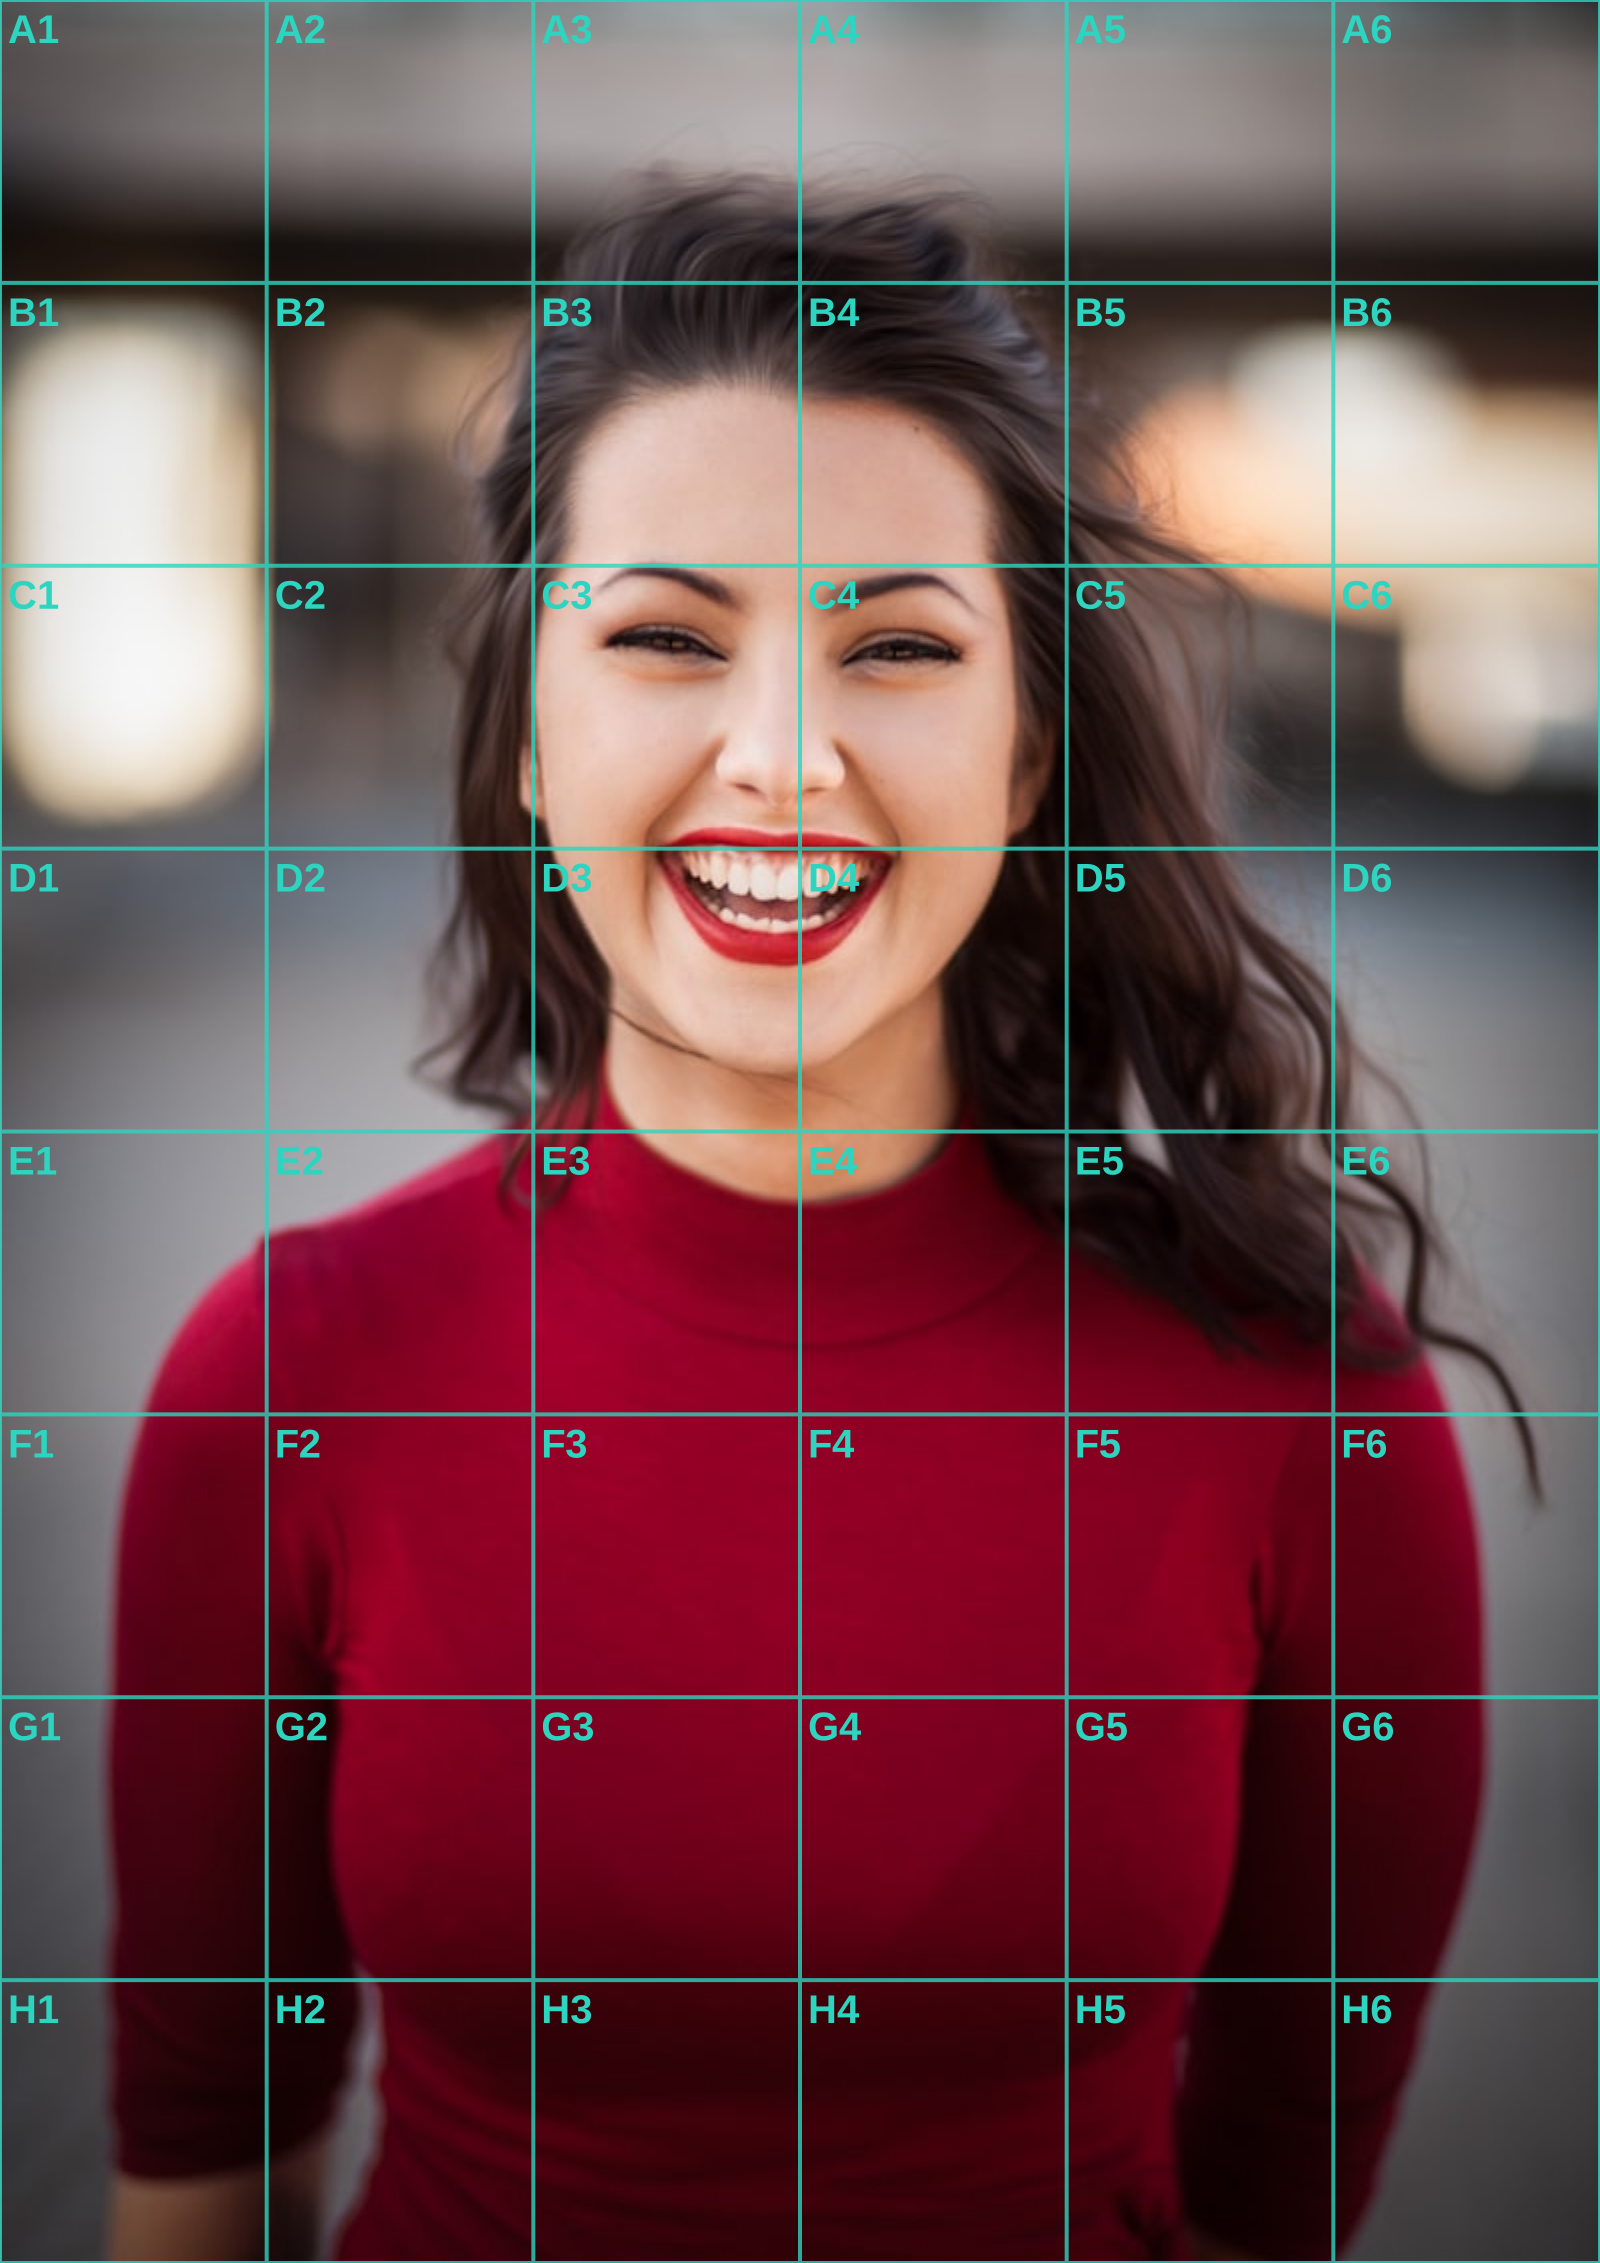
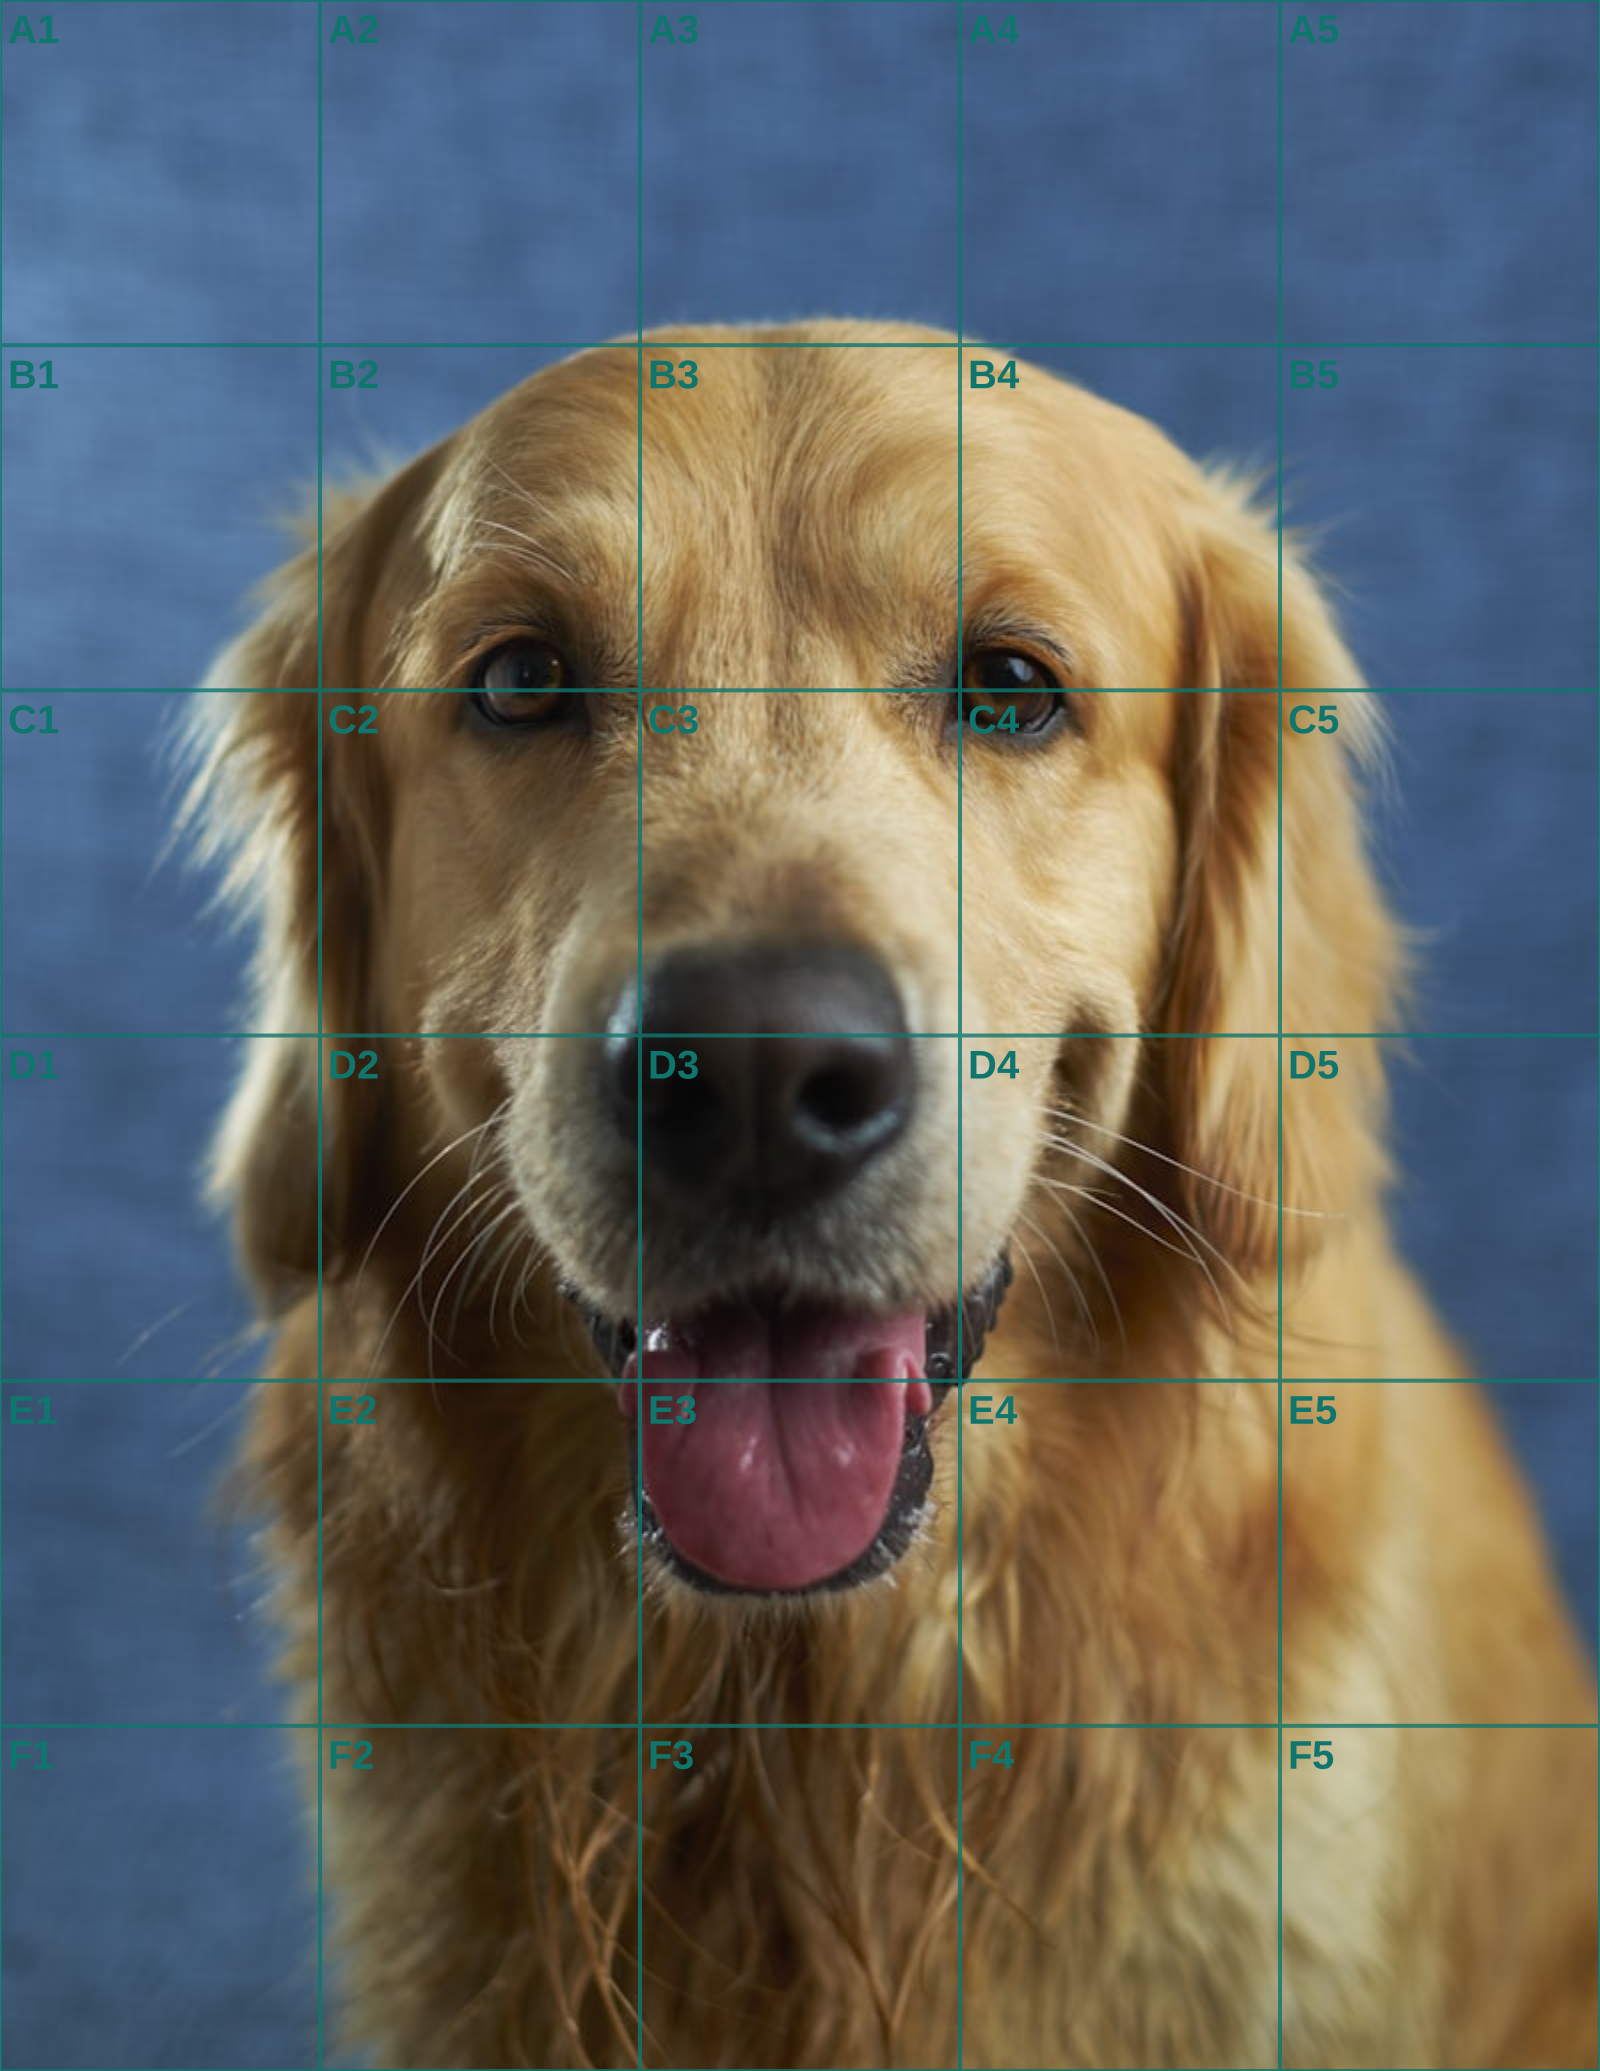
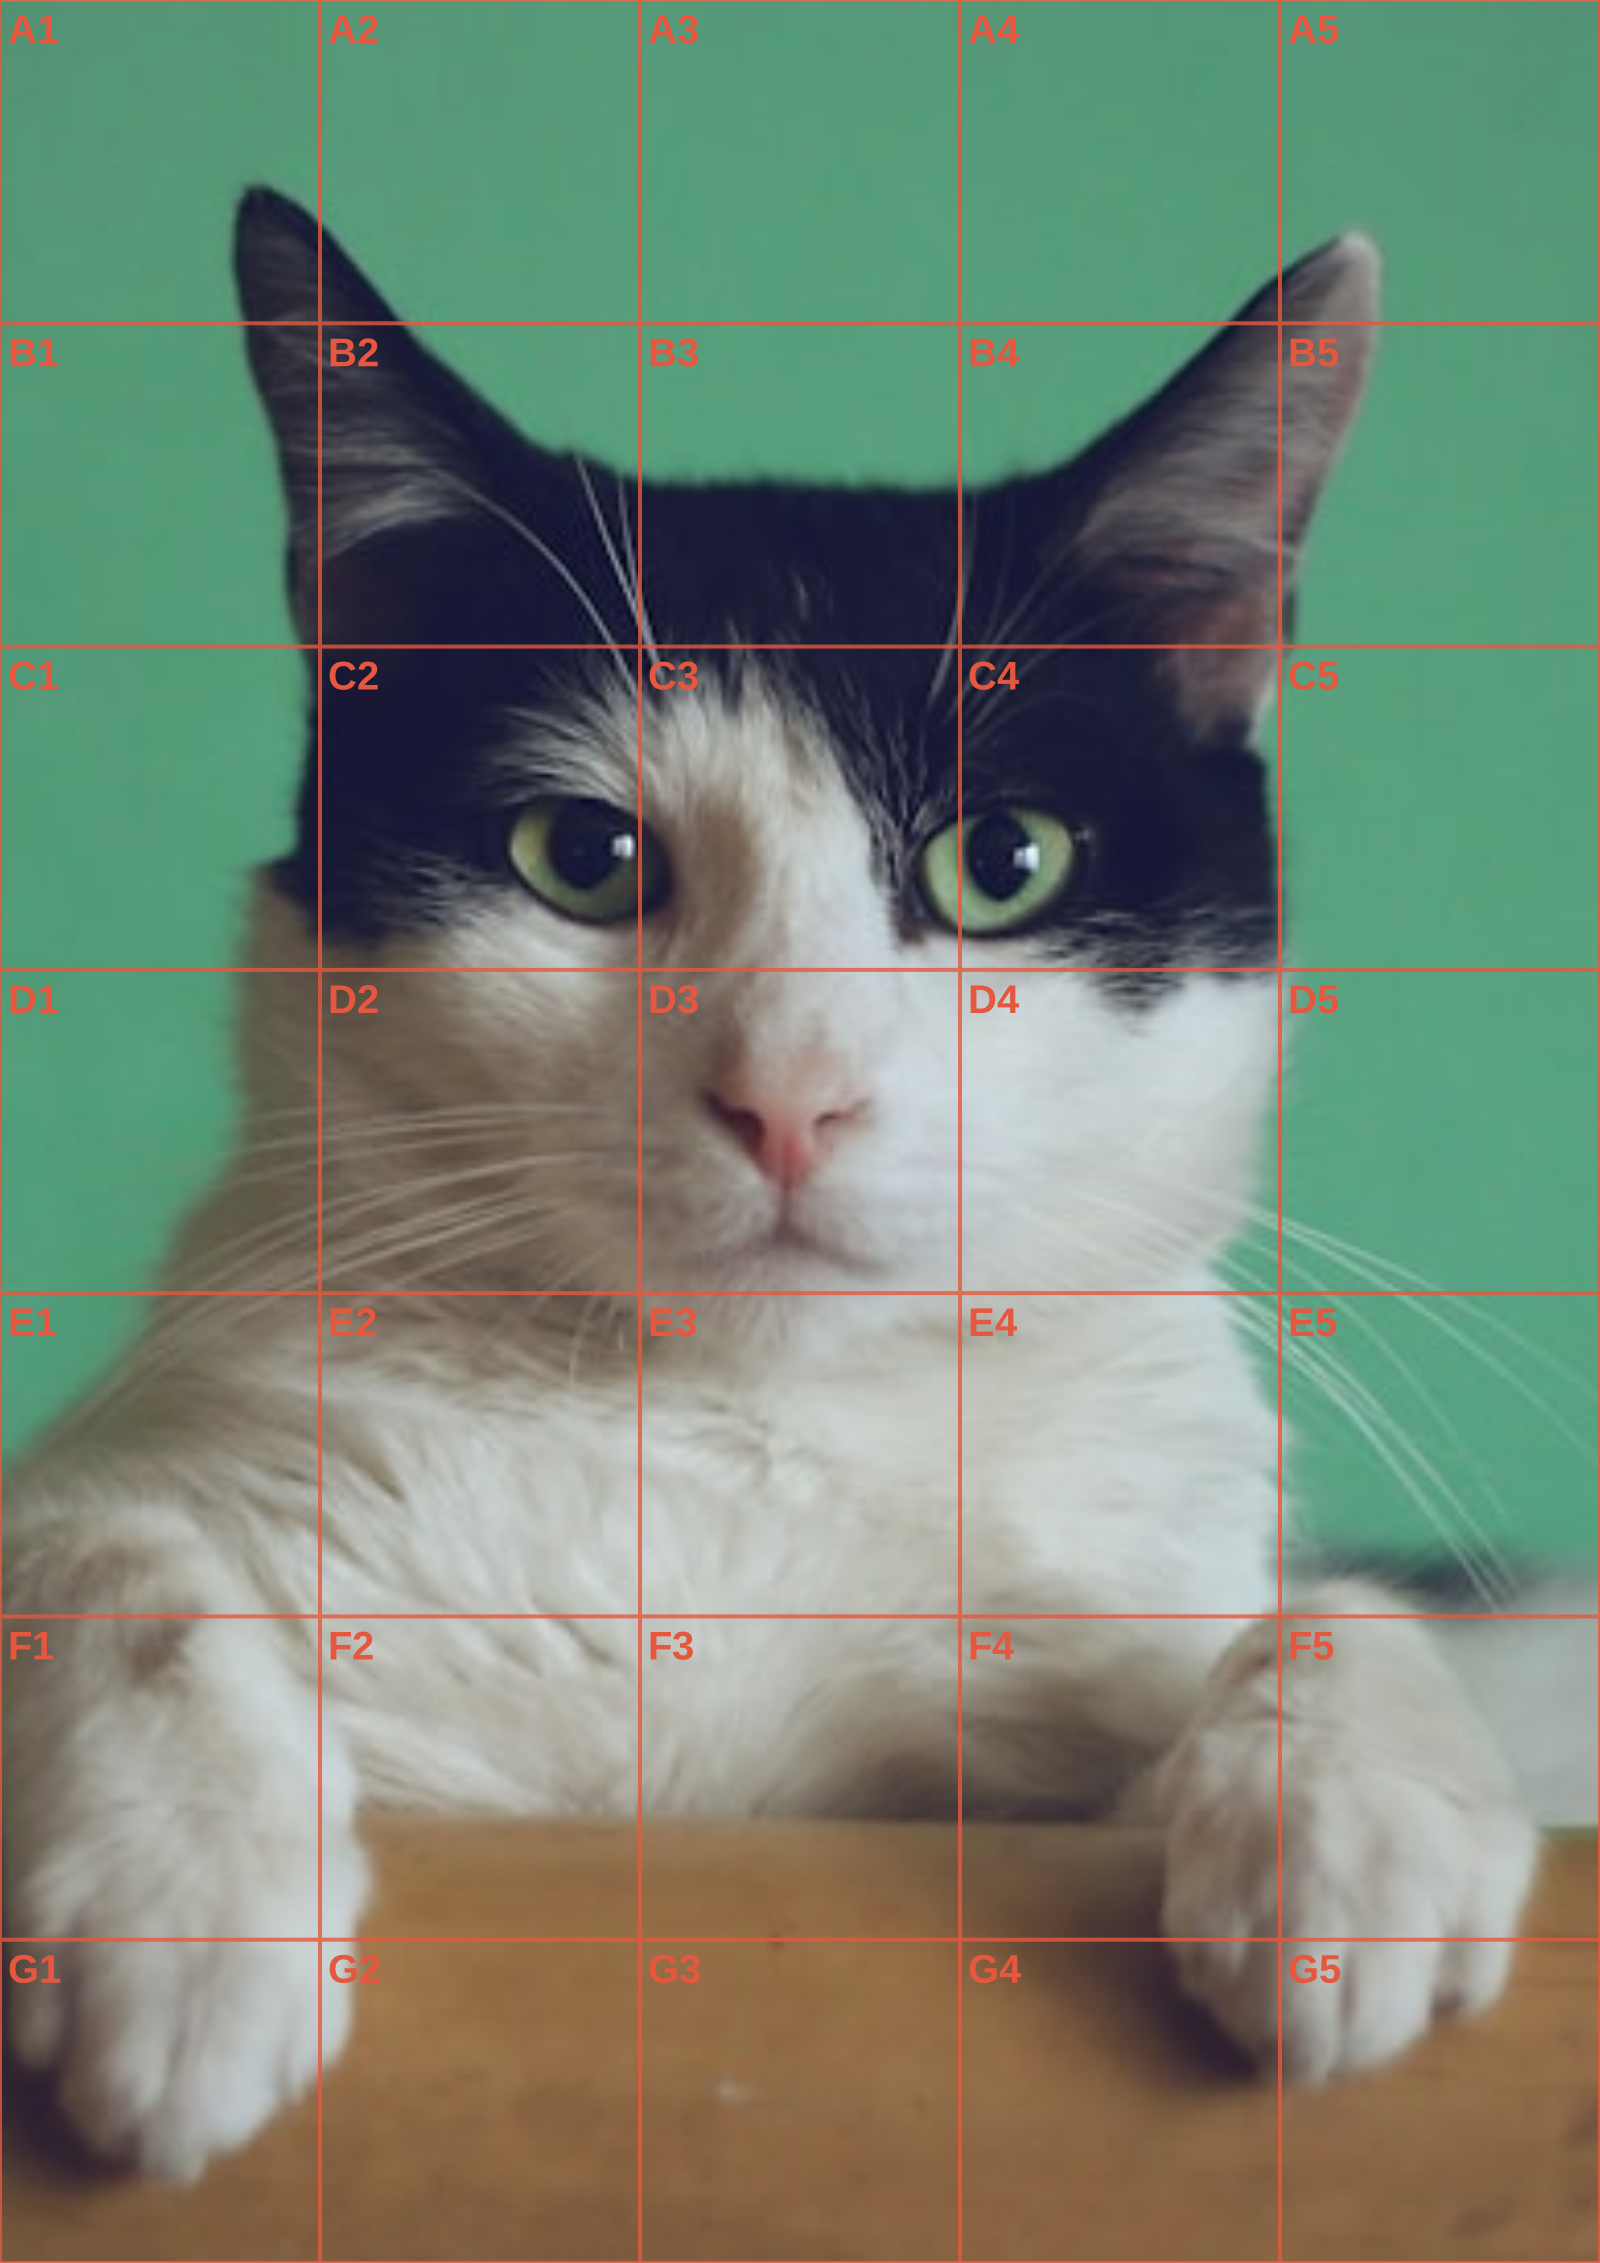
Putting a photo into grid form begins with the photograph, not the controls. Pick an image in which the subject is complete, the important edges are visible, and light reaches the forms you need to draw. A softly lit face with room around the hair is easier to interpret than a backlit phone snapshot with a bright window behind it. Check all four edges before you start. A paw, elbow, roof line, or ear that is already cut off cannot be restored by adding squares, and an image saved from a social app may have inherited a tight square crop that was never intended for drawing.
Decide the frame before the grid fixes your attention on local details. With Crop image to paper shape switched on, the photograph fills the grid rectangle and material outside that shape is removed evenly from the centre. Switch it off when every part of the original must remain visible; the tool contains the photograph and leaves blank bands where its proportions do not match the paper. Try both while looking at the space around the subject, not just the subject itself. Once the headroom, side margins, and direction of movement feel deliberate, keep that crop for the entire study.
Choose a simple structure for a first attempt. Pin a column count for a width-led decision, pin a row count for a height-led decision, or enter the square size you want on the active surface; ArtGrid derives the other count so every cell stays square. Fewer cells make long contours and large shadows easier to see, while a denser layout helps only when it reveals a landmark you could not place otherwise. The overlay is made locally in this browser tab, and your untouched source remains available for checking colour, expression, and soft edges after the measured block-in is complete.
Colour and grayscale answer different questions. Keep the colour view when blush, coat markings, or warm and cool light help identify a form; make a black-and-white version when hue is disguising the boundary between light and shadow. Do not discard the clean photograph after choosing one. The overlay helps with position, while the original still carries the visual information that makes the subject specific.
Choose the export by asking where you will look next. PNG keeps crisp lines for a tablet or a zoomable screen reference, while JPG is convenient when a smaller widely supported image is enough. PDF is the measured option for paper: print it at 100 percent, measure the calibration bar, and follow its rectangle and interval instructions if you will rule a separate sheet by hand. These files serve different stages, so there is no benefit in downloading all three by habit.
Make a working copy before experimenting if the photograph is your only copy from a phone or message. The grid export never changes the original file, but keeping an obvious clean version makes comparison easier once lines cover the preview. Open the full-resolution image when possible rather than a thumbnail. Fine detail is not the purpose of the grid, yet enough resolution helps you distinguish a true edge from compression blur when a contour crosses a cell boundary.
Give difficult photographs an honest test before committing to them. In a backlit snapshot, the face may be a nearly featureless dark shape even after conversion to black and white. A subject touching the frame may leave no room to judge its outer contour, and a square social-media crop may conceal what originally sat beside it. If another exposure or uncropped file exists, switching sources is more useful than increasing the number of divisions on missing information.
Treat cropping as a composition decision. Centre-cropping can remove distracting edges and make a small subject occupy the page, but it can also trim a hand, tail, or cast shadow that explains the pose. Containing the full photo protects every visible part and may introduce plain bands inside the grid rectangle. Those bands are not an error; they record the difference between the photograph and paper shapes without stretching either one.
For a first paper reference, begin with a count that lets you recognise the photograph from normal reading distance. On portrait A4, pinning six columns derives eight rows and produces 31.0mm square cells on the reference print. That is usually easier to follow than a mesh that assigns a separate address to every eyelash or leaf. Add density only when a feature repeatedly lands ambiguously inside one cell, and remember that the row count follows automatically from the square-cell geometry.
Use the black-and-white switch as a diagnostic view, not an automatic improvement. It can reveal that a cheek, sleeve, or cloud belongs to the same value mass as its background even when their colours look different. Colour remains important when two equal-value areas need to be separated or when local colour is part of what you want to draw. Saving both views lets one explain structure while the other supplies the final observation.
Match the file to the workspace. A PNG or JPG beside a drawing application is a visual coordinate reference, so zooming does not affect the relationships between its squares. A PDF is intended for an actual sheet and carries a 50mm calibration bar to expose printer scaling. If you plan to draw the grid directly on separate paper, read the PDF's stated cell size and outer rectangle rather than estimating dimensions from the browser preview.
Begin the transfer at the frame, then place only a few unmistakable crossings: the highest point, the widest point, a dominant diagonal, and one large empty shape. Follow contours across neighbouring squares so they remain continuous instead of completing each box as a miniature picture. When those relationships agree, continue with shadow masses and smaller turns. The construction has done its job once the whole image holds together; finish while looking at the unmarked photograph rather than treating the grid as the artwork.
When the reference is a close likeness, the portrait drawing grid guide covers facial landmarks; for the measured transfer itself, use the grid method walkthrough.
Continue the workflow
See Also
- grid method
Continue with the guide that best matches your next step: choosing controls, printing, or transferring the photograph.
- portrait drawing grid
Continue with the guide that best matches your next step: choosing controls, printing, or transferring the photograph.
- grid drawing
Continue with the guide that best matches your next step: choosing controls, printing, or transferring the photograph.
Questions answered
photo into grid FAQ
What kind of photograph works best?+
Choose a clear, evenly lit image with the whole subject visible and enough space to make a deliberate crop.
Should I crop the photograph before adding the grid?+
Yes. Settle the final frame first because changing the crop also changes where every feature crosses the cells.
Is colour or black and white better for a first drawing?+
Use black and white to compare value shapes, but keep the colour original nearby when colour carries useful identity or lighting information.