How to use it
A practical guide to print large image on multiple pages
Printing a large image on multiple pages solves a specific problem: your reference is small, but the surface you want to draw or paint on is not. A photograph that fits on one sheet has to become a wall-sized mural, a canvas several feet across, or a piece of plywood cut for a sign, and no home printer produces paper that big. Tiled printing keeps the enlargement inside the tool instead of asking you to redraw the grid by hand at the new scale. You still transfer the image cell by cell, the way the grid method always works; the only difference is that the cells now arrive already printed across several sheets instead of one.
The tiling follows the grid, not the paper. Each output page holds a whole number of grid cells, so the cut between one sheet and the next lands exactly on a grid line rather than partway through a cell. That matters because it means the grid lines themselves are the alignment marks: butt two sheets together so their outer grid lines meet, and the cells continue correctly on the other side. There is no registration mark to cut out, no crop mark to trim to, and no guesswork about how much overlap to leave — overlap would in fact break the alignment, since it would duplicate a strip of cells across both sheets.
Set a target surface — the wall, canvas, or board you are enlarging to — and the preview shows how many pages the job will take before you print anything. Small jobs export immediately; a layout that needs more than four sheets is offered as a paid unlock, since a wall-sized job is the point at which this tool moves from an occasional convenience to something worth paying for. The first page of the PDF is not a tile at all — it repeats the calibration bar and cell measurements from the single-page export, plus a small diagram showing which page goes where, so assembly does not depend on remembering the layout from the preview screen.
Before committing to a full multi-page print, export the single-sheet PDF first and confirm the calibration bar measures 50mm. A printer-scaling error is the same mistake on both exports, but it is far more expensive to discover after a dozen sheets have already been printed and taped together.
For a commissioned mural or a large canvas, the wasted material from a scaling error is not paper — it is a canvas or a wall that has already been marked. Run the free single-page export first, verify the 50mm calibration bar with a ruler, and only then commit to the full tiled job. Keep the assembly diagram from the first page of the PDF visible while taping sheets together; it is easy to lose track of which sheet is which once a dozen near-identical grid squares are laid out on a table.
A wall-sized commission is usually judged from the distance a client will actually stand at, not from six inches away where a slightly imperfect seam is visible. Tape sheets from the centre outward so any small accumulated error is pushed toward the outer edge of the piece, where a client's eye lands last, rather than through the middle of a face or another focal point.
Lay all the pages out in their final arrangement before taping anything, using the small diagram on the PDF's first page to check row and column order. It is easy to place two visually similar sheets in the wrong position when a grid carries mostly background or texture, and repositioning already-taped sheets damages the paper.
If the target surface changes mid-project — a client asks for a larger canvas after the reference photo is already chosen — regenerate the tiled PDF rather than trying to rescale printed sheets by hand. The tool recalculates the page count and cell size together, which keeps the grid on the new sheets square and matched to the reference.
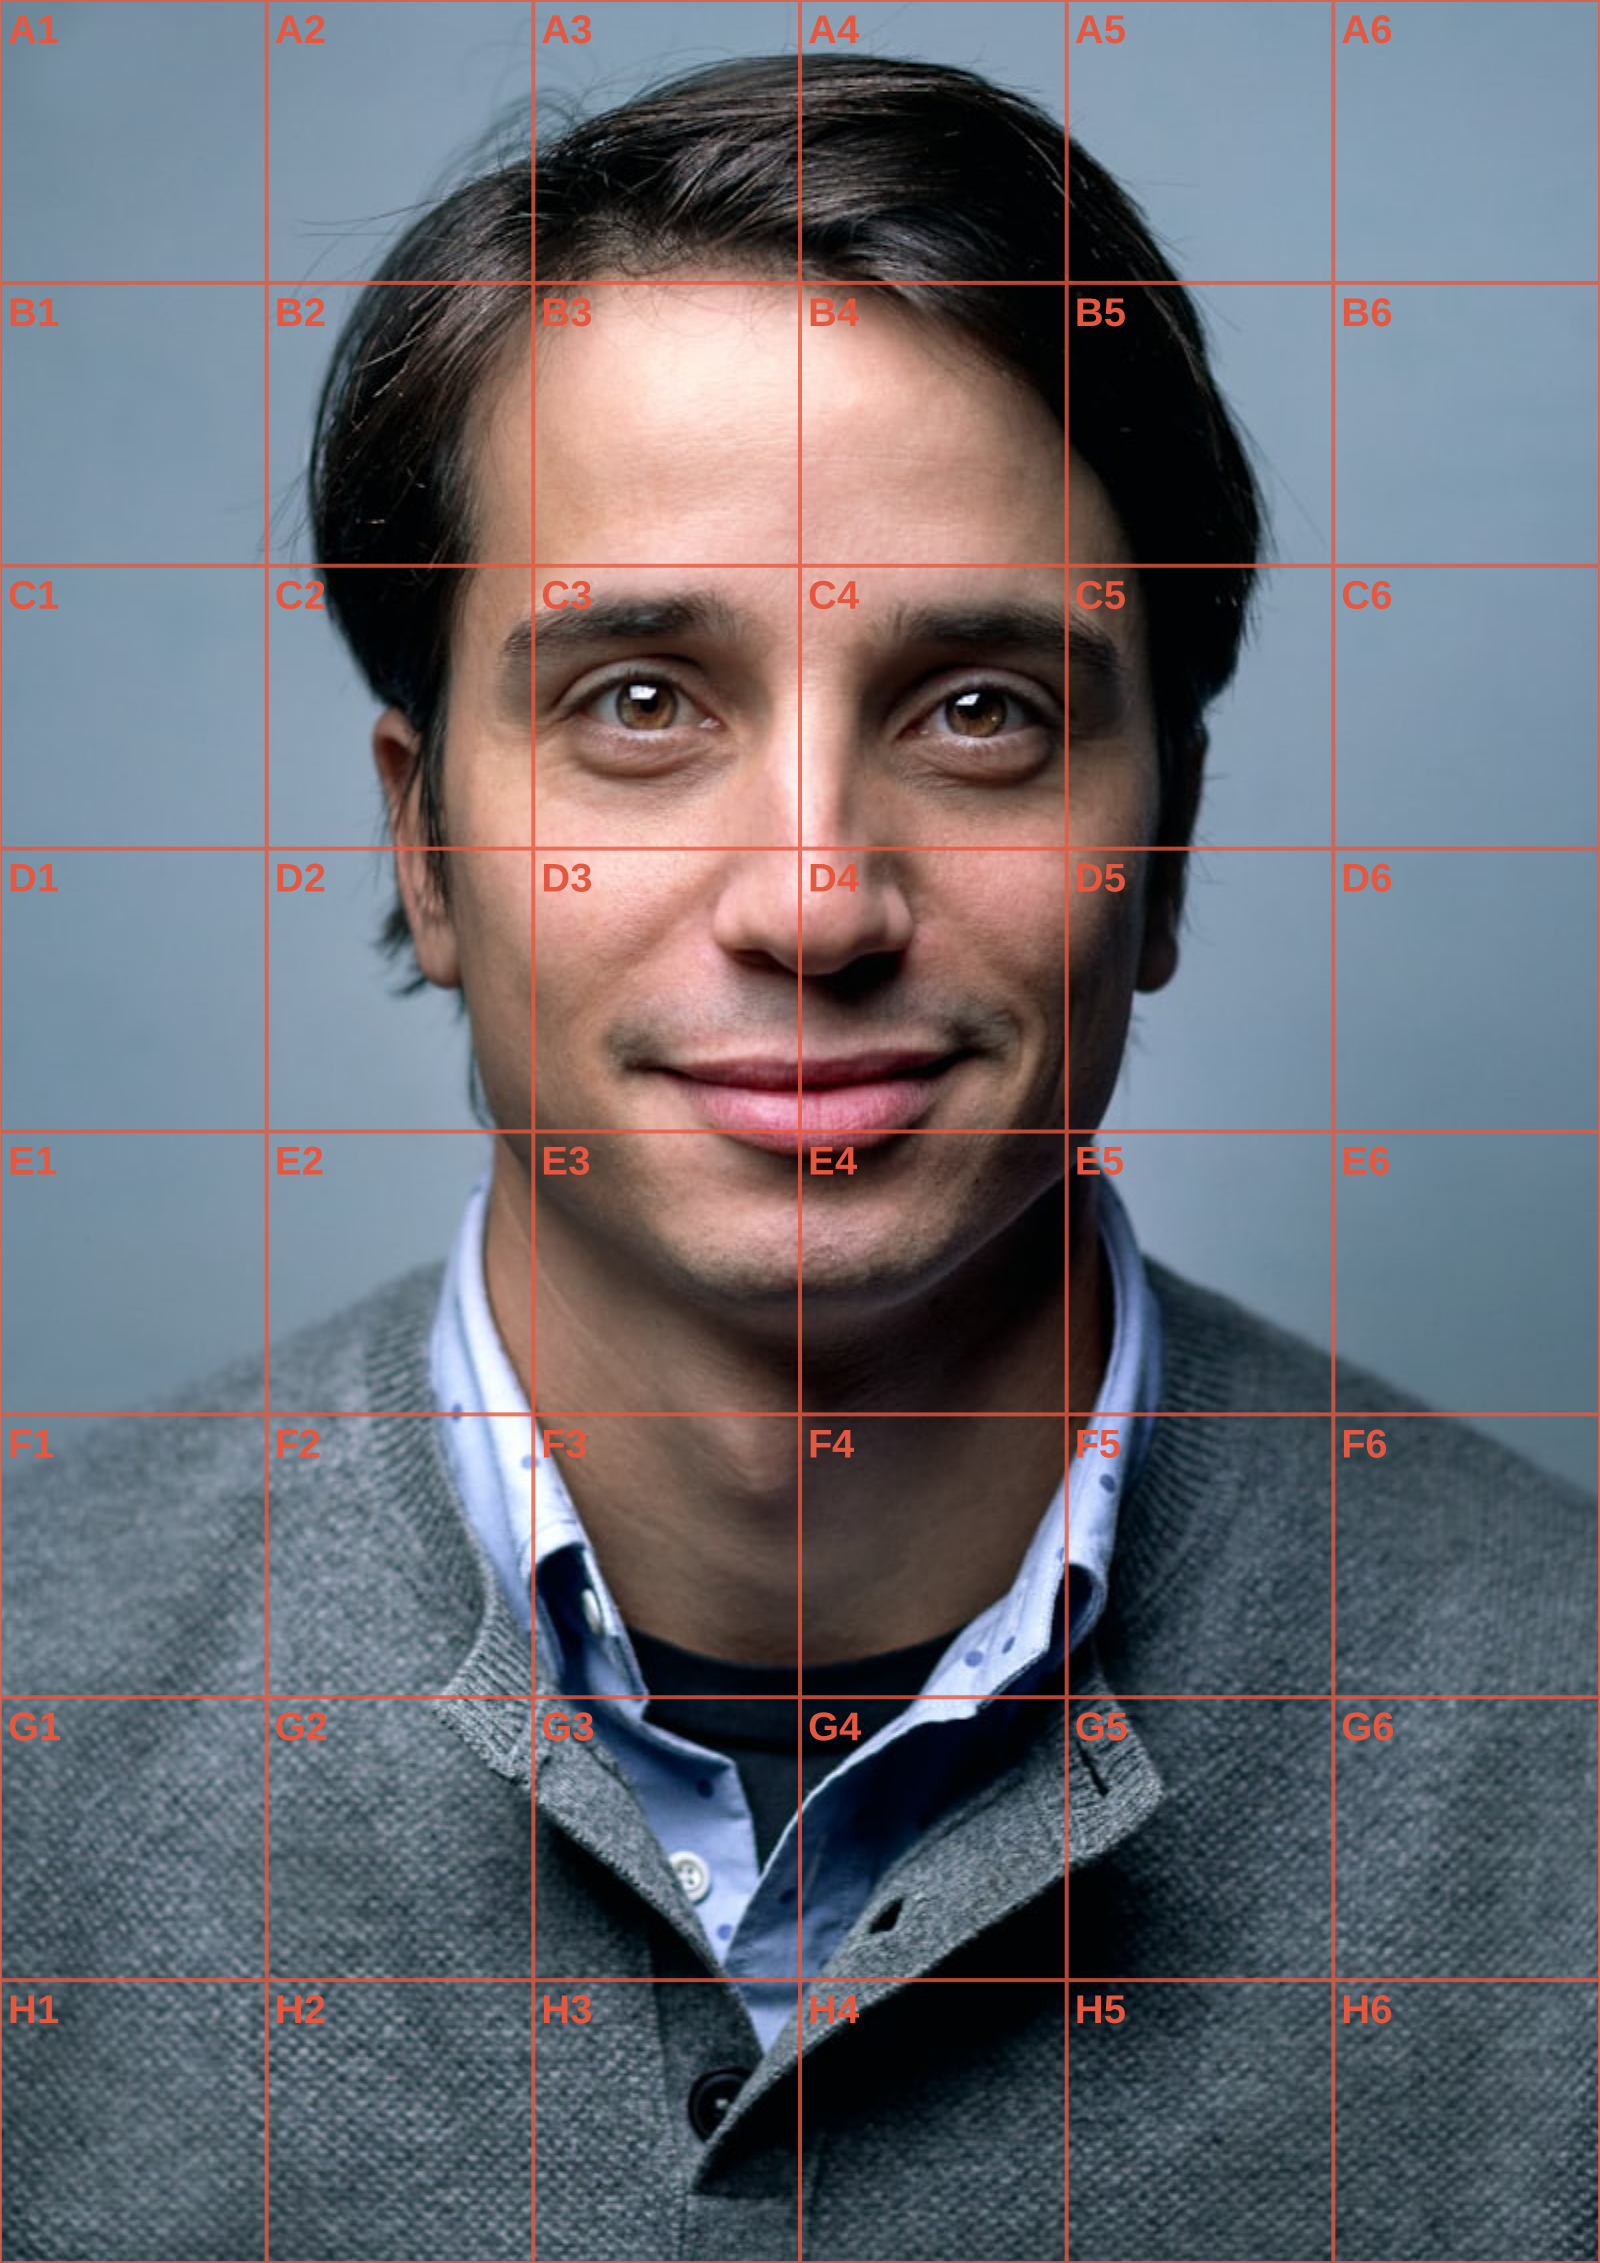
When the reference is a close likeness, the portrait drawing grid guide covers facial landmarks; for the measured transfer itself, use the grid method walkthrough.
Continue the workflow
See Also
- grid drawing
Continue with a related guide for preparing or transferring the reference before printing it at scale.
- photo into grid
Continue with a related guide for preparing or transferring the reference before printing it at scale.
- grid method
Continue with a related guide for preparing or transferring the reference before printing it at scale.
Questions answered
print large image on multiple pages FAQ
How do the pages line up with each other?+
By the grid lines, not by registration marks. Every page holds a whole number of grid cells, so a seam between two pages always falls on a grid line. Butt the printed edges together so the outer grid line on one sheet meets the outer grid line on the next, and the cells continue correctly across the join.
Do I need to trim the pages before taping them together?+
Trim the blank margin on any edge that meets another sheet — the printed content starts a little way in from the paper edge. The trim does not need to be exact: the margin carries no grid line, so cutting slightly into it, or leaving a sliver of white border, still lets the grid lines on both sheets line up once the trimmed edges are butted together. Outer edges of the whole assembled piece do not need trimming at all.
How many pages will this need?+
That depends on your target surface size and your cell size. The preview shows the exact page count and the row-by-column layout before you print anything, and if the layout needs more than four sheets a paid unlock replaces the free export button — the page count and preview are still shown first either way.
Does it matter which paper size I choose?+
A3 needs fewer pages than A4 for the same target surface, because each sheet covers more grid cells; Letter is close to A4. Choosing the largest size your printer supports keeps the page count, and the time spent taping sheets together, down.